Adjust travel on Fox 831 and Float 32-36mm forks
This was originally posted at Pinkbike at 2012-10-09: https://www.pinkbike.com/forum/listcomments/?threadid=140305.
- This guide is old, newer Fox Float forks might be different.
- I'm not responsible for any damages. This is your own doing. You have been warned.
- If this looks too hard, get your fork to a professional bike shop instead. Fox forks are damn expensive.
Background
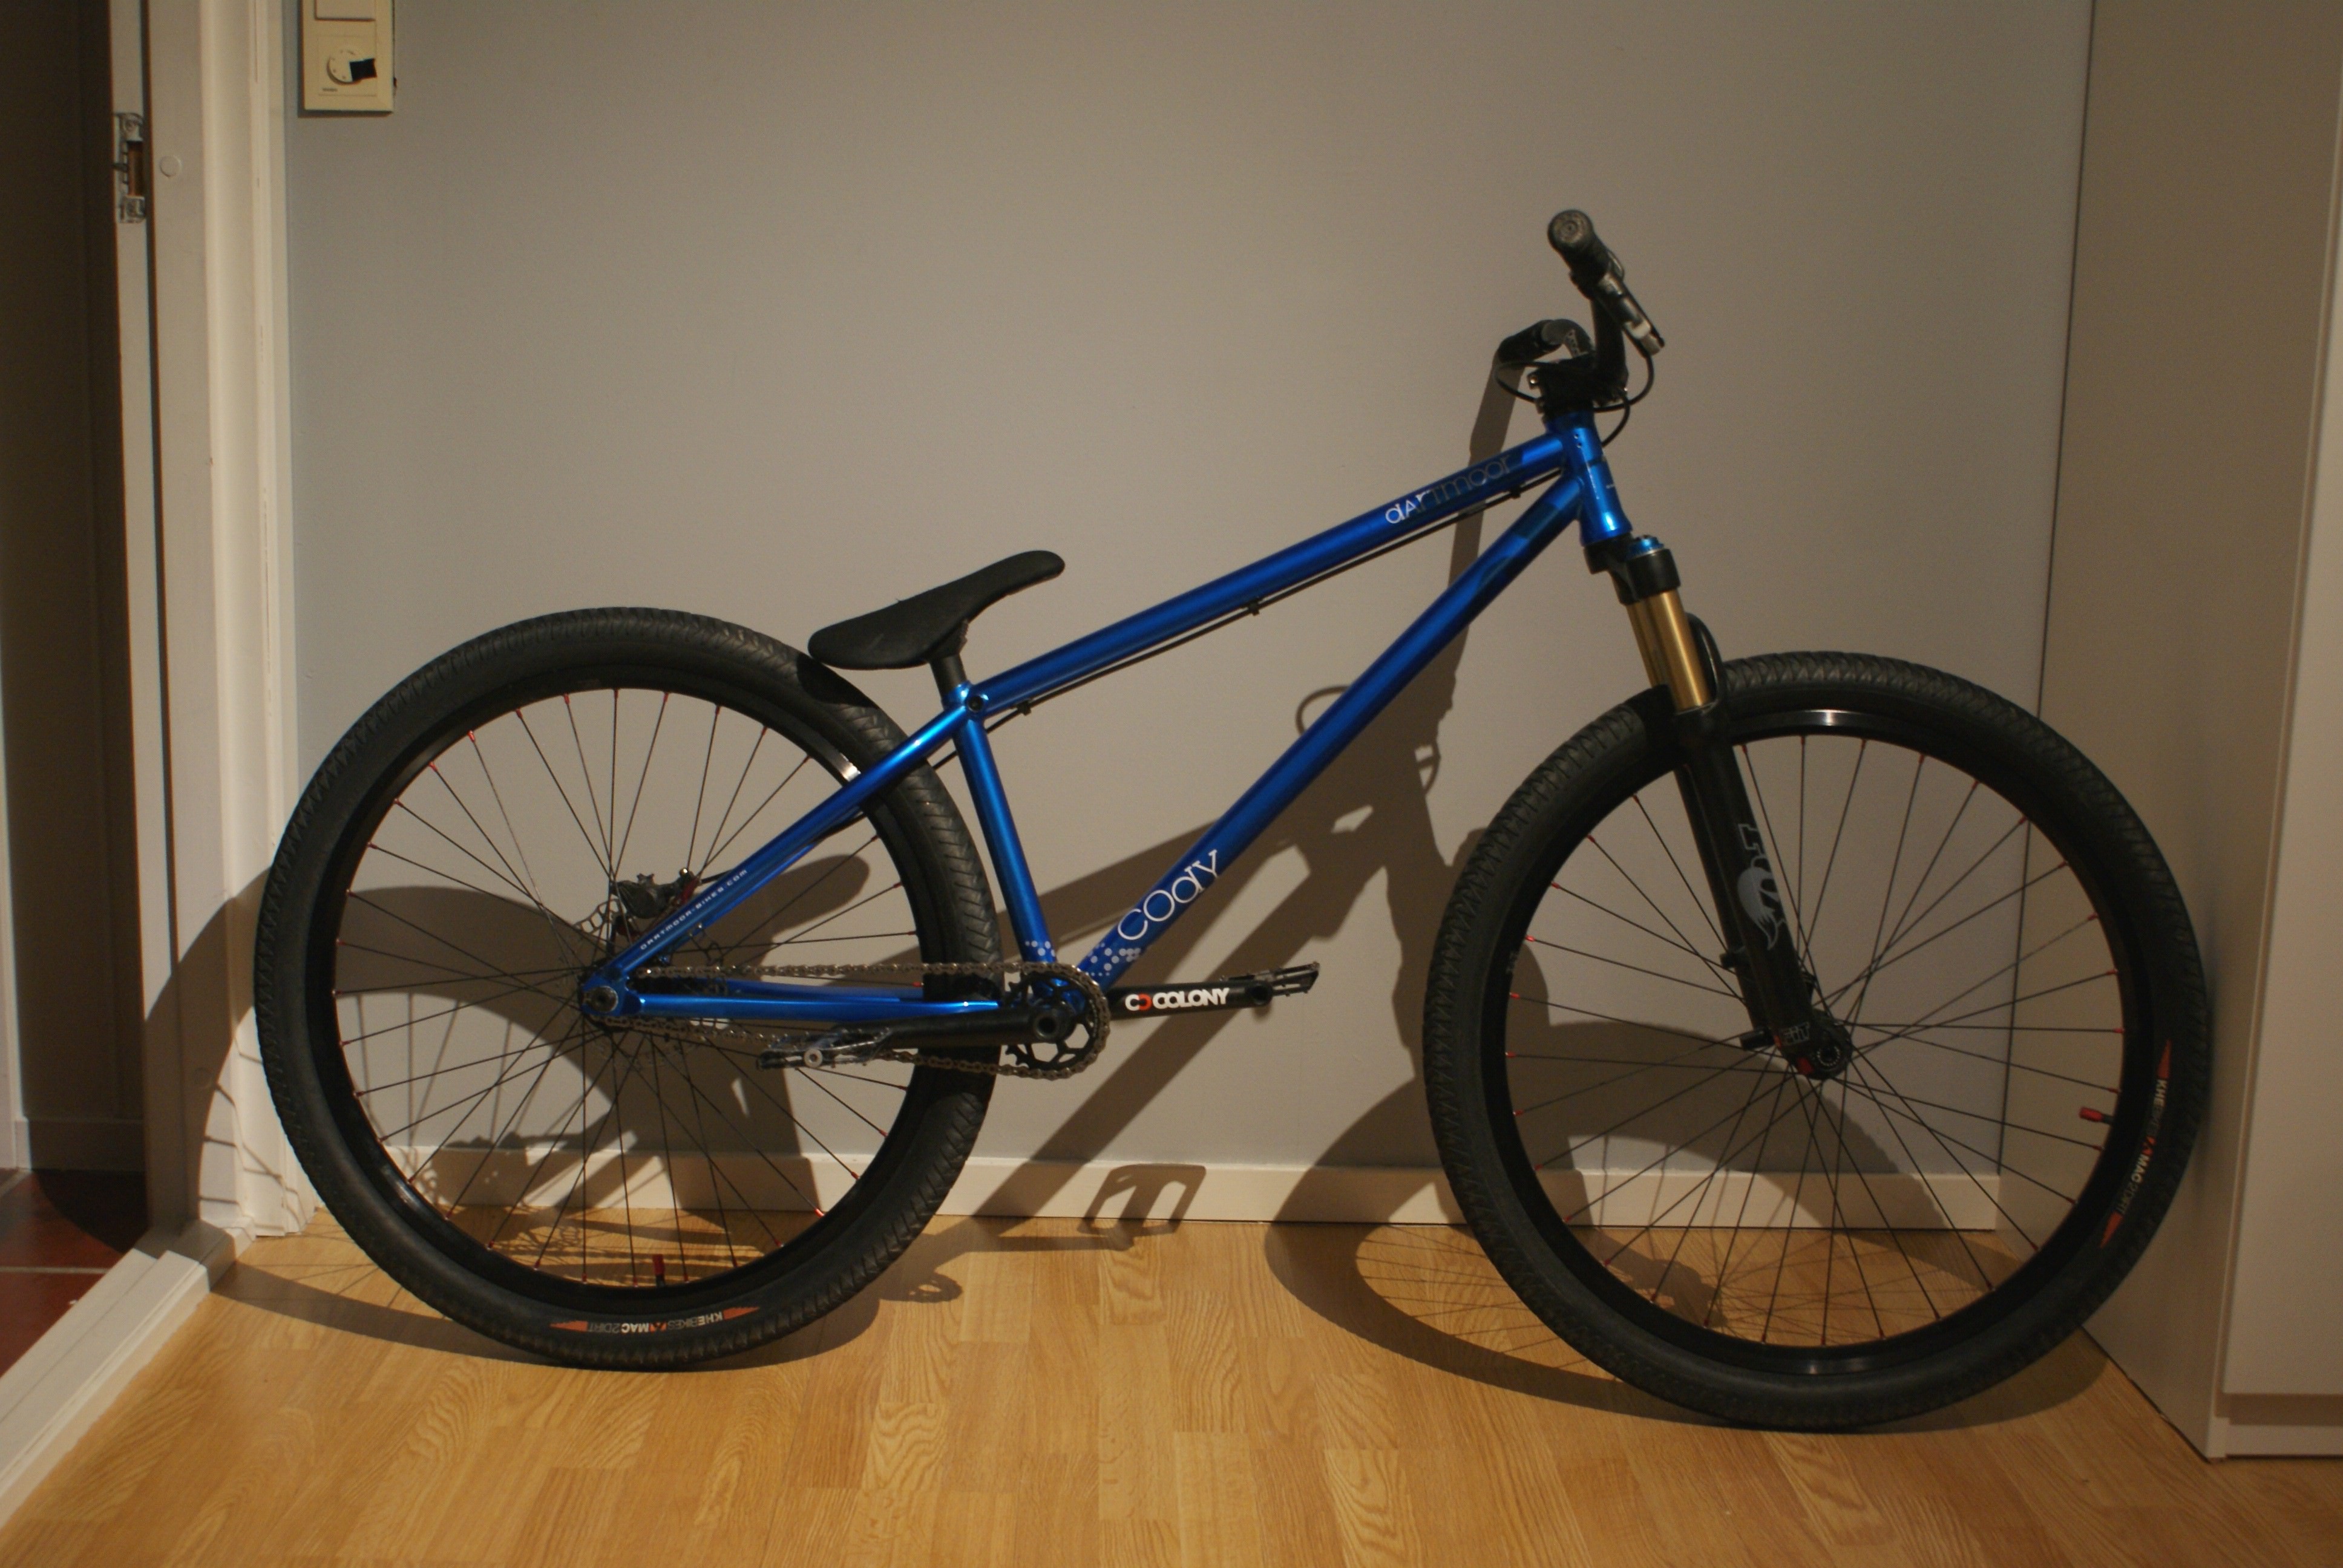
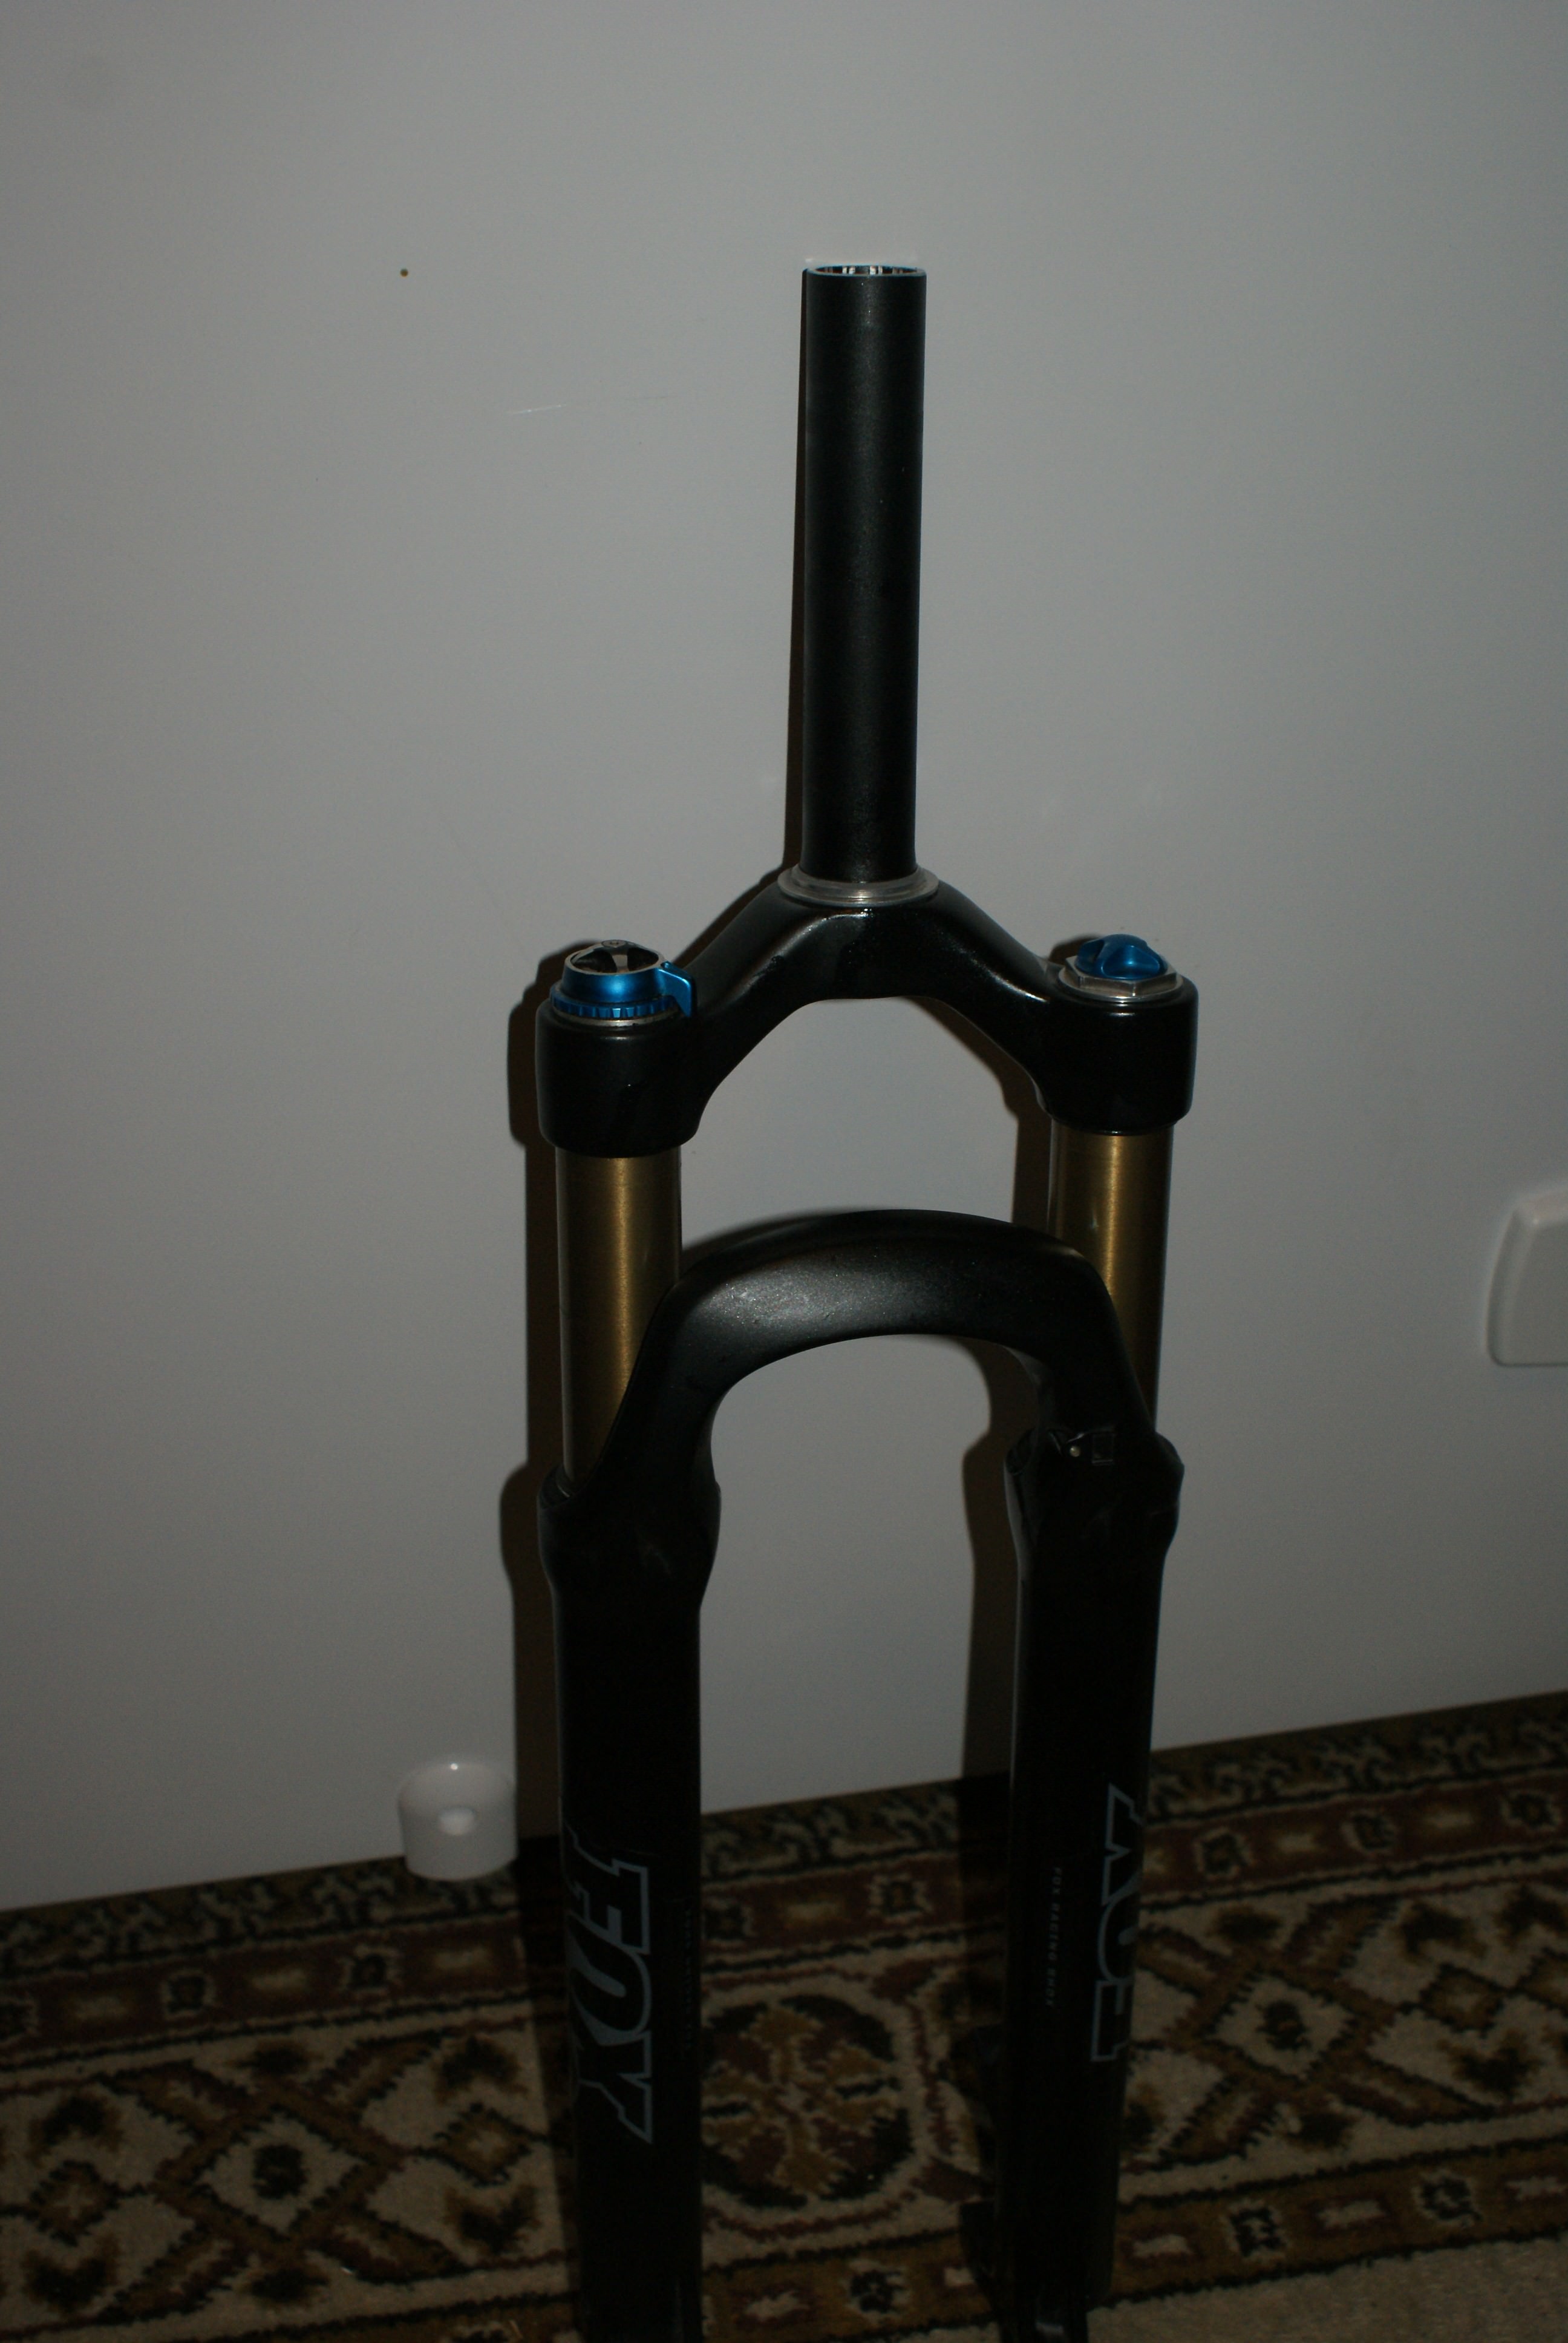
Lowering Fox Float forks is really easy, but getting the needed information on how to do it, is hard. I wanted to lower my Fox 831 32mm from 100mm to 80mm, and wanted to document the process while I did it. The result is a guide which I hope others might enjoy for similar purposes. Here is my before and after shots, for inspiration:
- Before
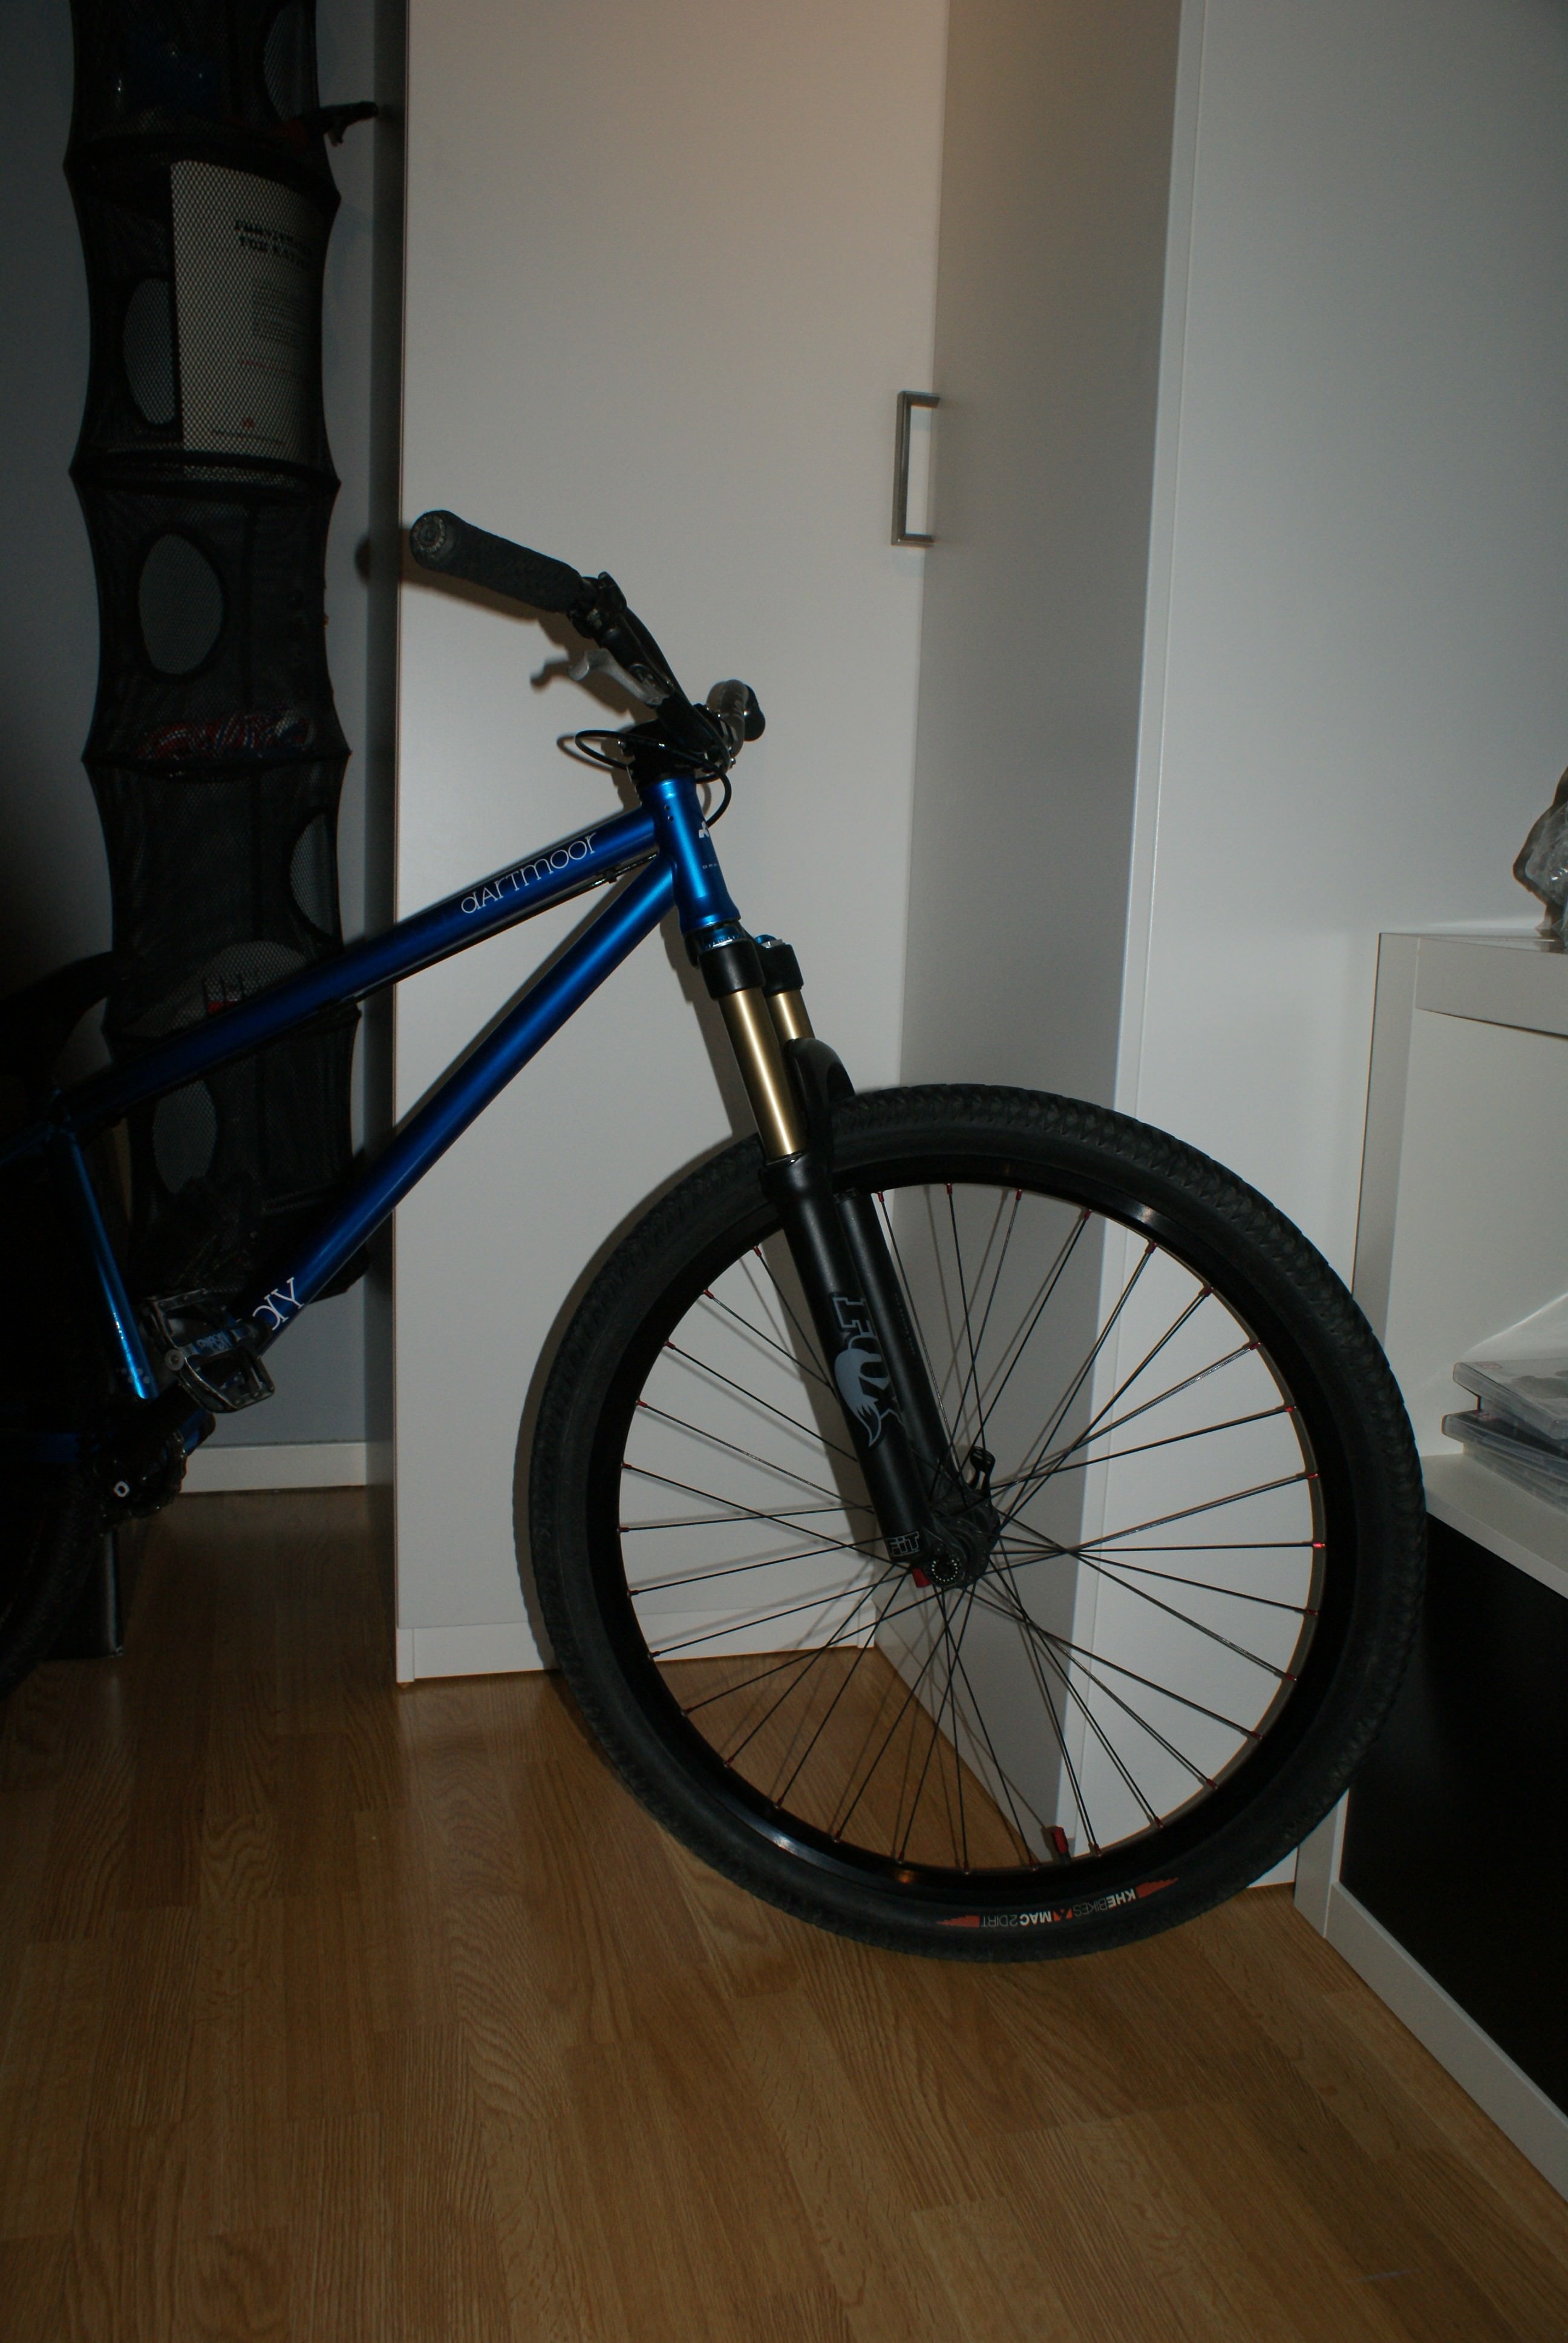
- After
F.A.Q
What forks?
This guide should work for all Fox Float forks, including:
- Fox 831 (32mm, 34mm, 36mm)
- Fox Float 32mm, 34,mm, 36mm, for 26", 27.5", 29.5" wheels.
Why should I change the travel of my fork?
-
If you make it shorter, the front of the bike will get lower. This will change the geometry of the bike.
-
Shorter travel/ shorter total length: Lower bb height and steeper angle of the head tube. Less travel. Need more air pressure to not bottom out.
-
More travel / longer total length: The opposite.
How much can I change the travel?
The fork can be lowered from the given max travel on the fork, and theoreticly down to 0mm of travel (Which will leave the fork completely useless..)
How much spacers do I need to get the fork the height i want?
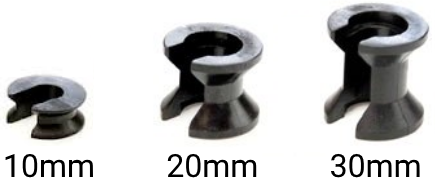
If you want to lower it 20mm, you just use one 20mm spacer. If you want your fork 20mm higher, you just take out one 20mm spacer
Example pictures taken from Fox Tech Center.
| What | Picture |
|---|---|
| Fox 32 | 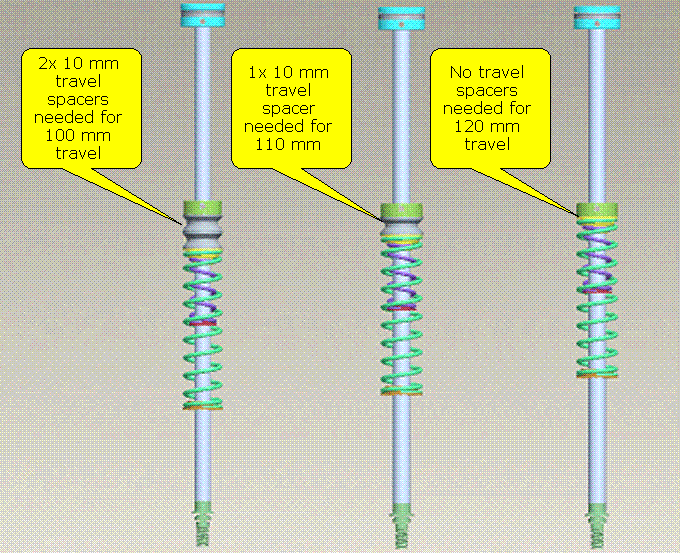 |
| Fox 36 160mm | 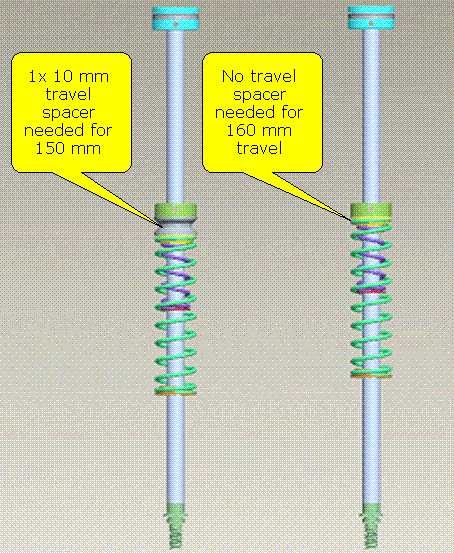 |
| Fox 36 180mm | 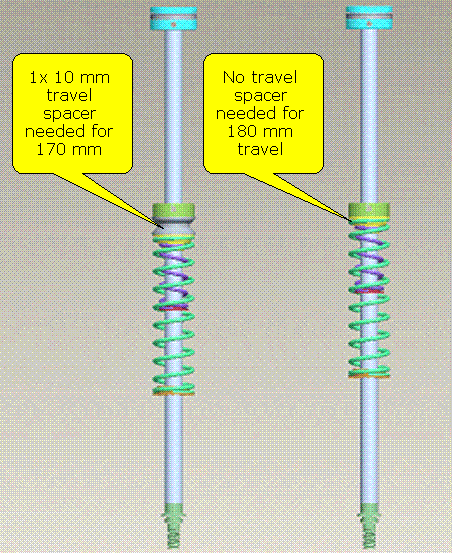 |
I need help with a different Fox fork
Fox has made a whole lot of information available for us customers. You can get it all here:
Requirements
Stuff you'll need:
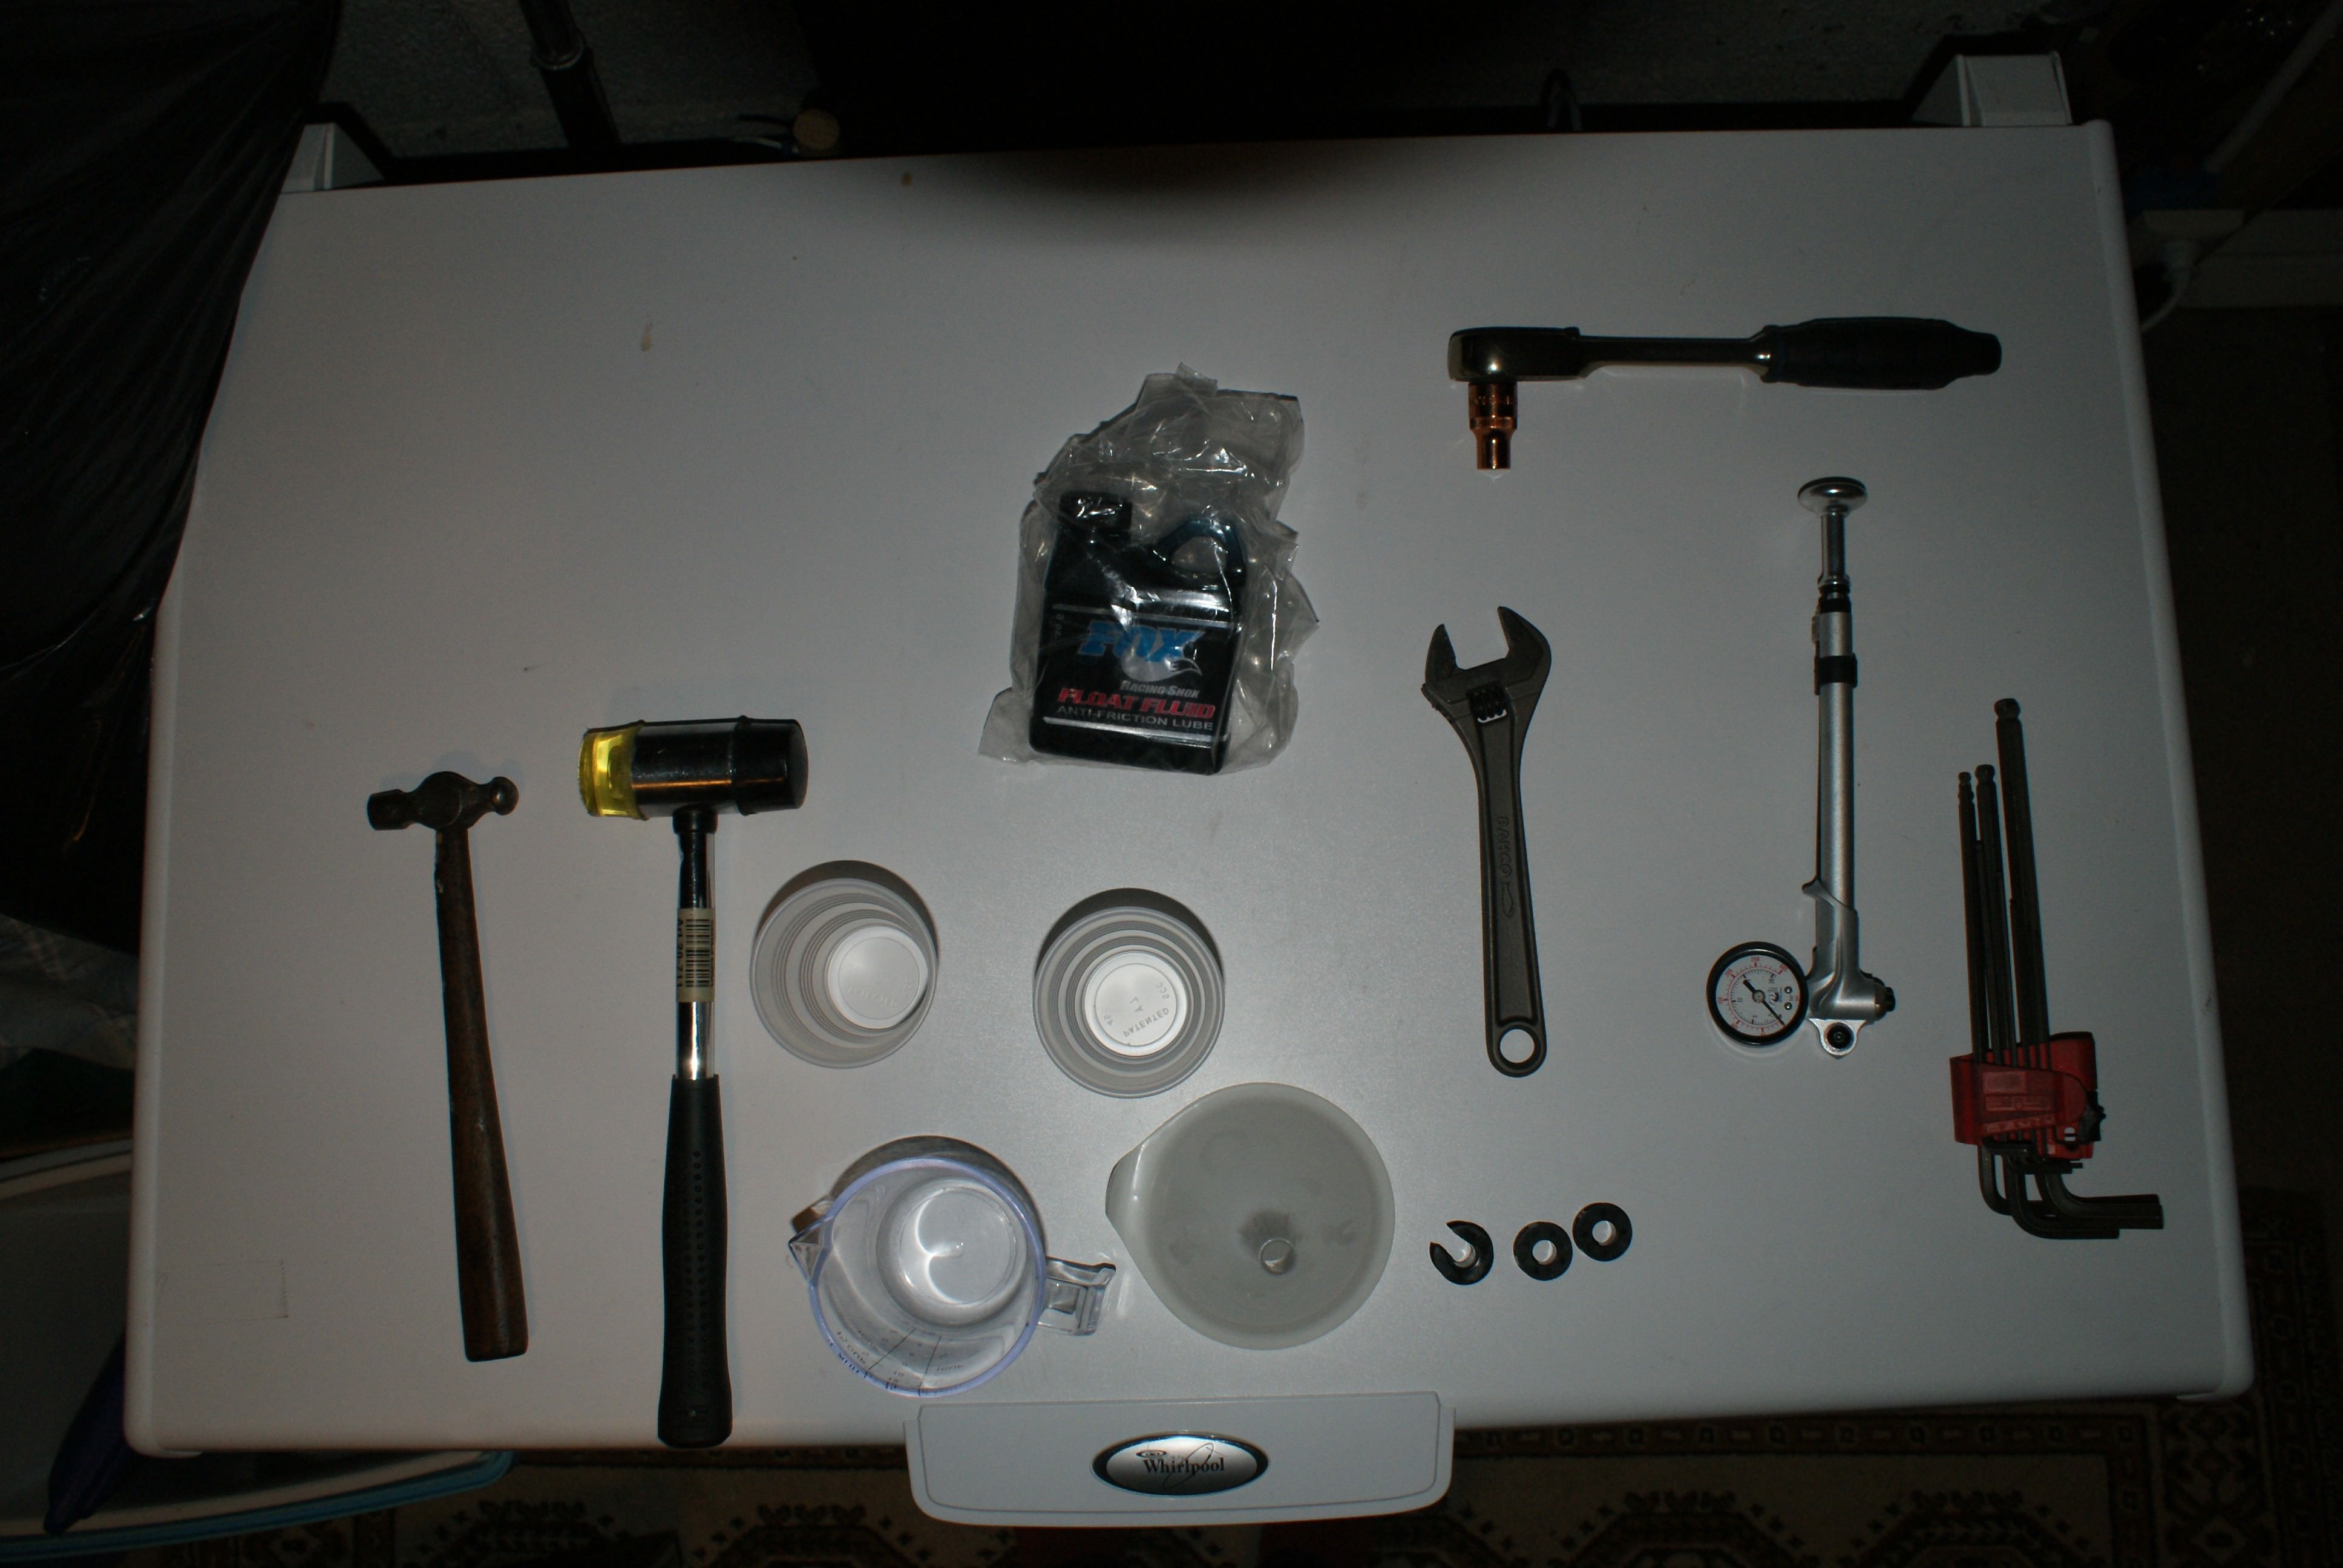
Tools
- 24mm wrench or socket key for Fox 32 forks, 32mm wrench or socket key for Fox 36 forx.
- Adjustable wrench is not recommended, the air top cap is made of soft aluminium.
- Dedicated flattened sockets for fork/suspension use is recommended.
- 10mm socket key.
- Shock pump
- Hex or torx keys (to remove the stem and headset)
- Cups (to gather the oil)
- Toilet paper
- Torque wrench, which measures newton meter (nm). Check ridefox tech sites to find recommended torque.
- Measuring cup or syringe.
Parts
- Spacer (25mm Ø is used for 32mm, 34mm and 36mm.
Lubricant
- Fox Float Fluid Anti-Fraction Lube (for the seals and top chamber, Fox says this is ESSENTIAL to prevent air leak)
- Grease, lithium based (for nuts and threads)
- Fork oil, Fox 10wt Green is recommended by Fox. You can reuse the old oil, but new oil is always better).
How much oil + how hard the bolts need to be tightened, will be covered later!
Process
Let's start.. The whole process ONLY involves the air side of the fork:
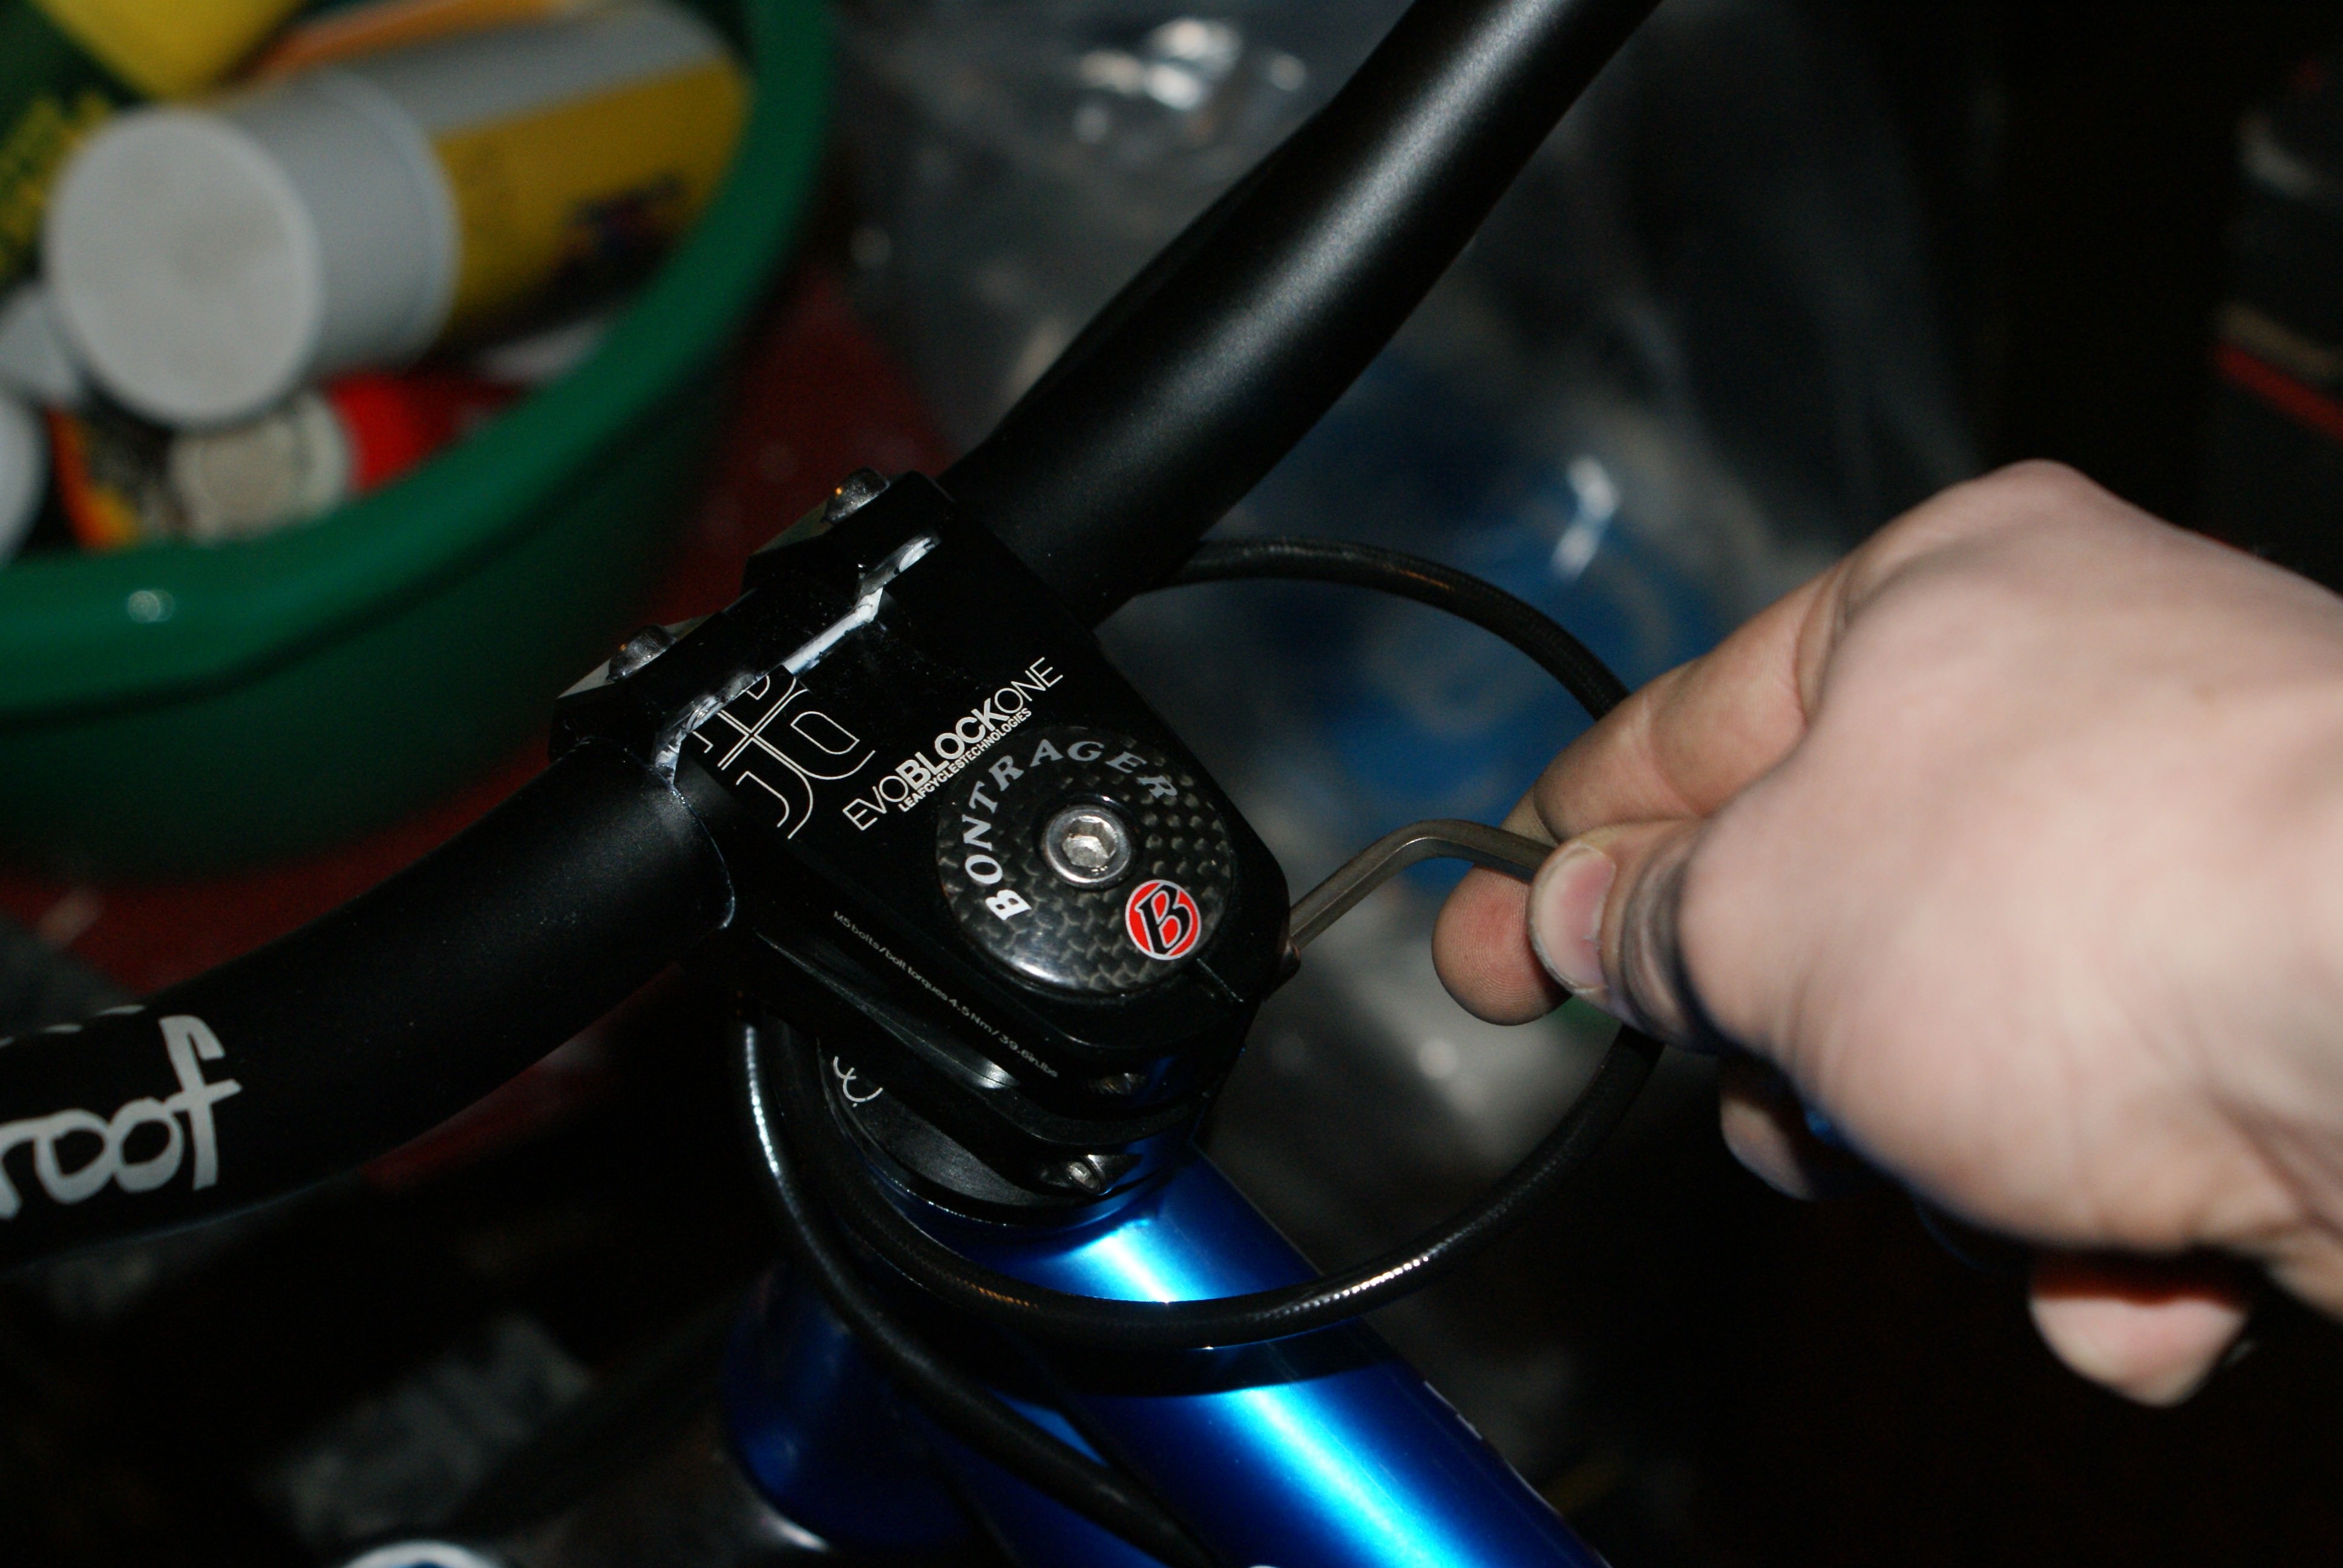
1. Remove fork from the bicycle
Remove stem, headset and front wheel from the fork
2. IMPORTANT: Let the air out
If you fail this step something fatal WILL happen.
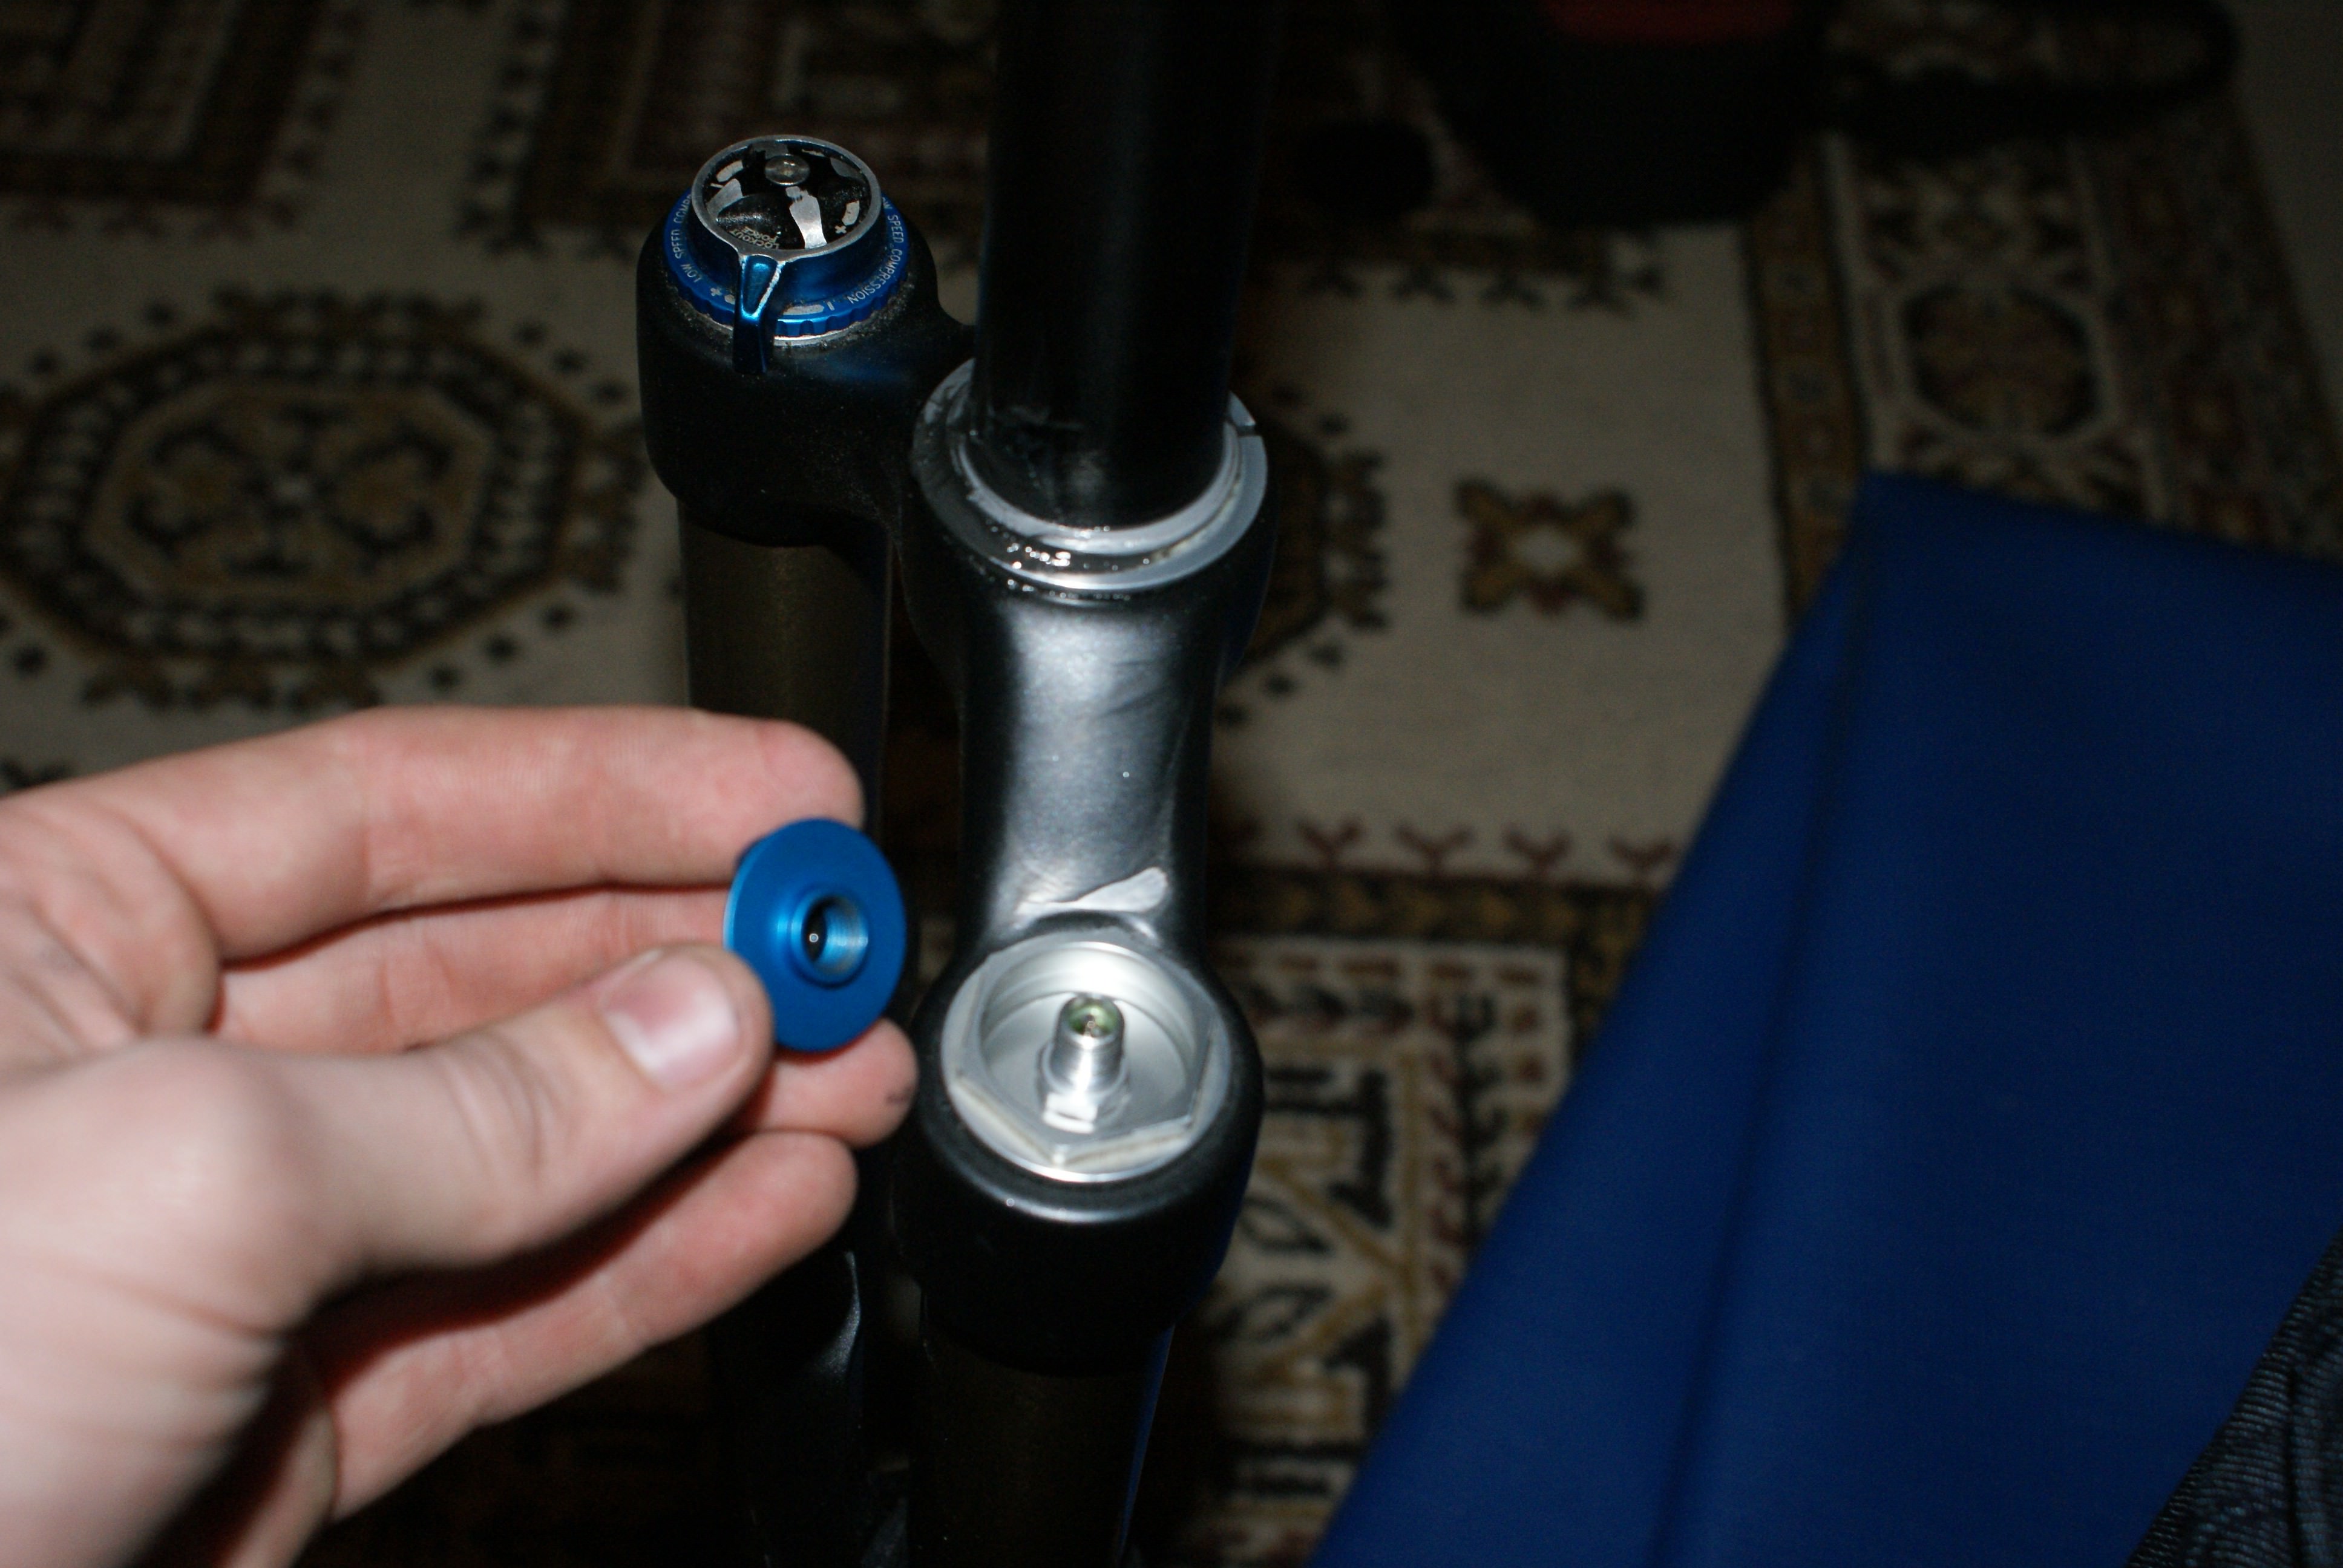
3. Condence the fork
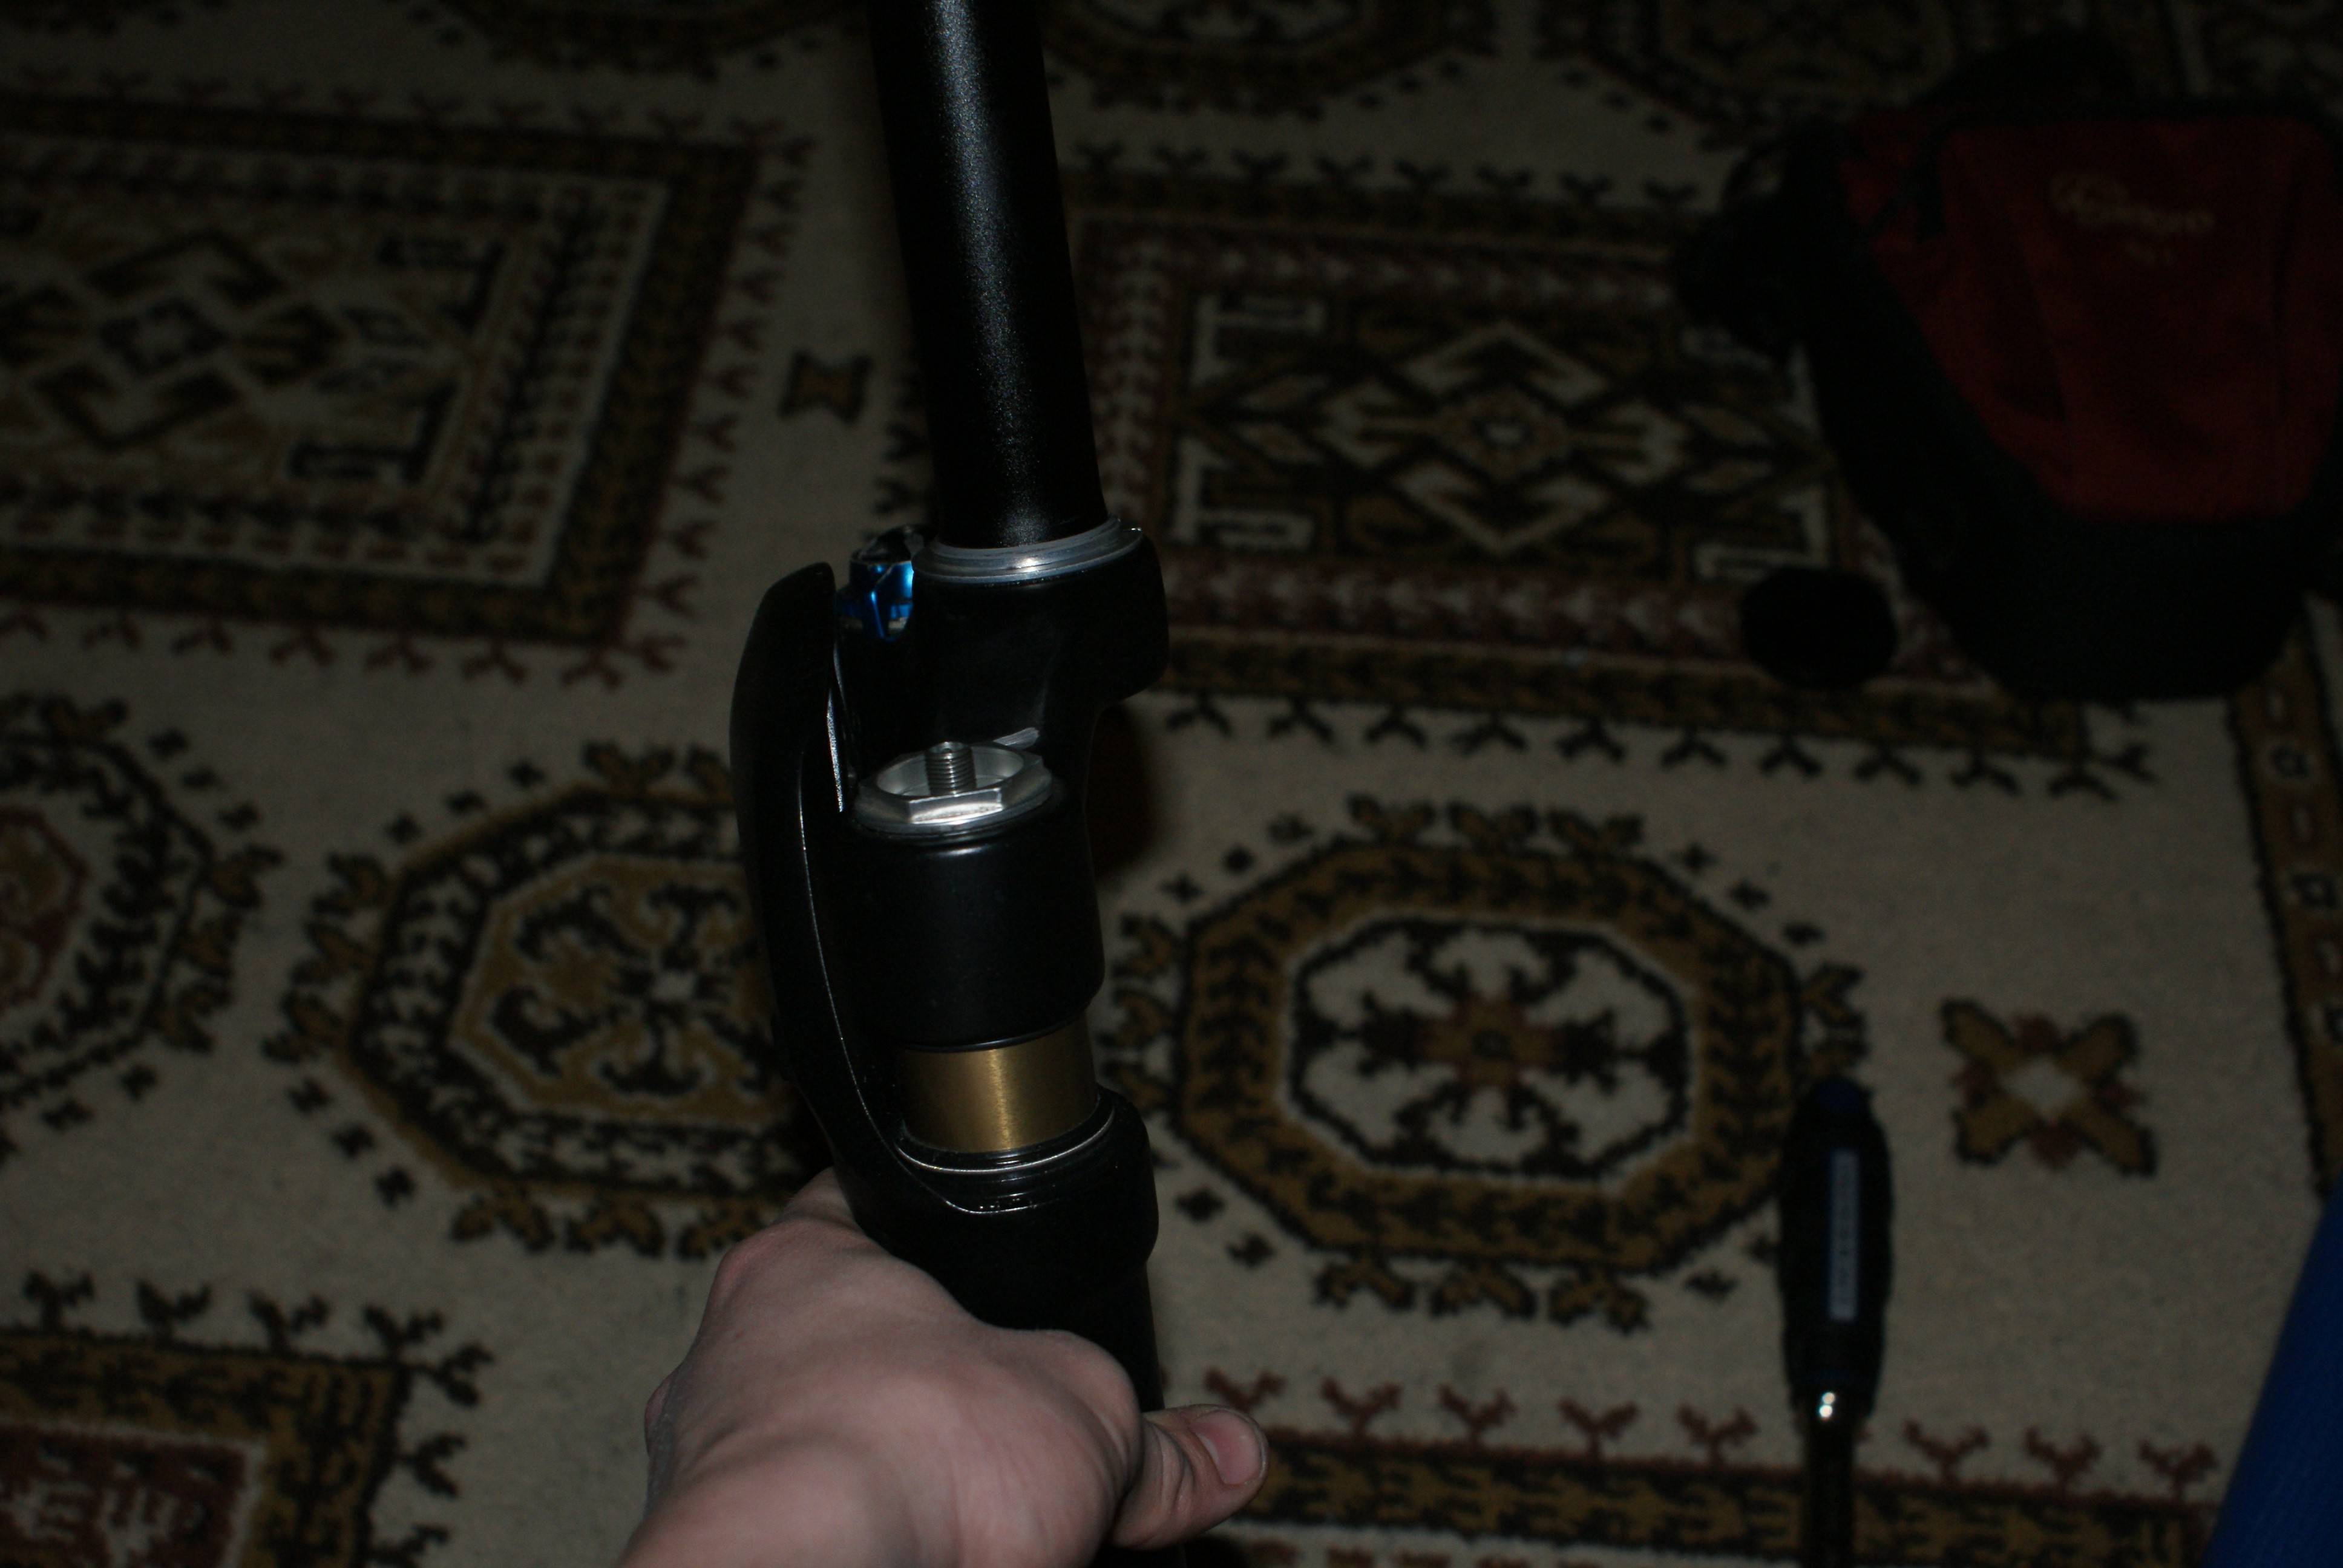
4. Unscrew the 10mm nut in the bottom
CHILL: No oil will get out yet.
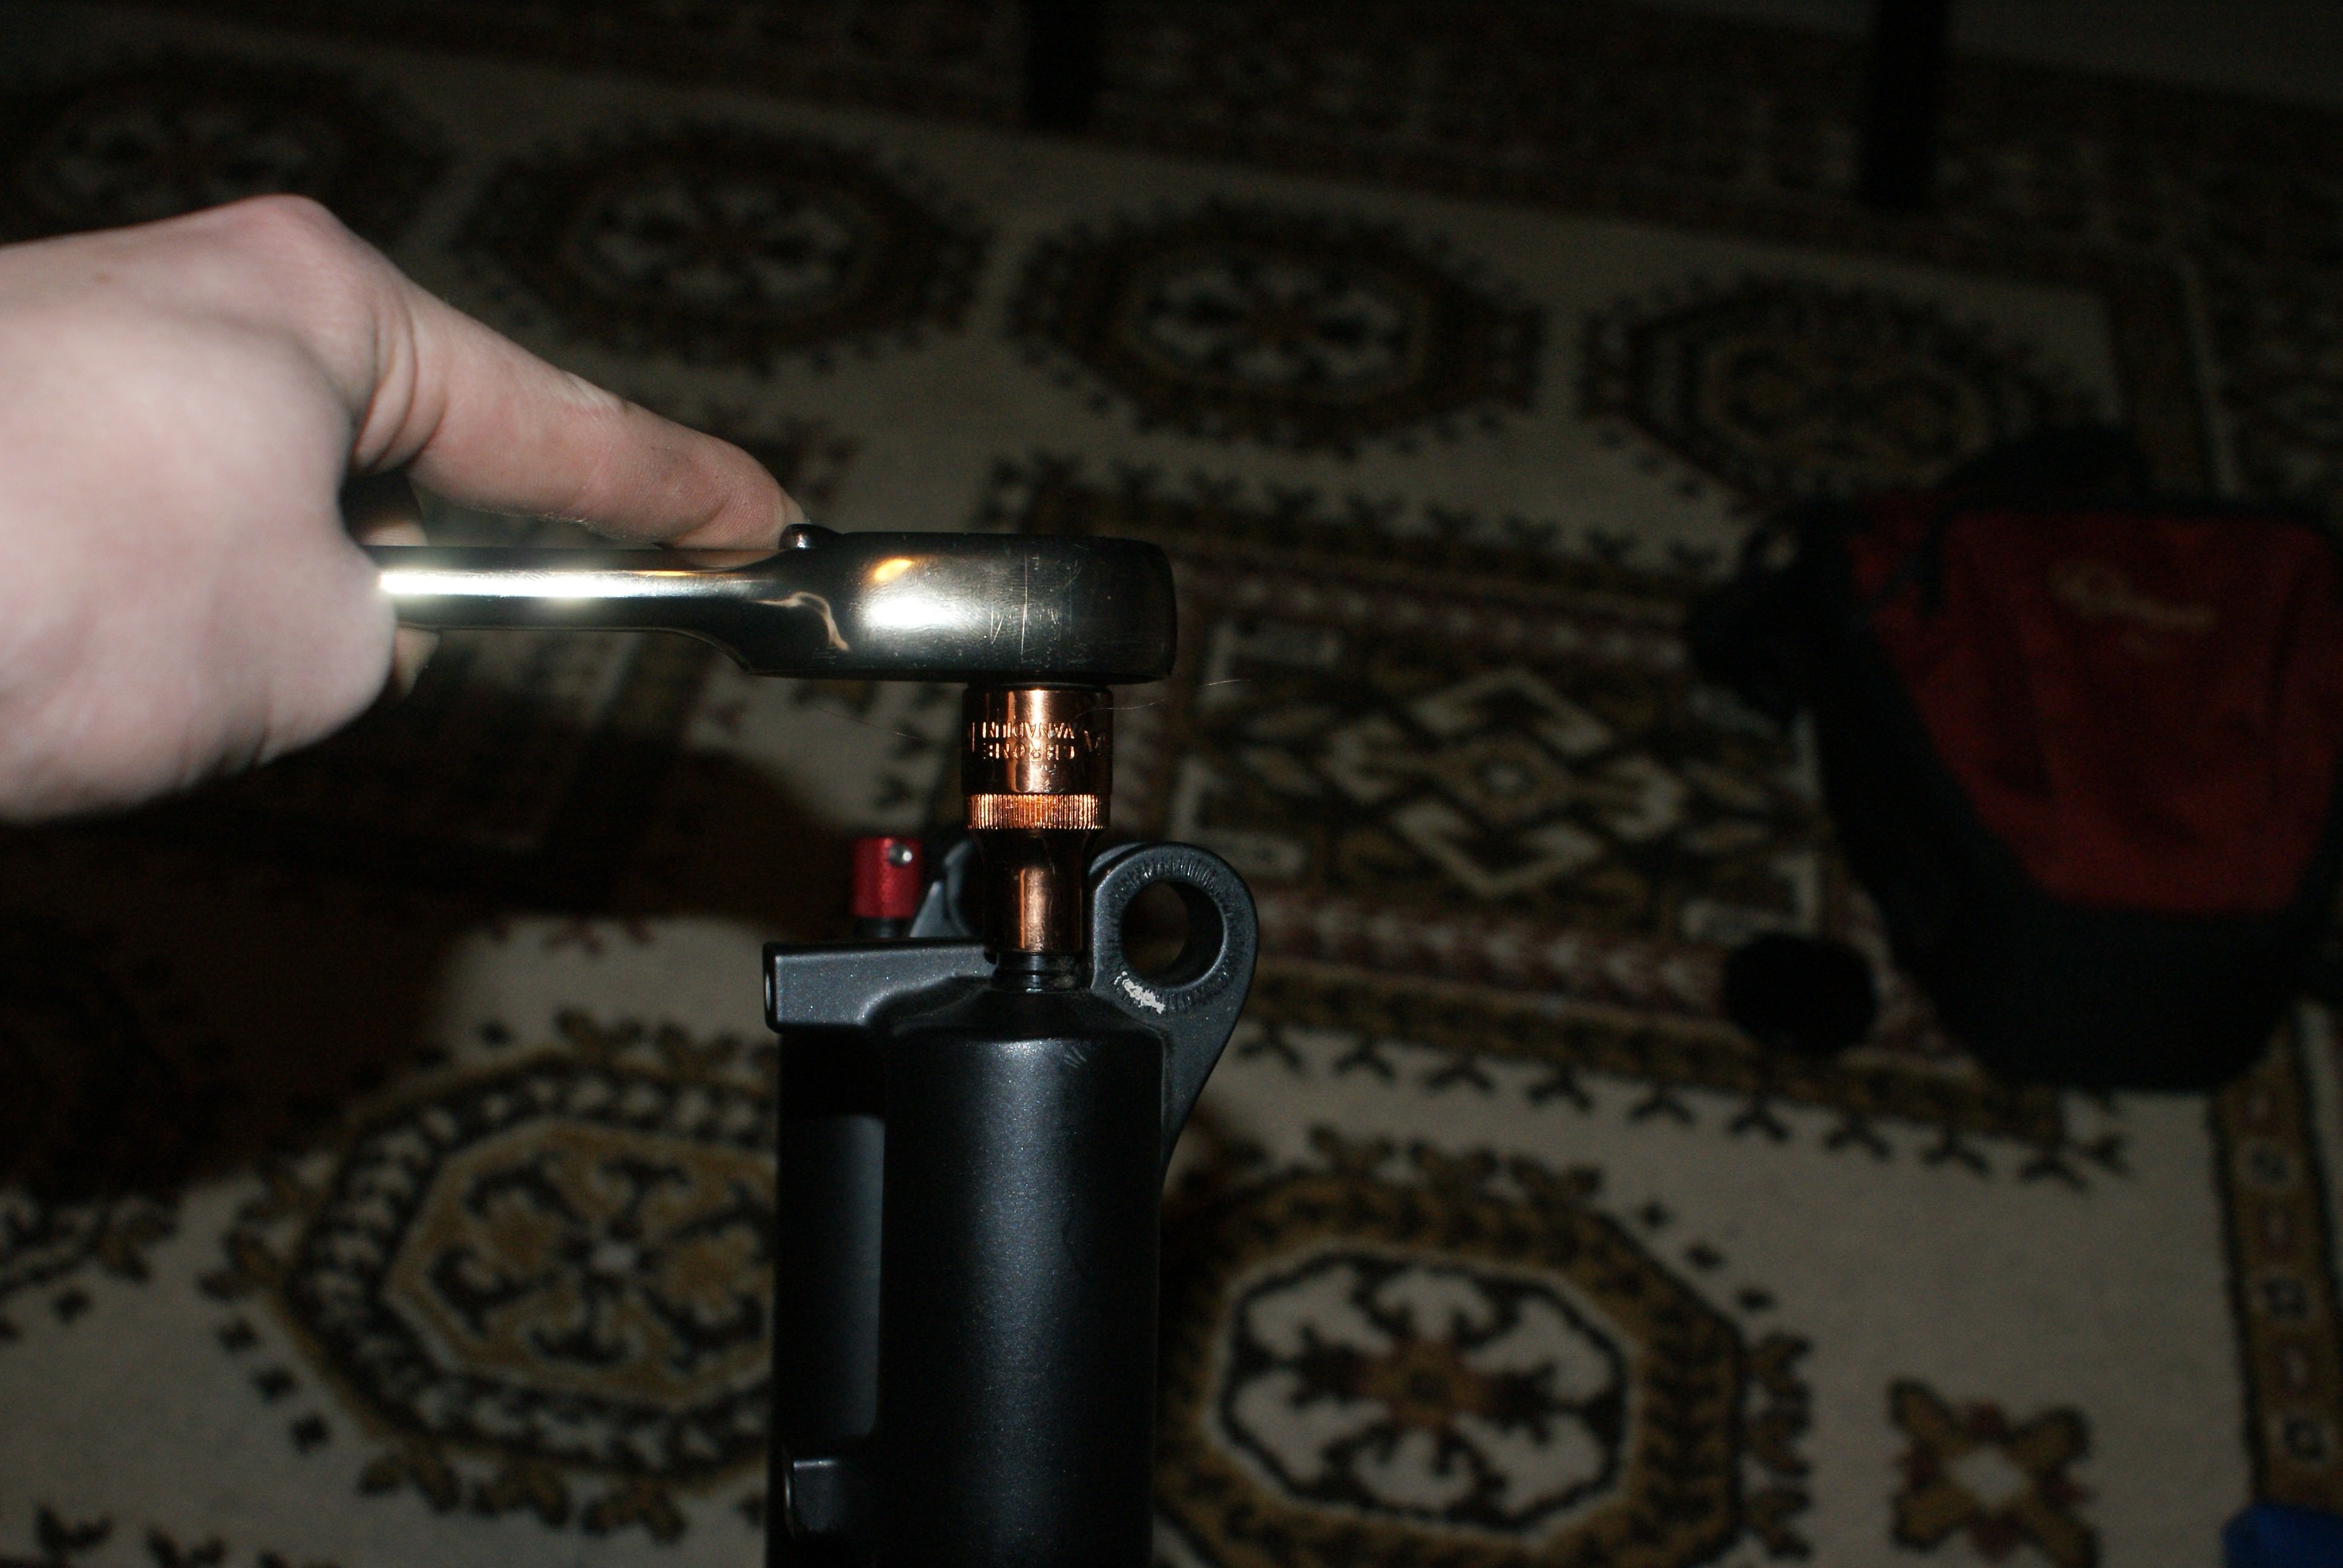
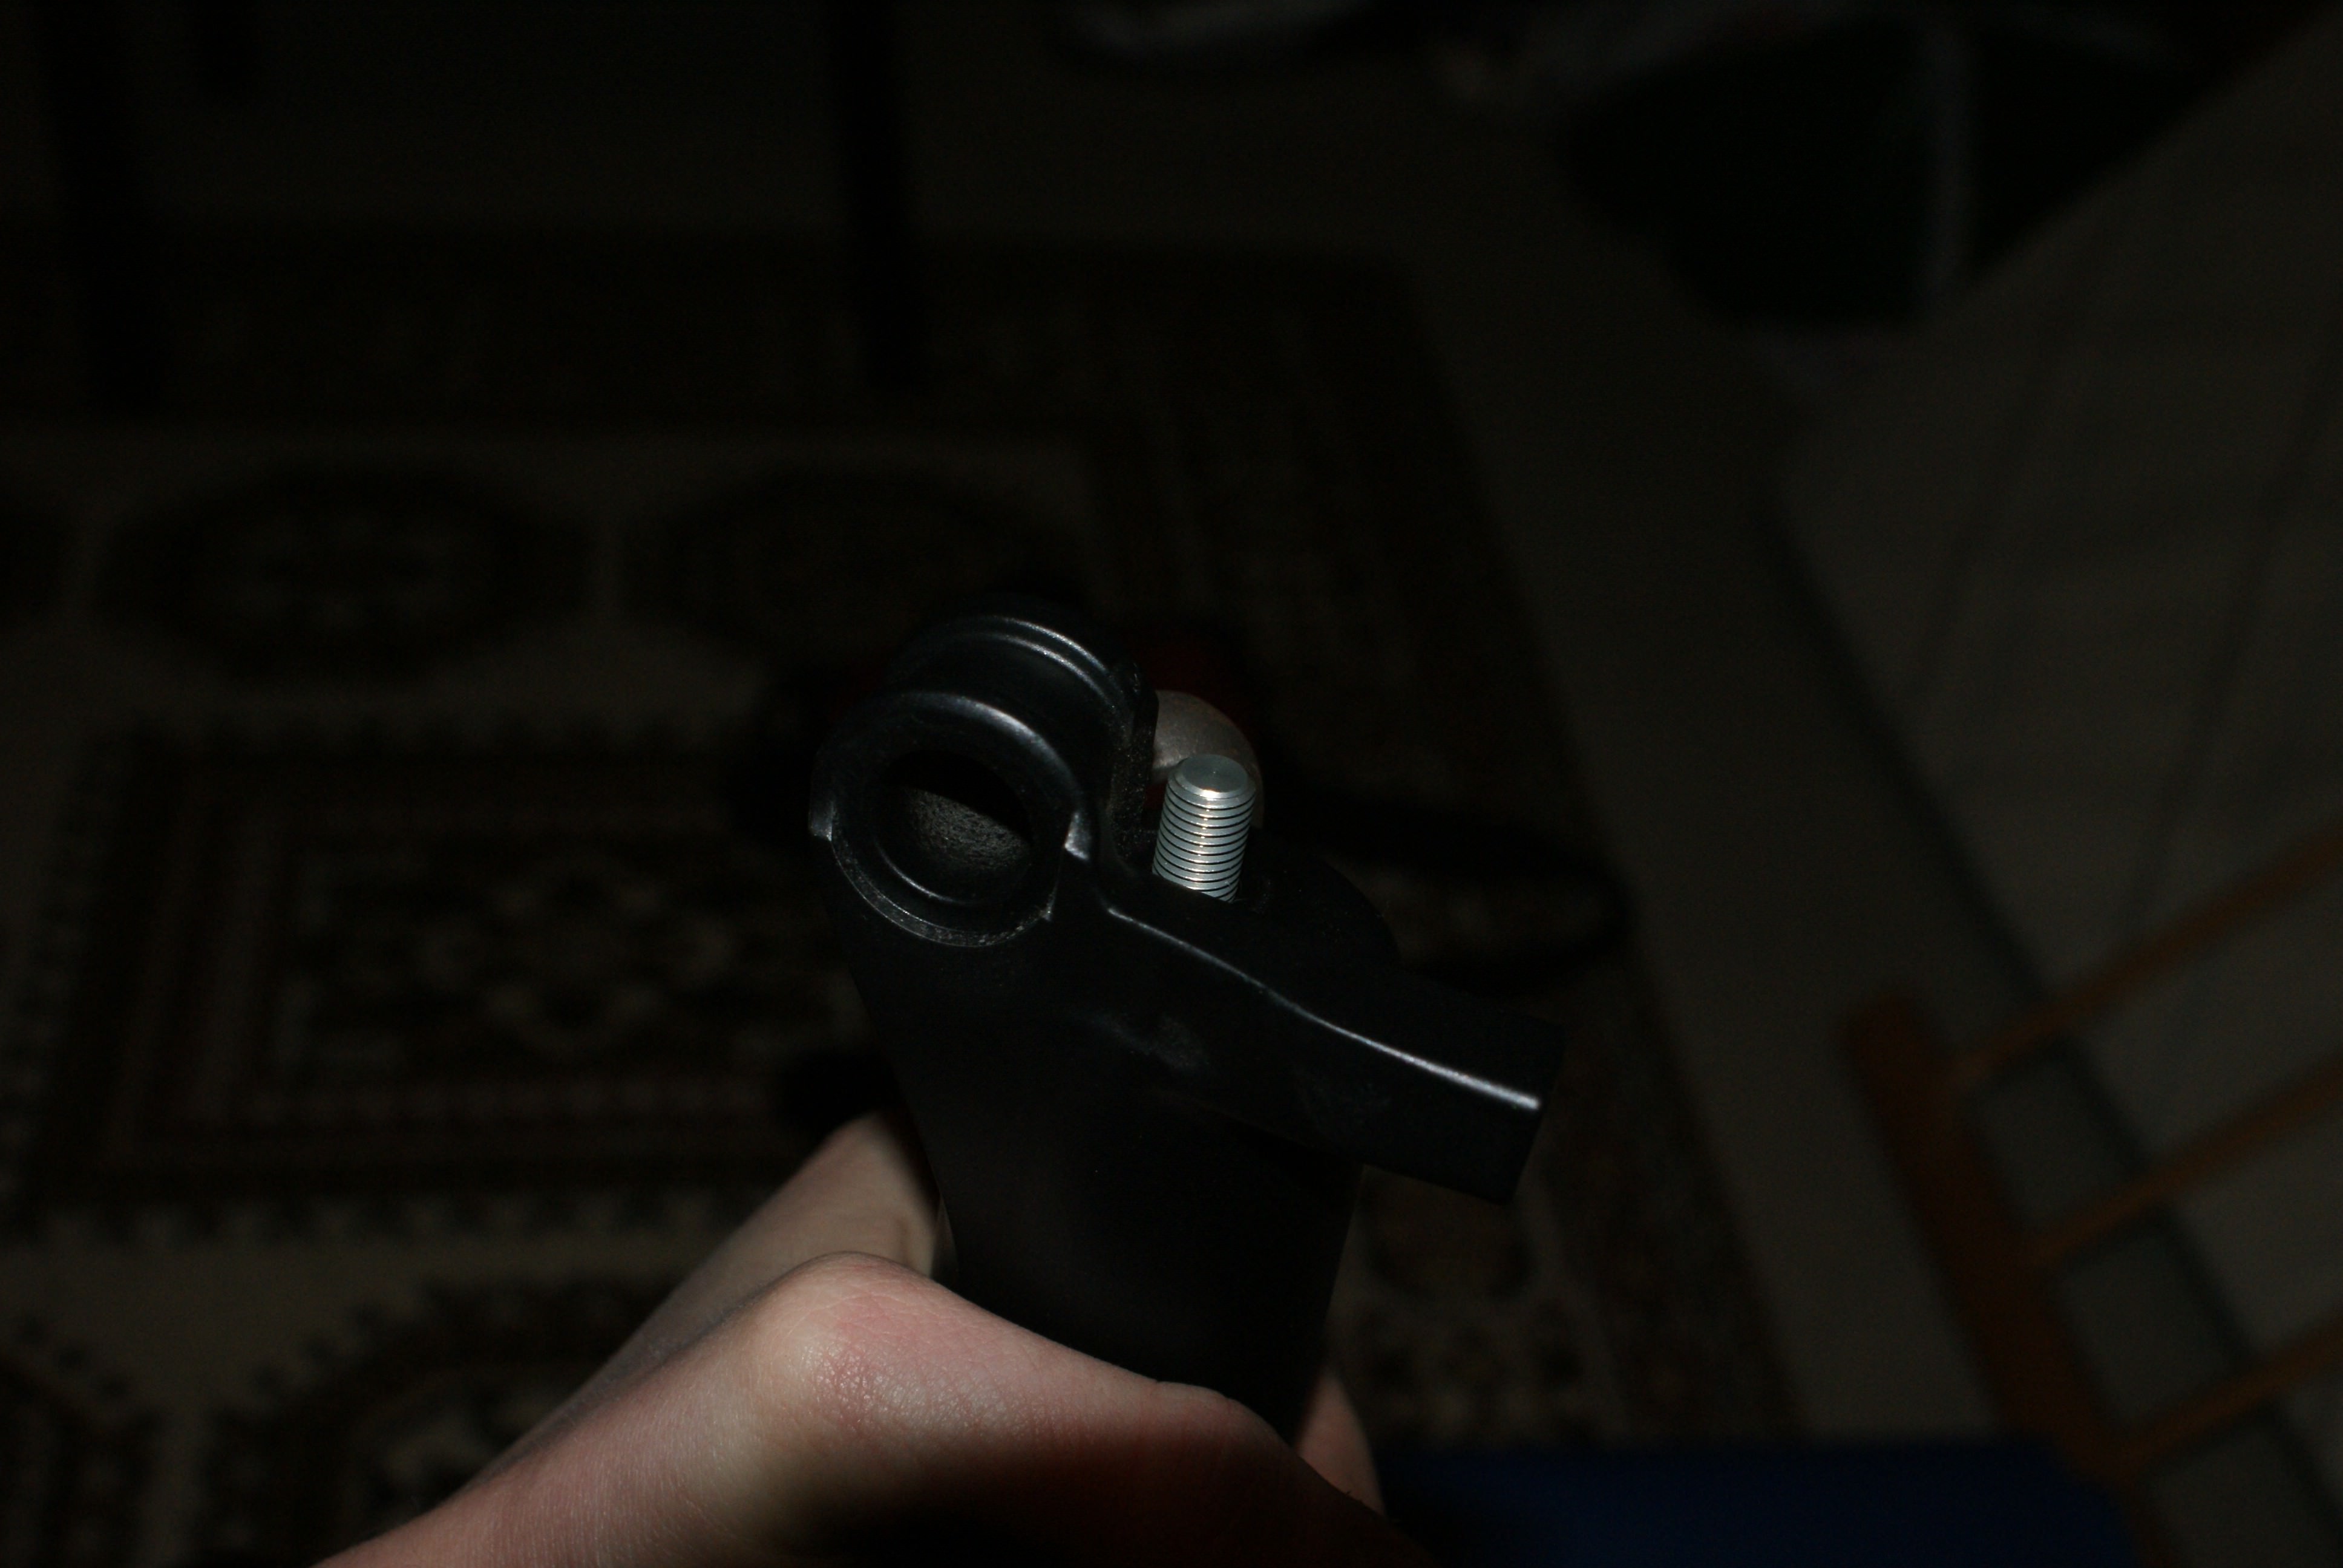
5. Unscrew the air top cap
- The air top cap is made of soft aluminium and is easily damaged.
- Adjustable wrench is NOT recommended, even though I used it.
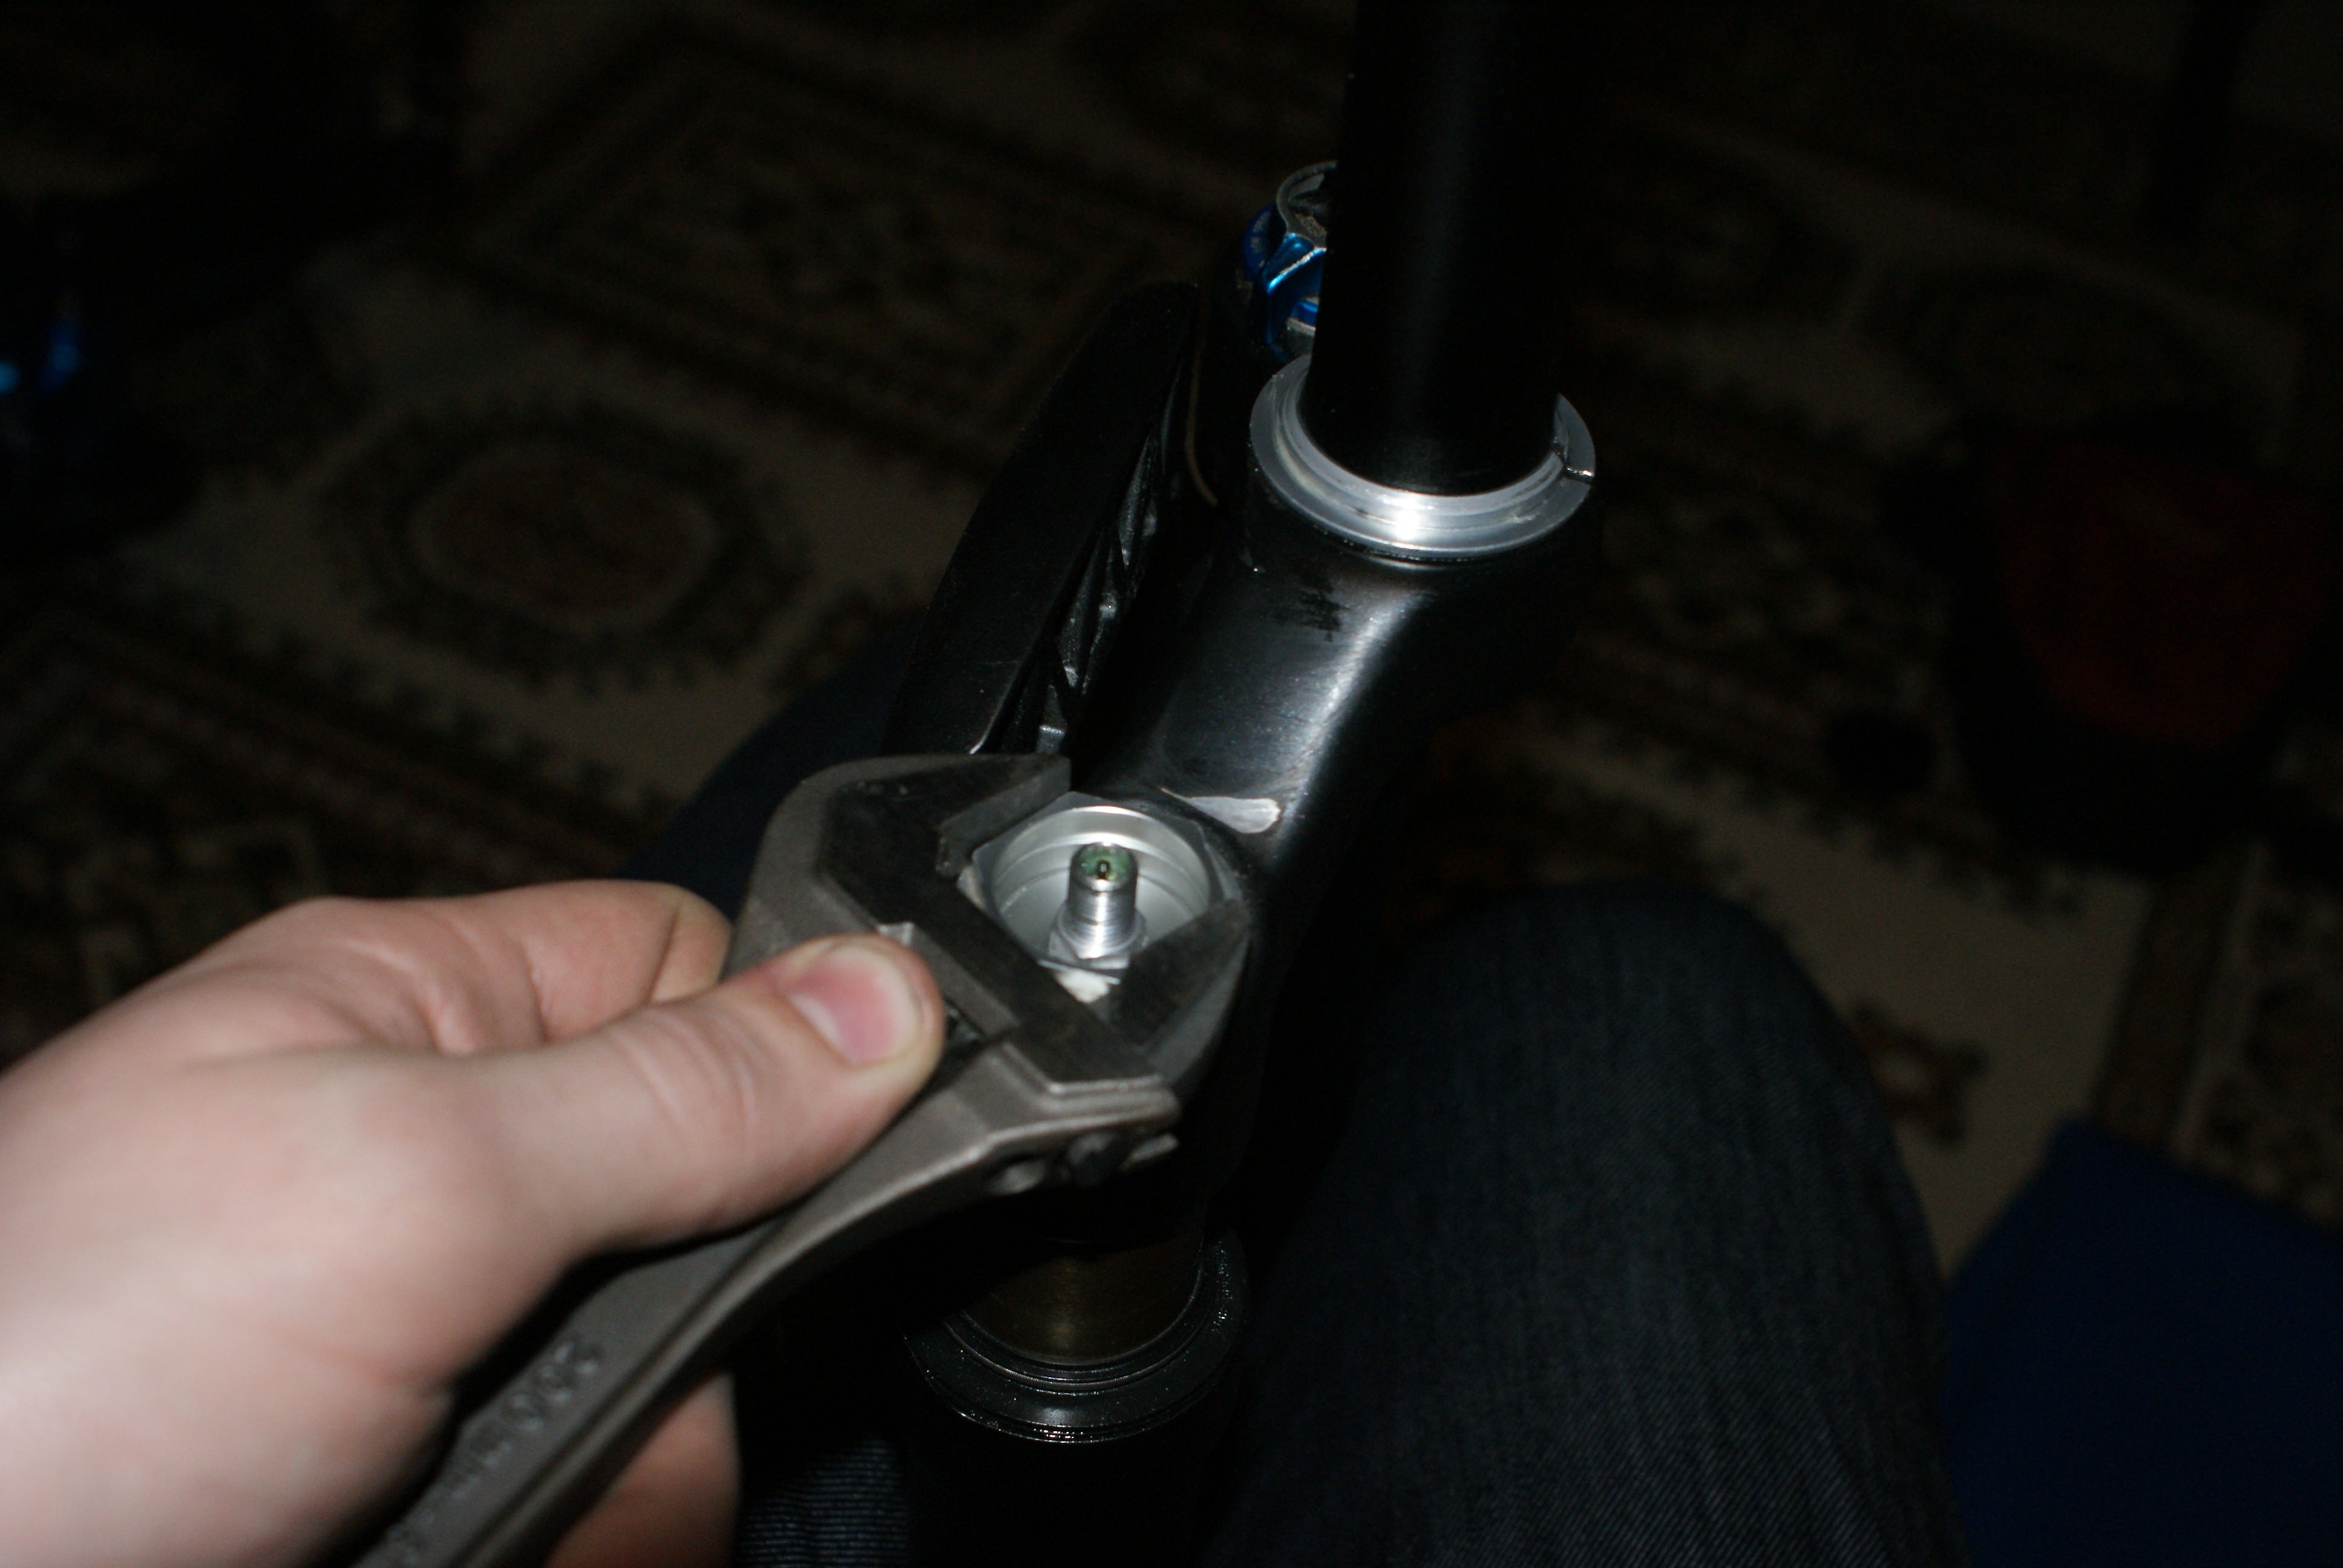
6. Get the oil (float fluid) out at the top
If you don't have new oil: Keep it for later.
IMPORTANT: The oil at the top differs from the oil at the bottom. Do not blend!
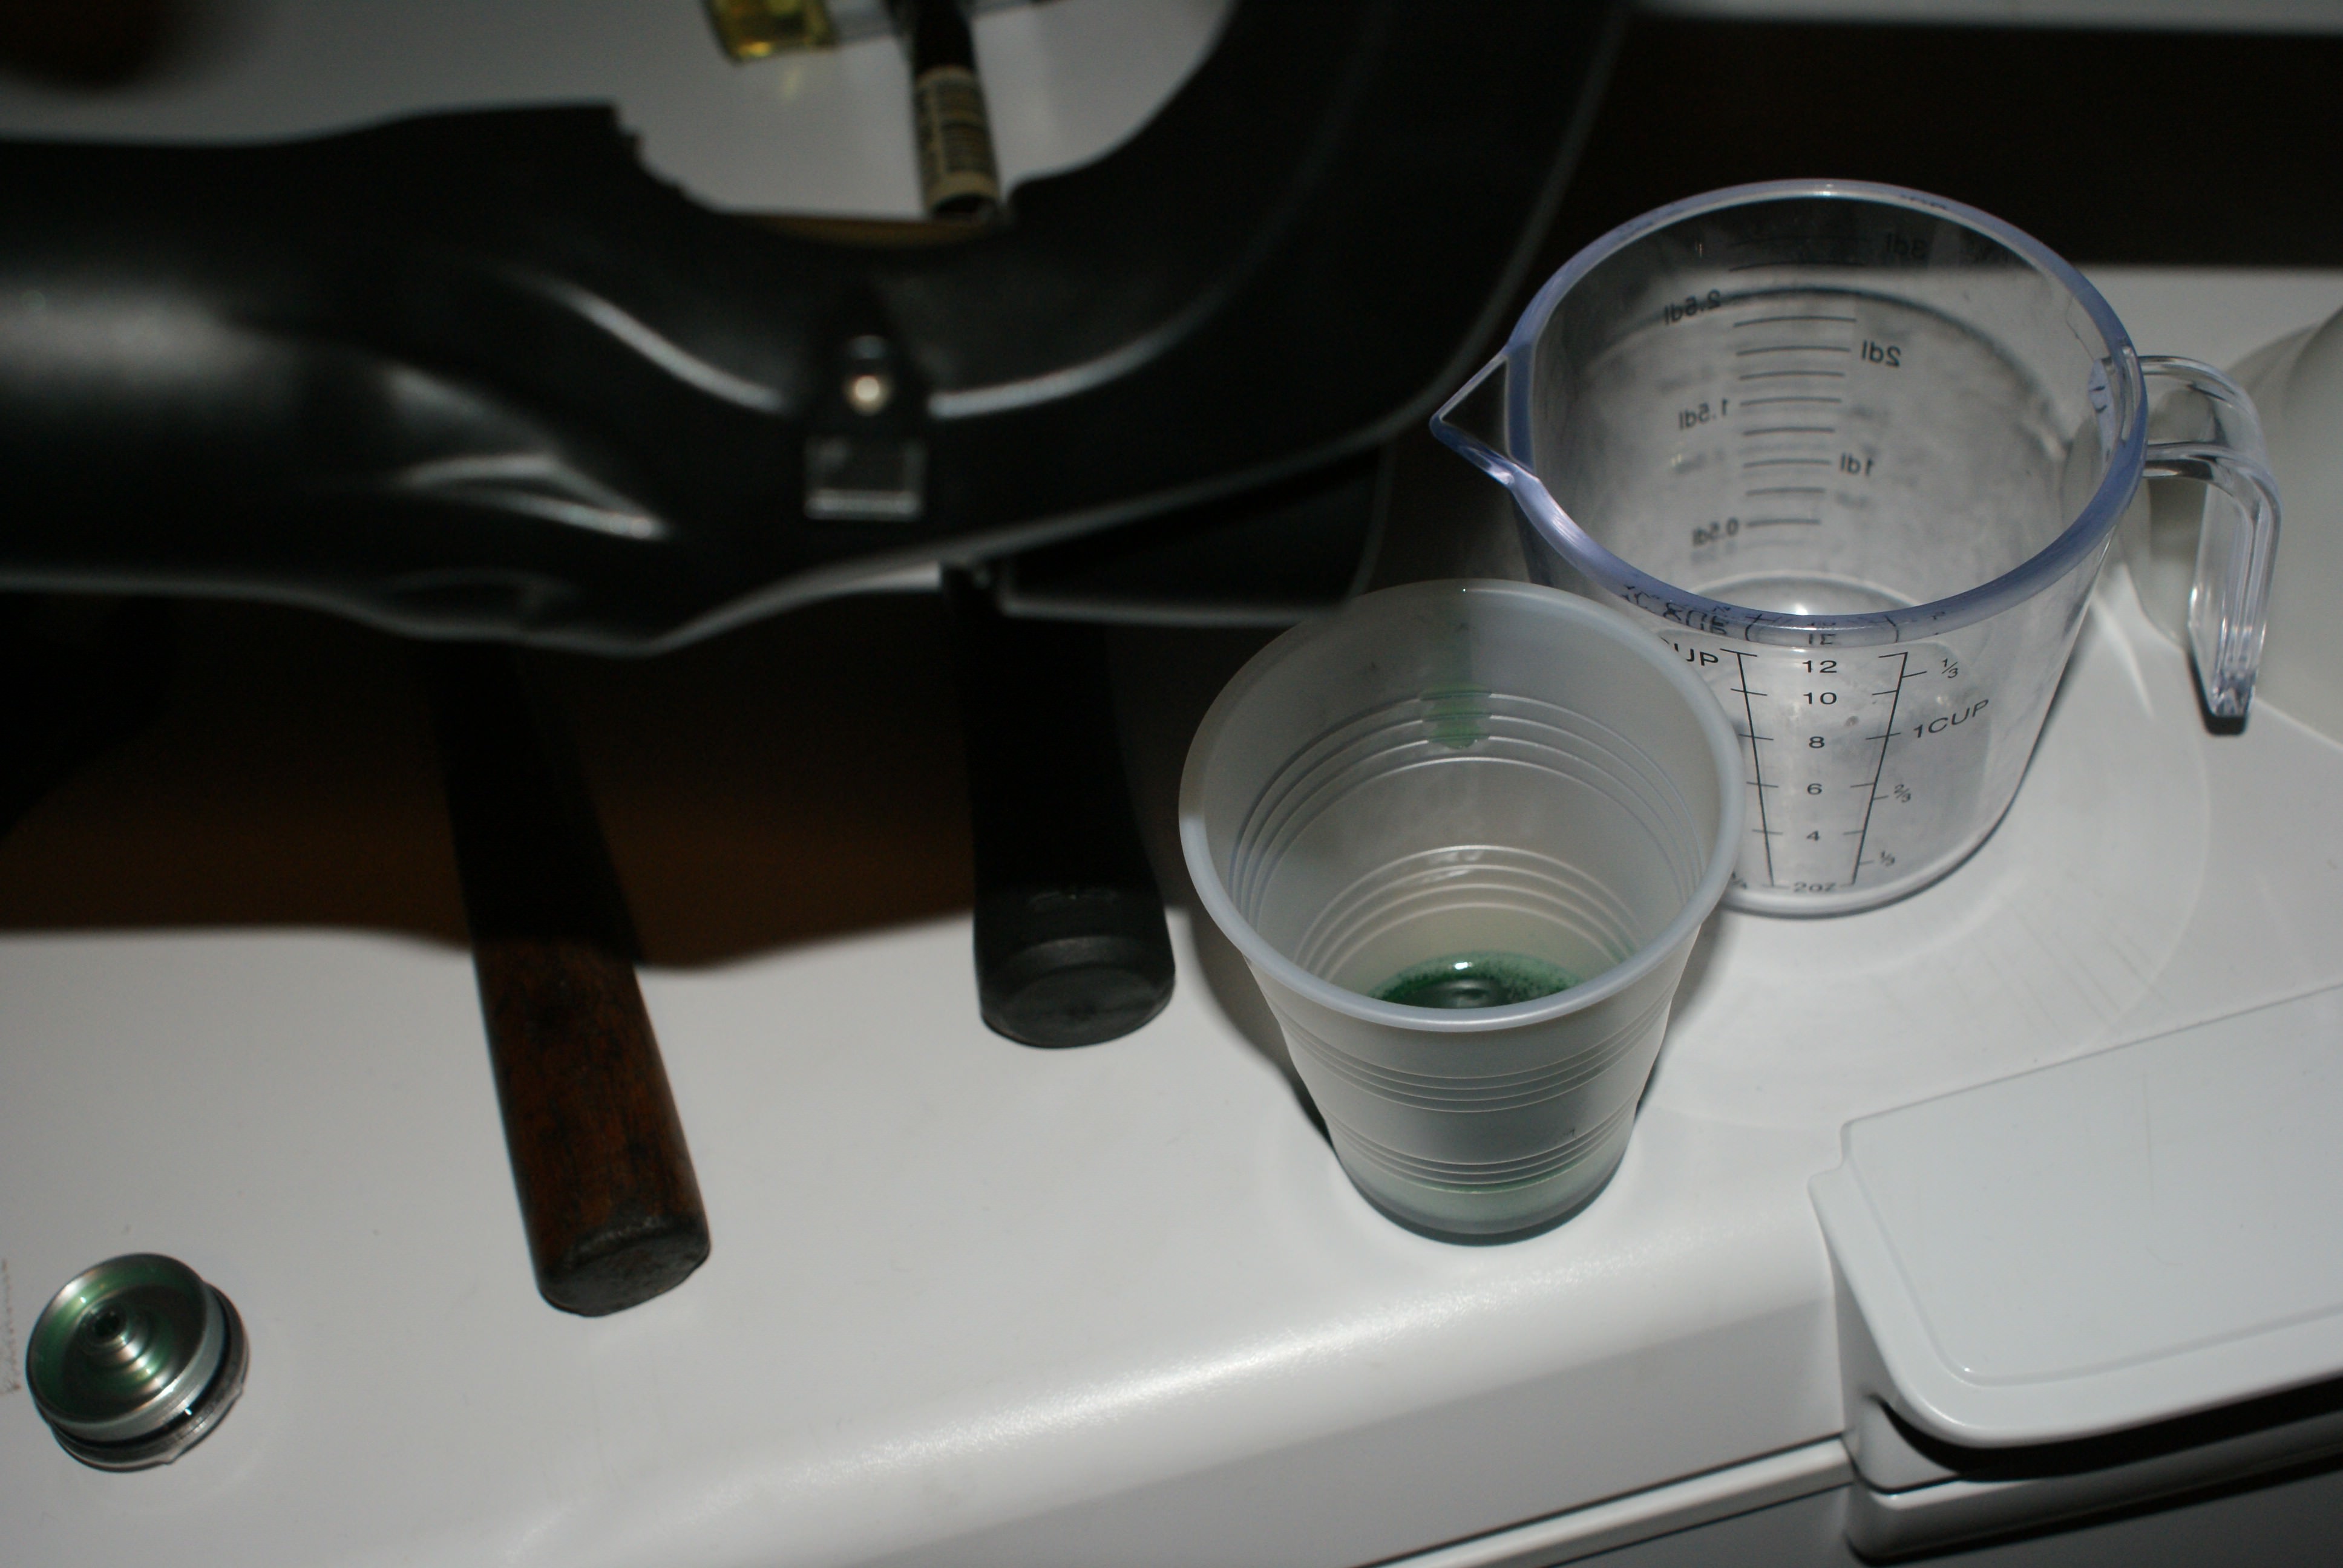
7. Push bottom bolt
Press the bottom bolt in to the fork, by tapping gently with a hammer. Let the oil drain
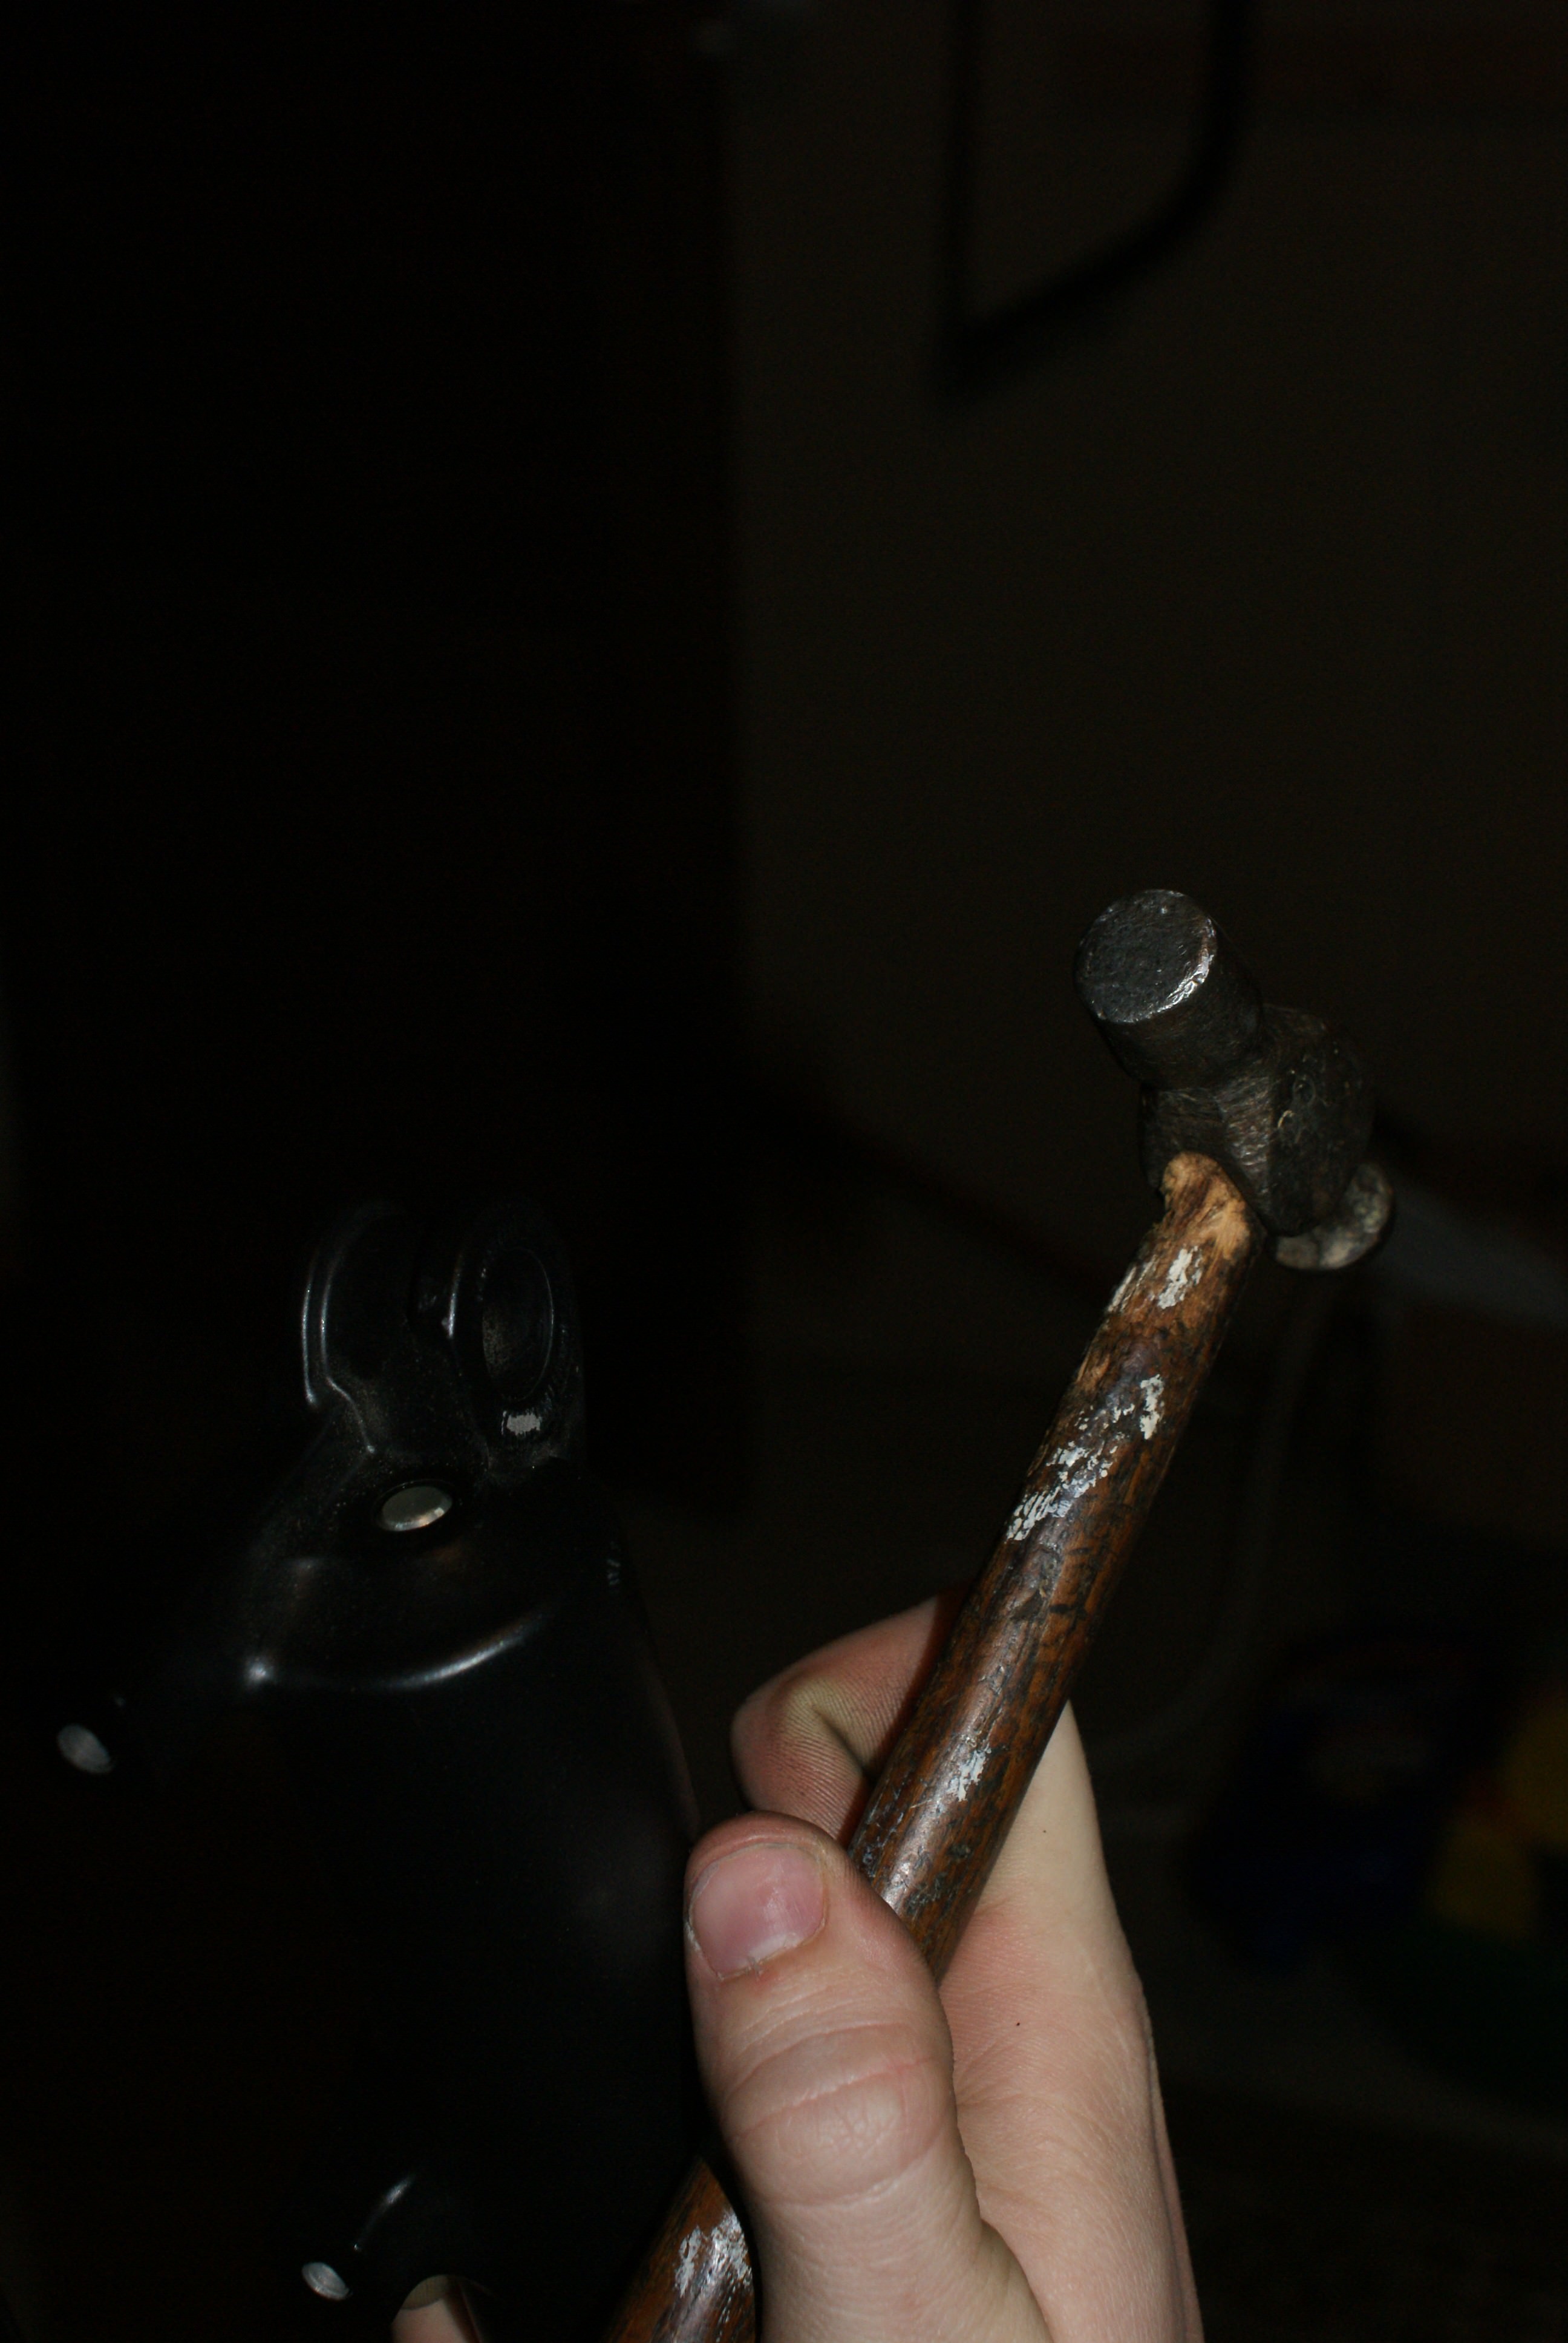
8. Get the assembly out
Use something to press the whole thing from the bottom and out at the top. As soon as you can grab the top with your hands: Do so, and drag the whole thing out
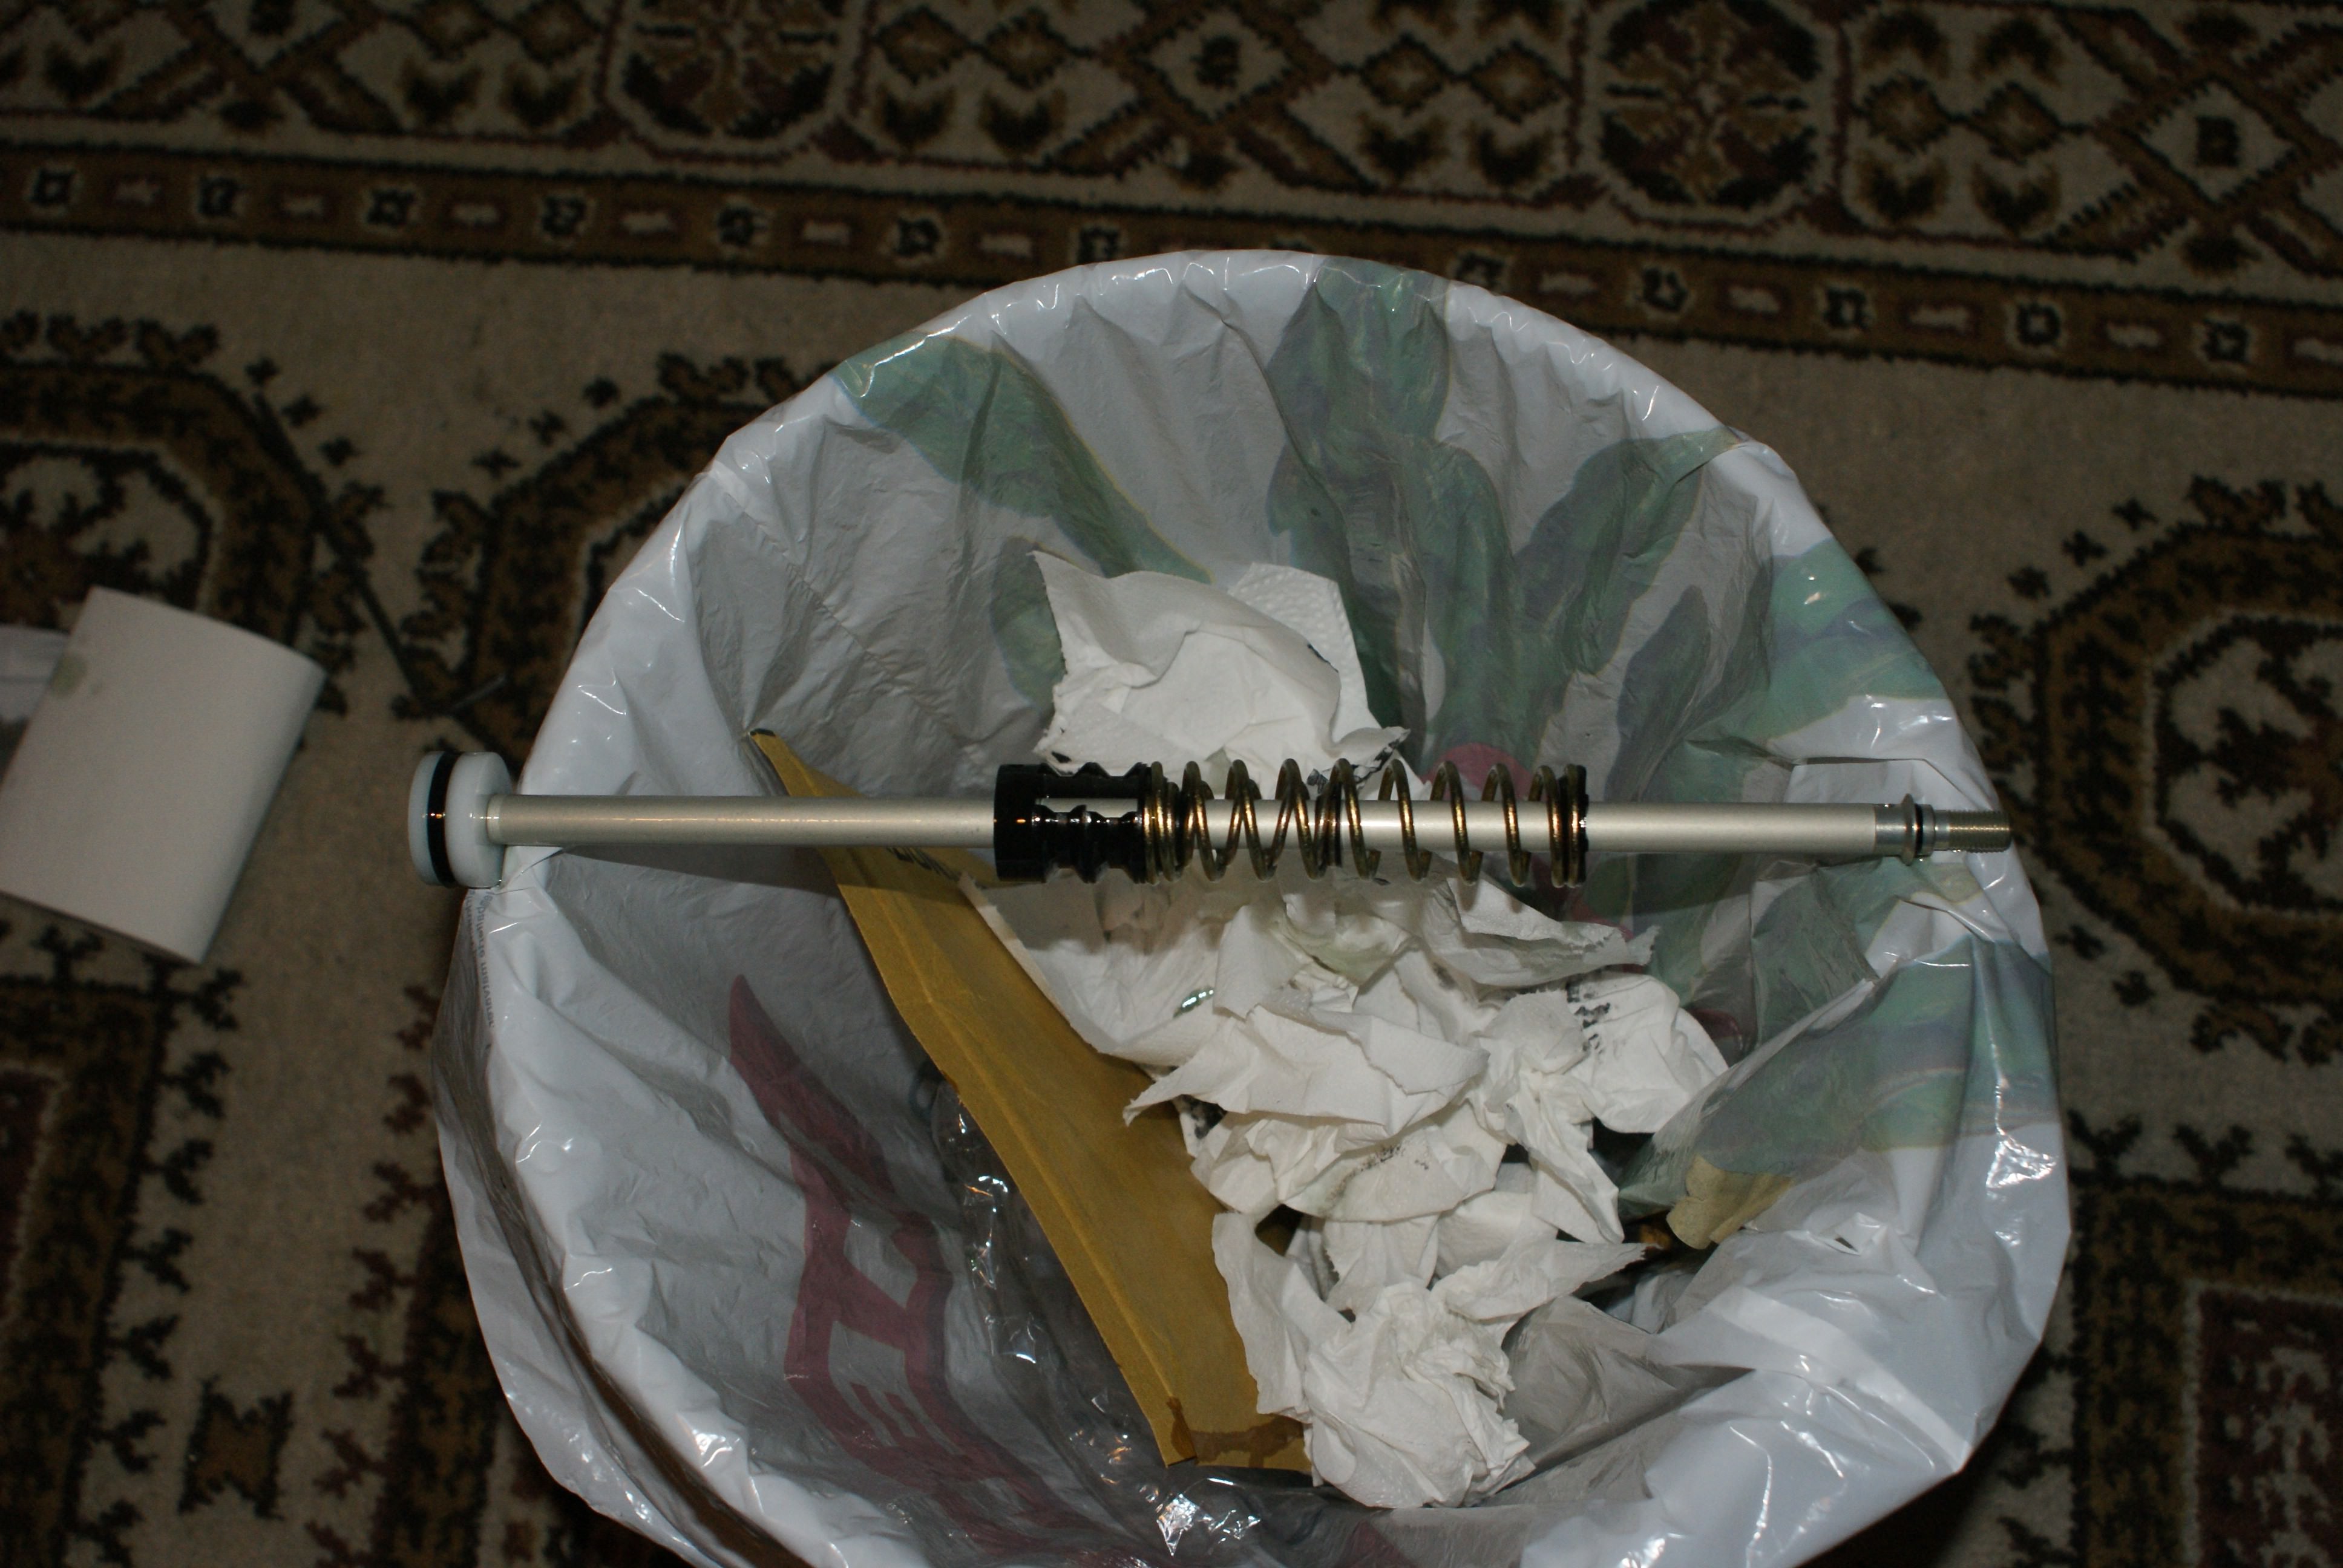
9. Prepare spacers
You should've already decide how much you want to lower/rise your fork.
- I want to go from 100mm to 80mm, so I use a 20mm spacer.
- TIP: Measure the spacers just in case!
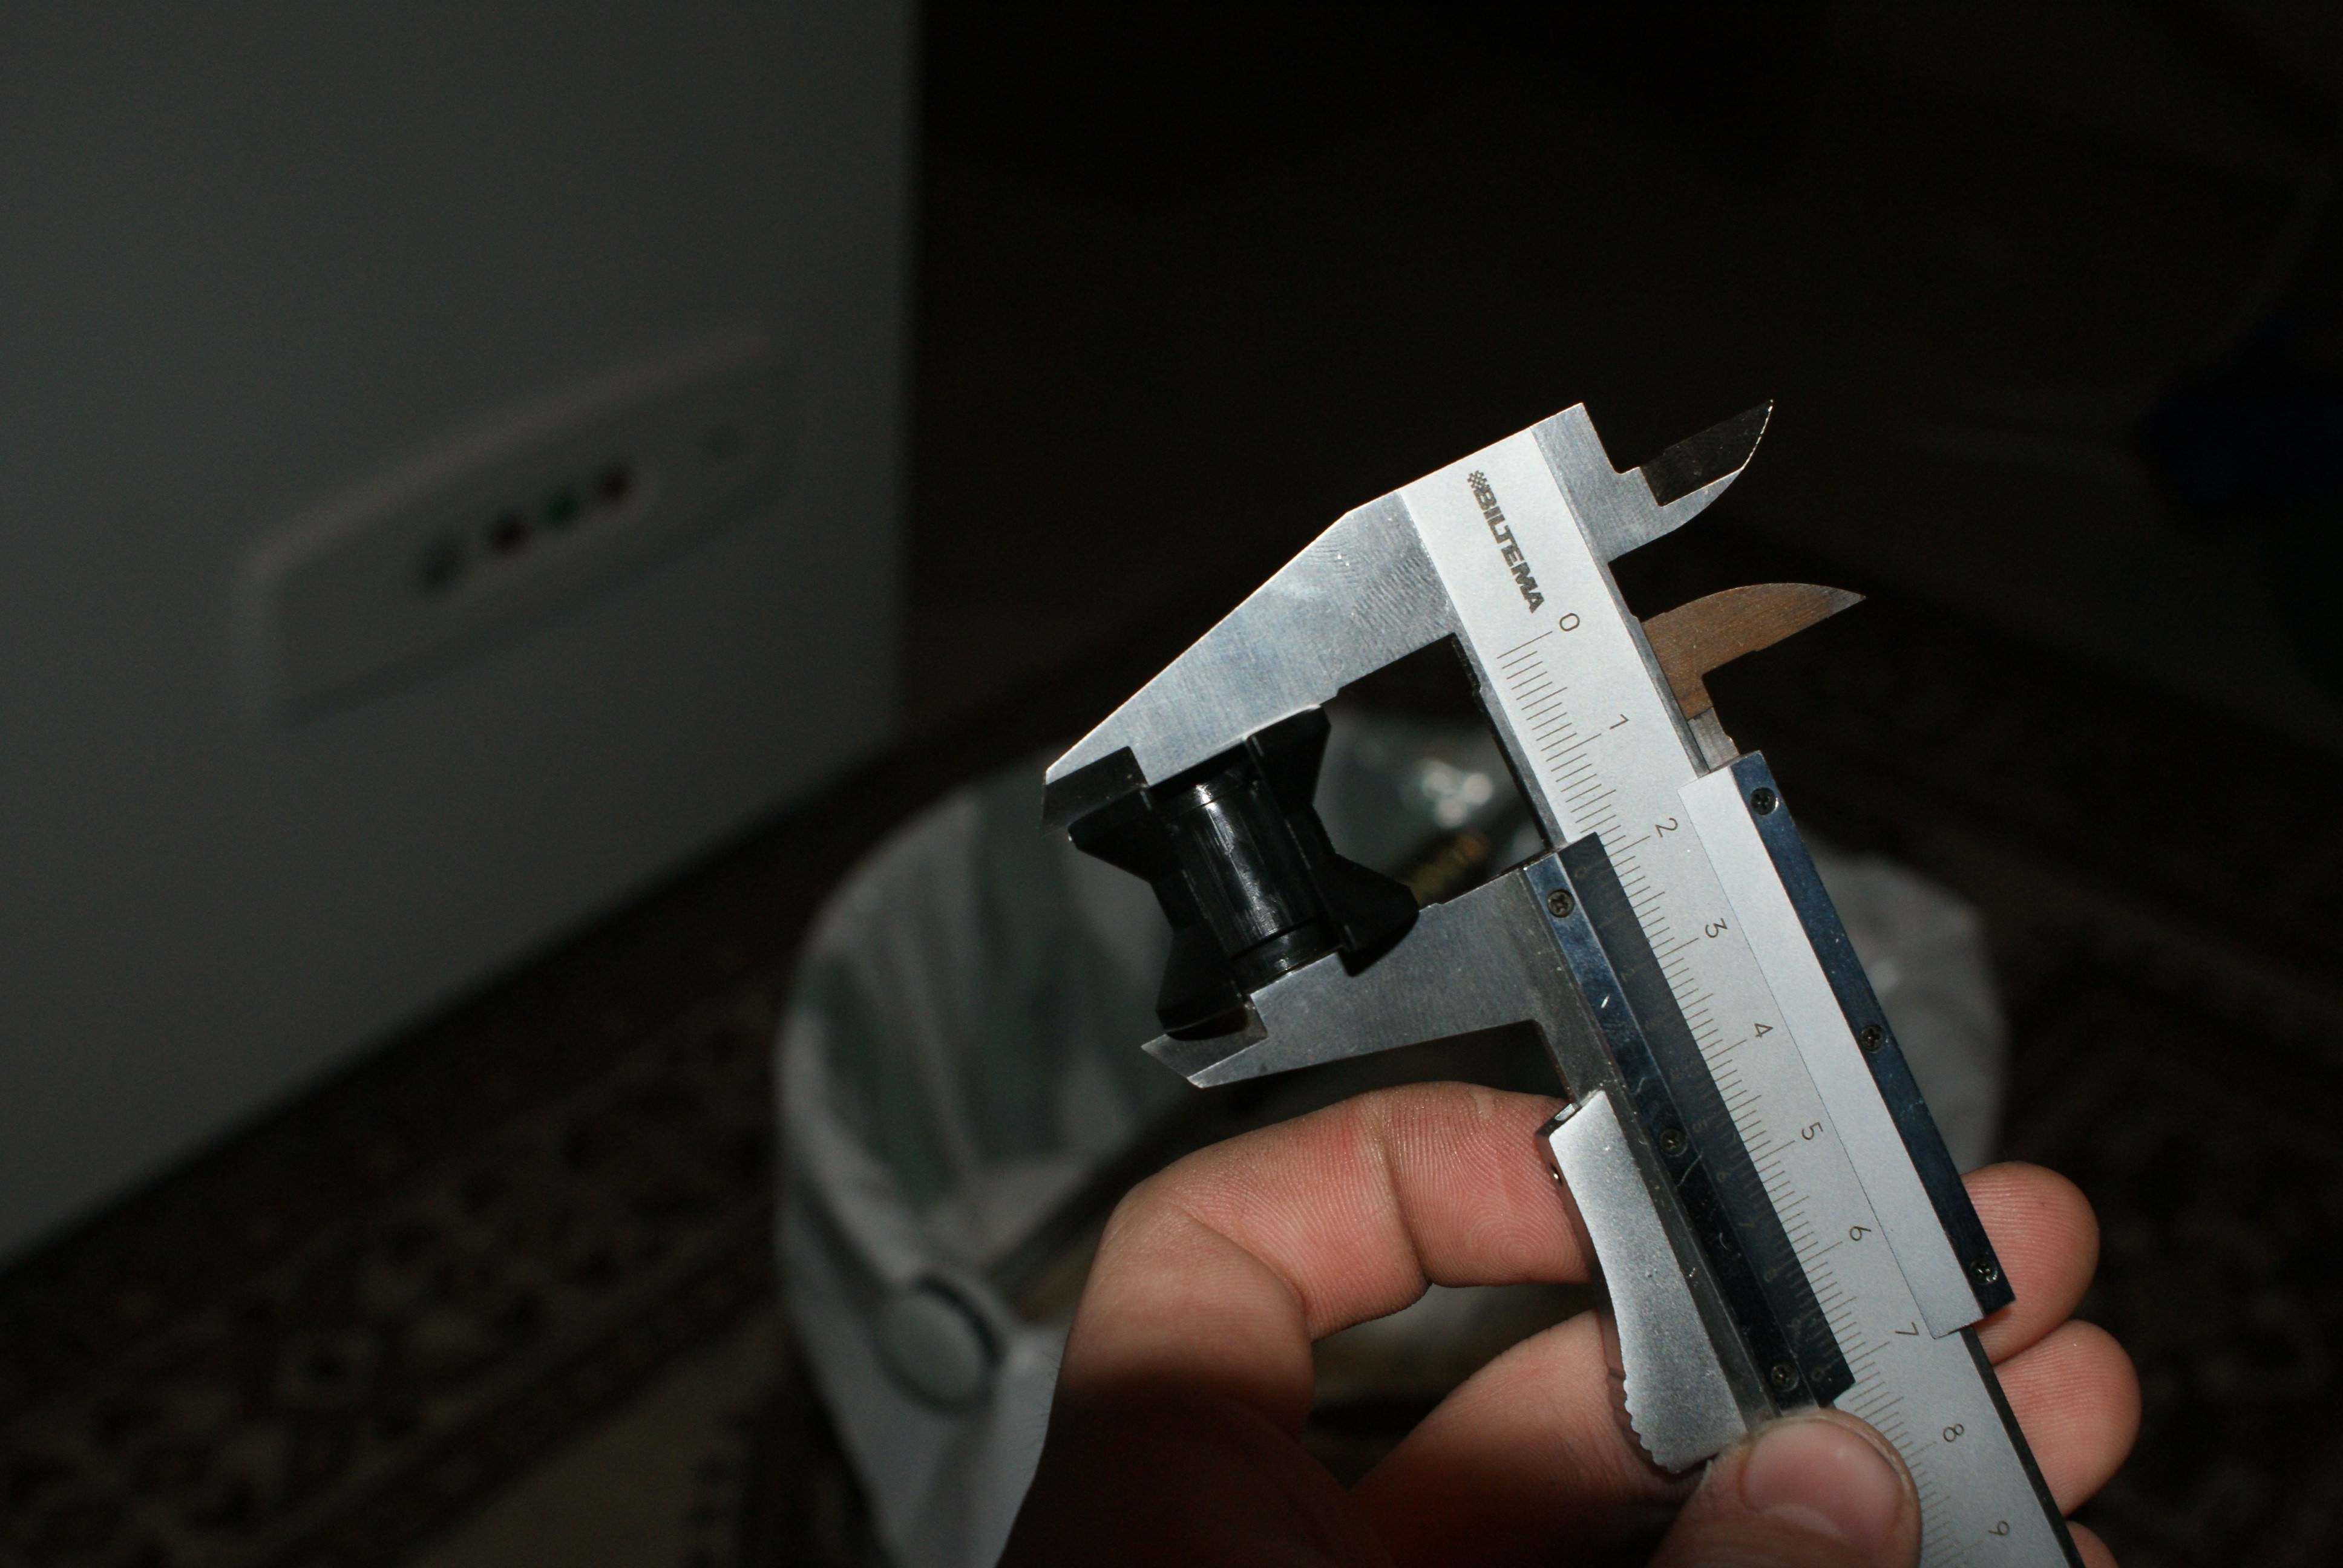
10. Make room for more spacers
Slide the old spacers down to get space for the new one(s)
- If you are going to extend the travel of your fork; remove spacers and jump to step 13.
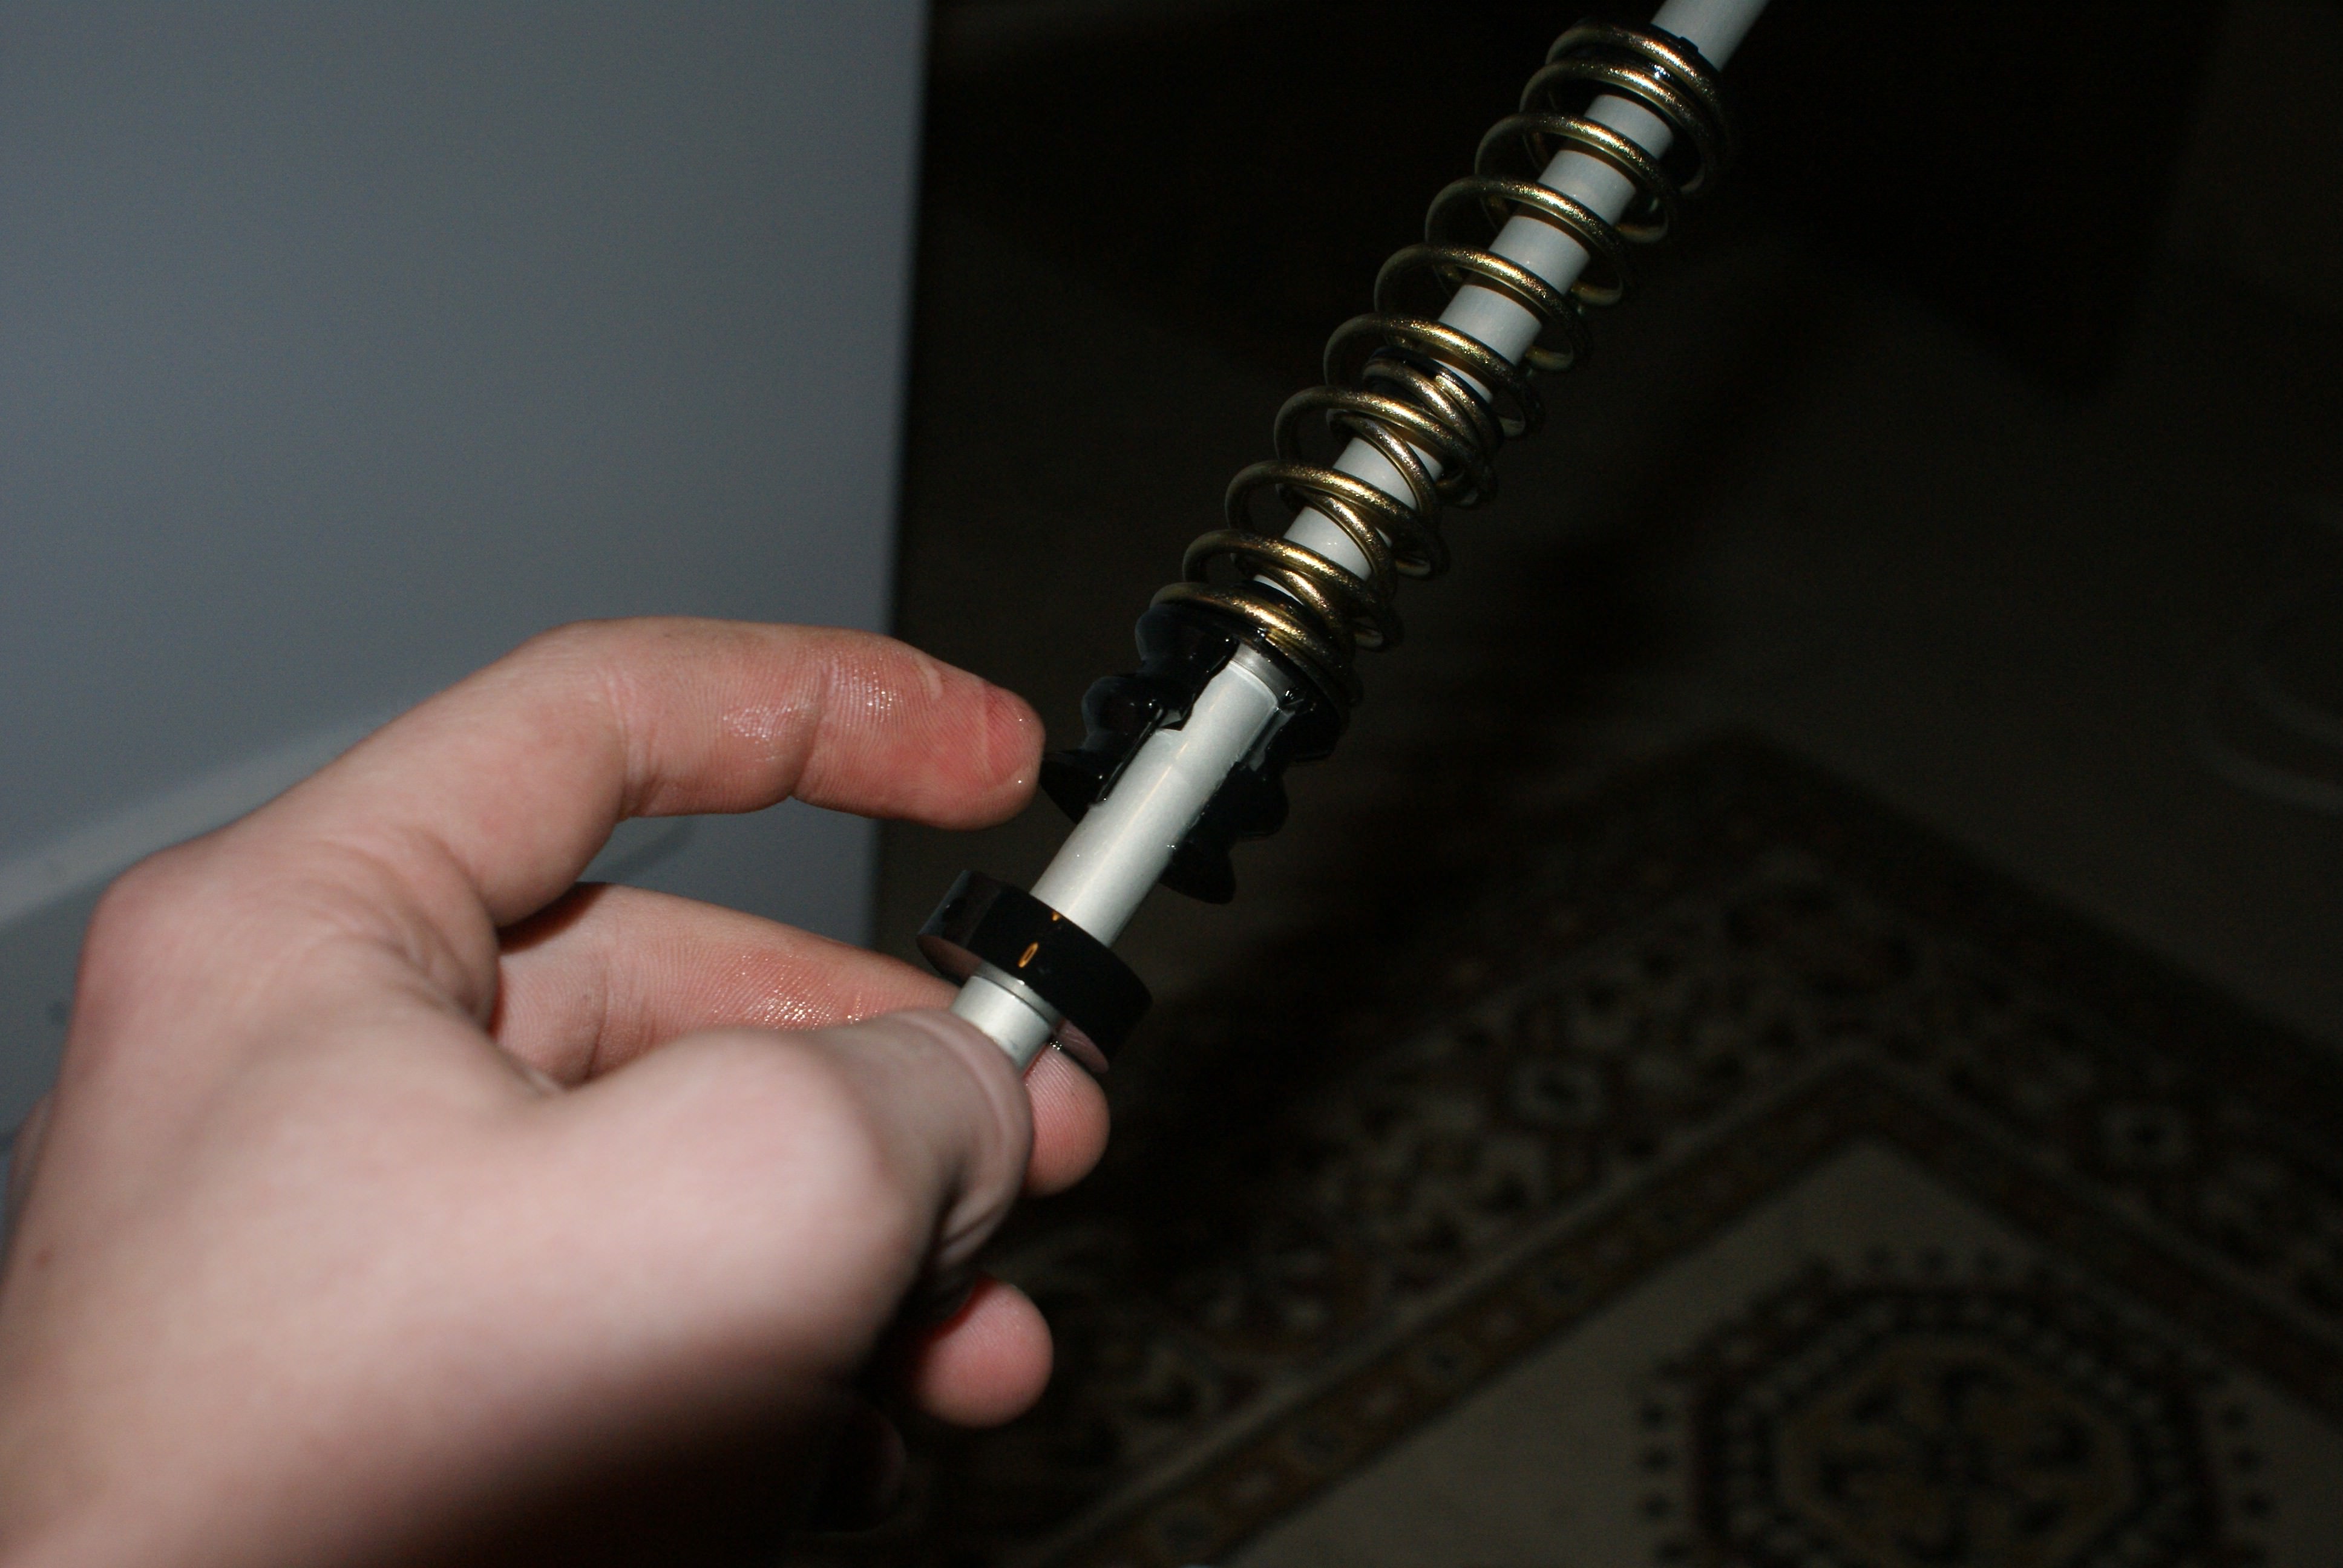
11. Get the spacer in place
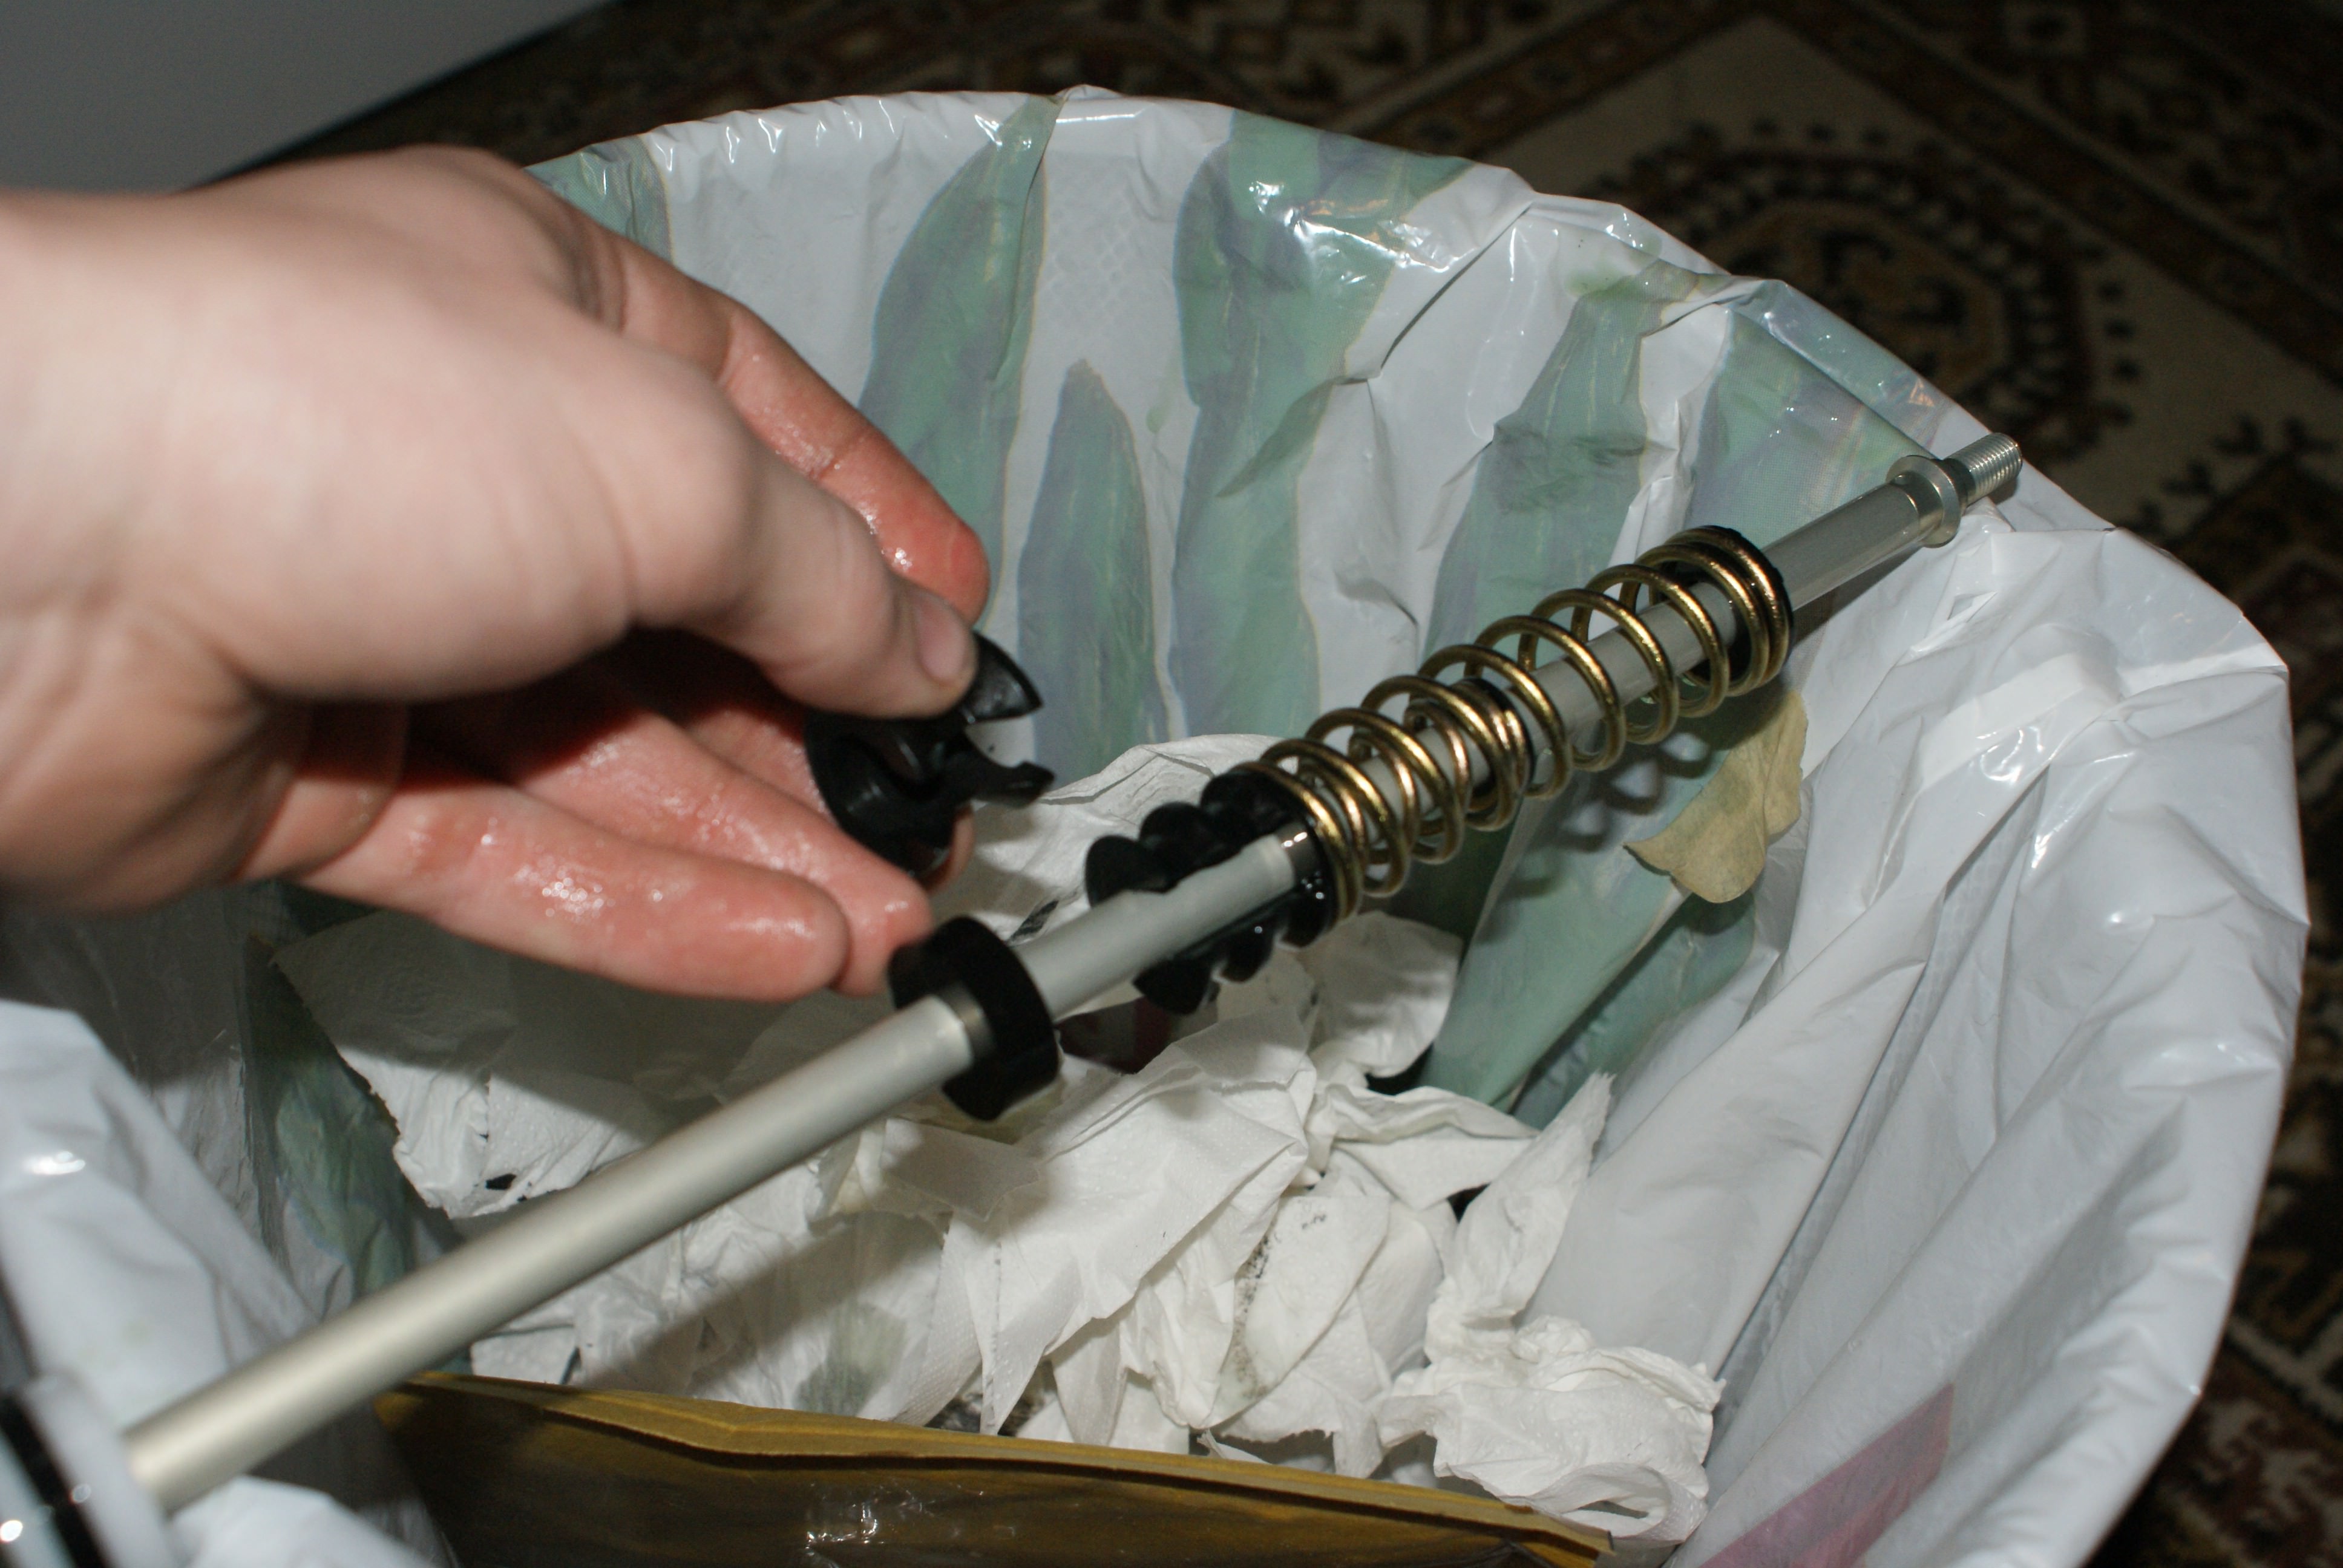
It should look like this:
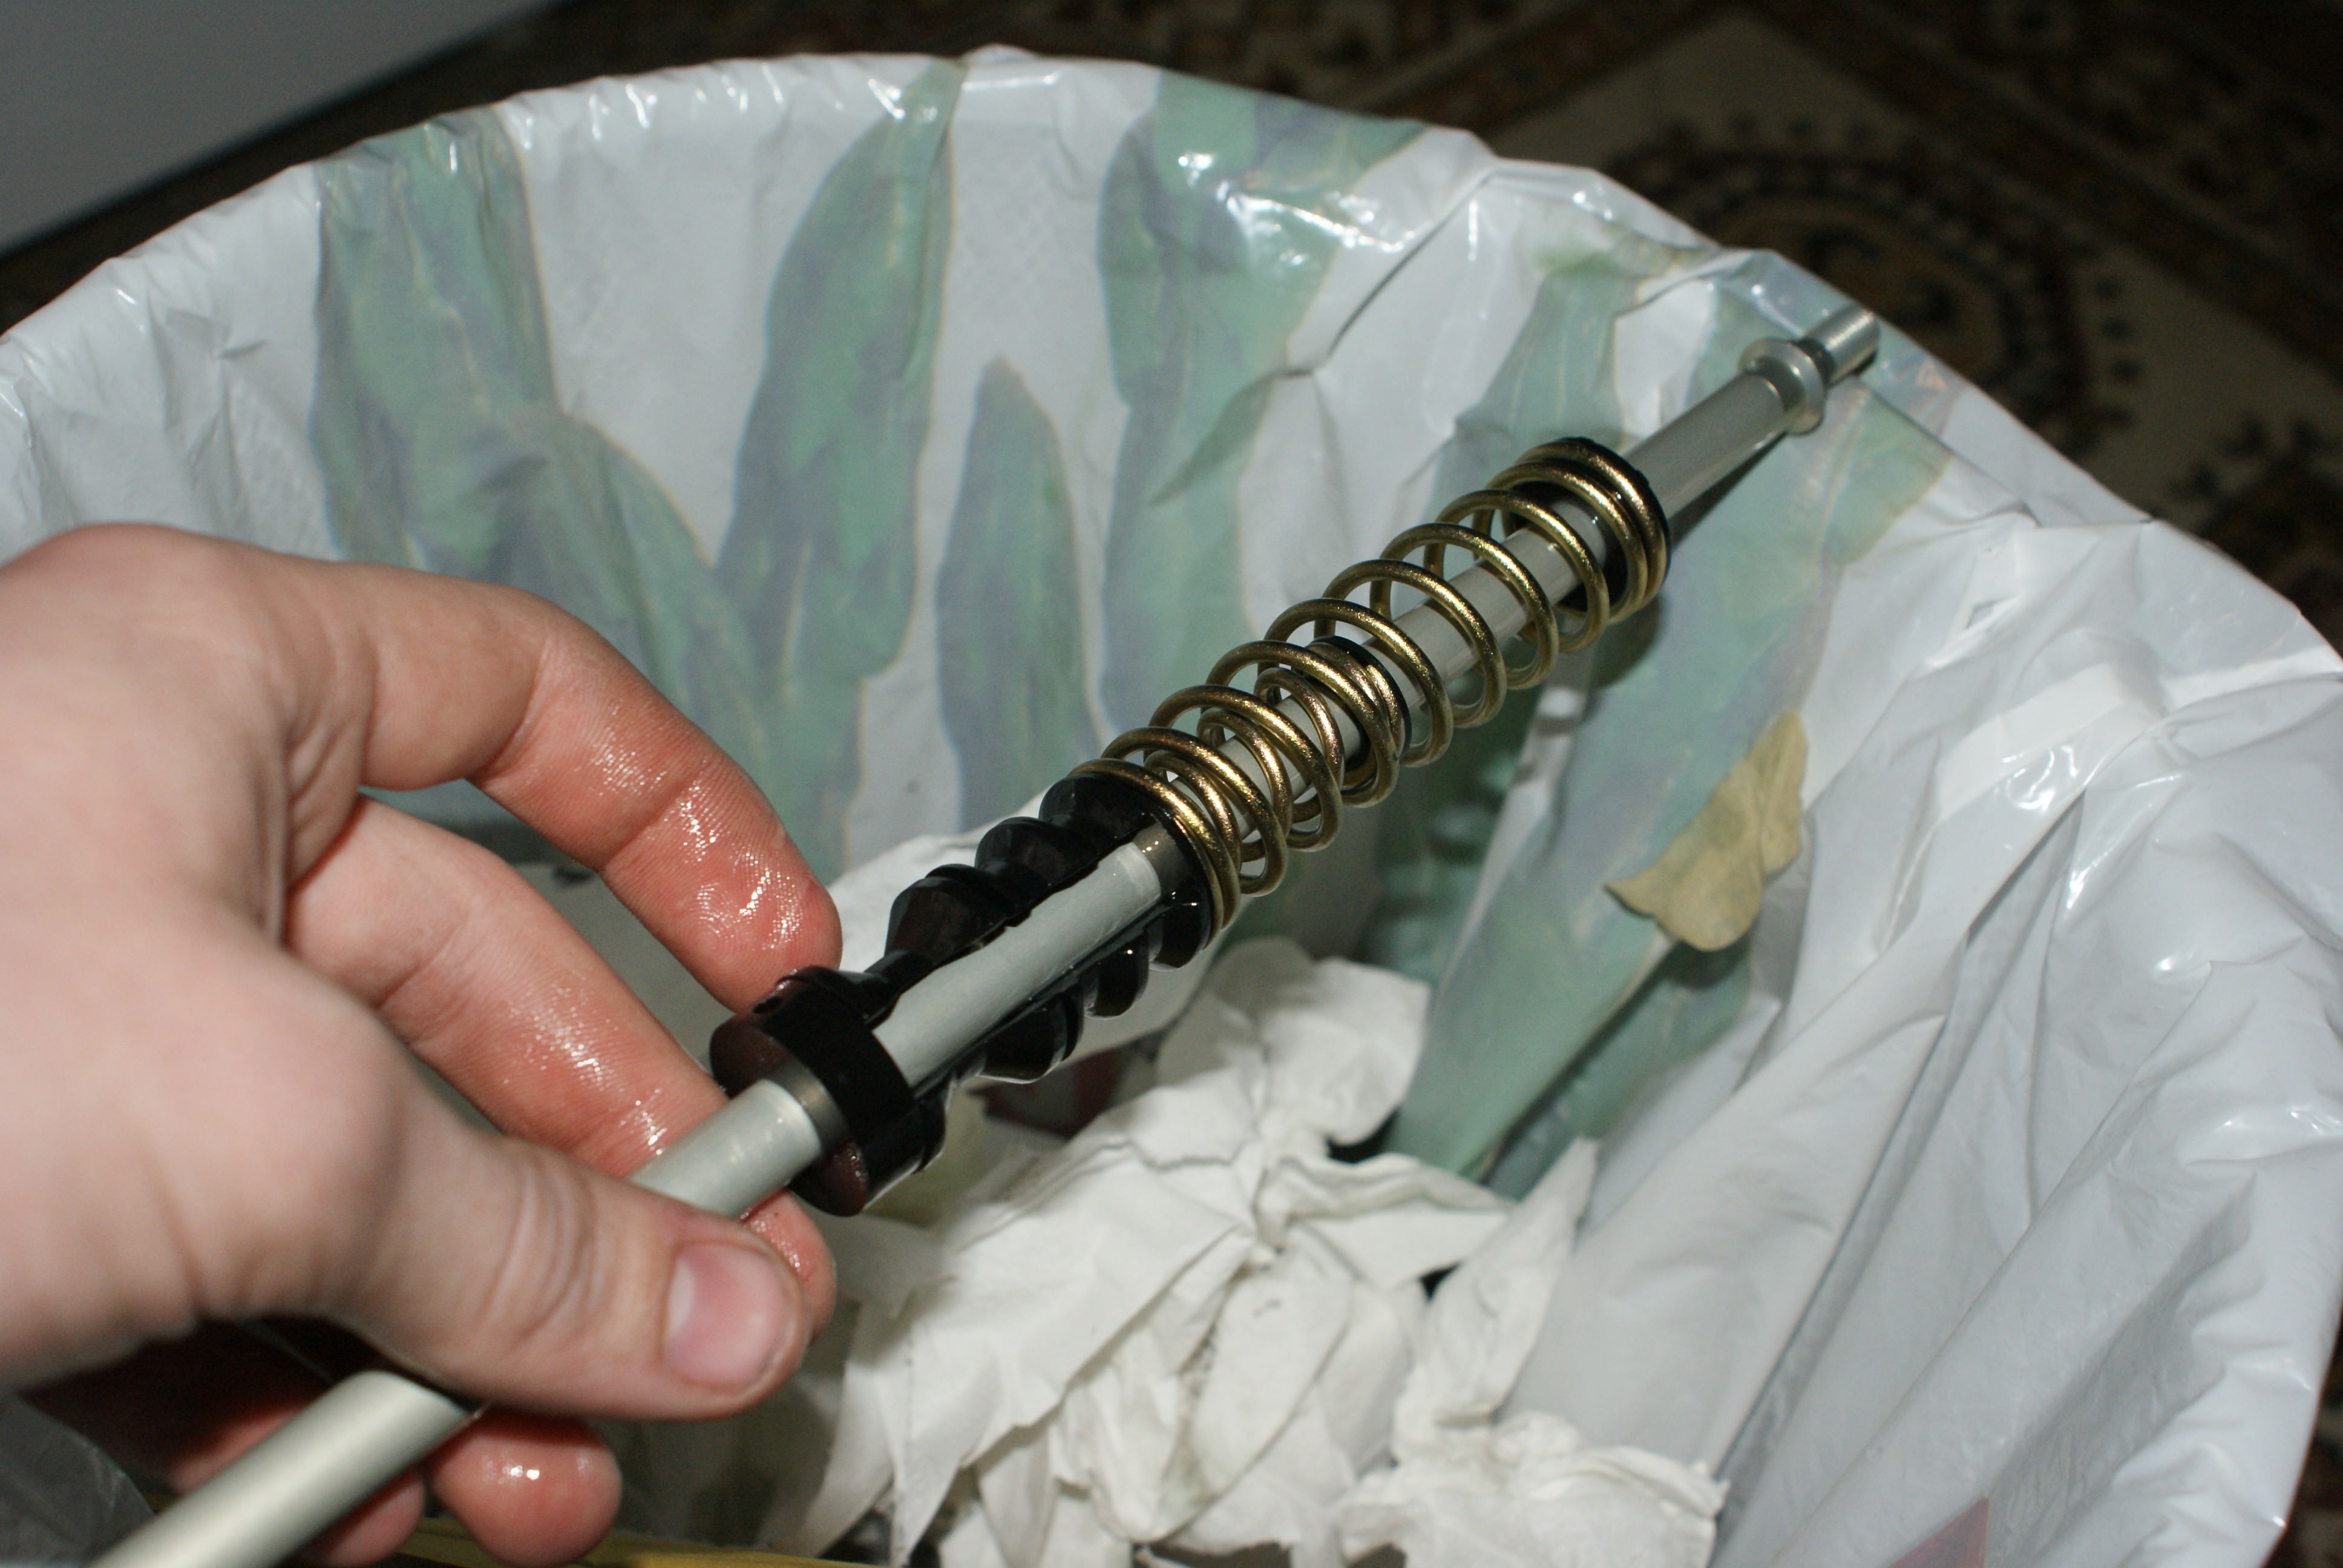
12. Prepare Foxfloat fluid
Take some float fluid in a small syringe. This is the easiest way to lubricate gaskets and stuff.
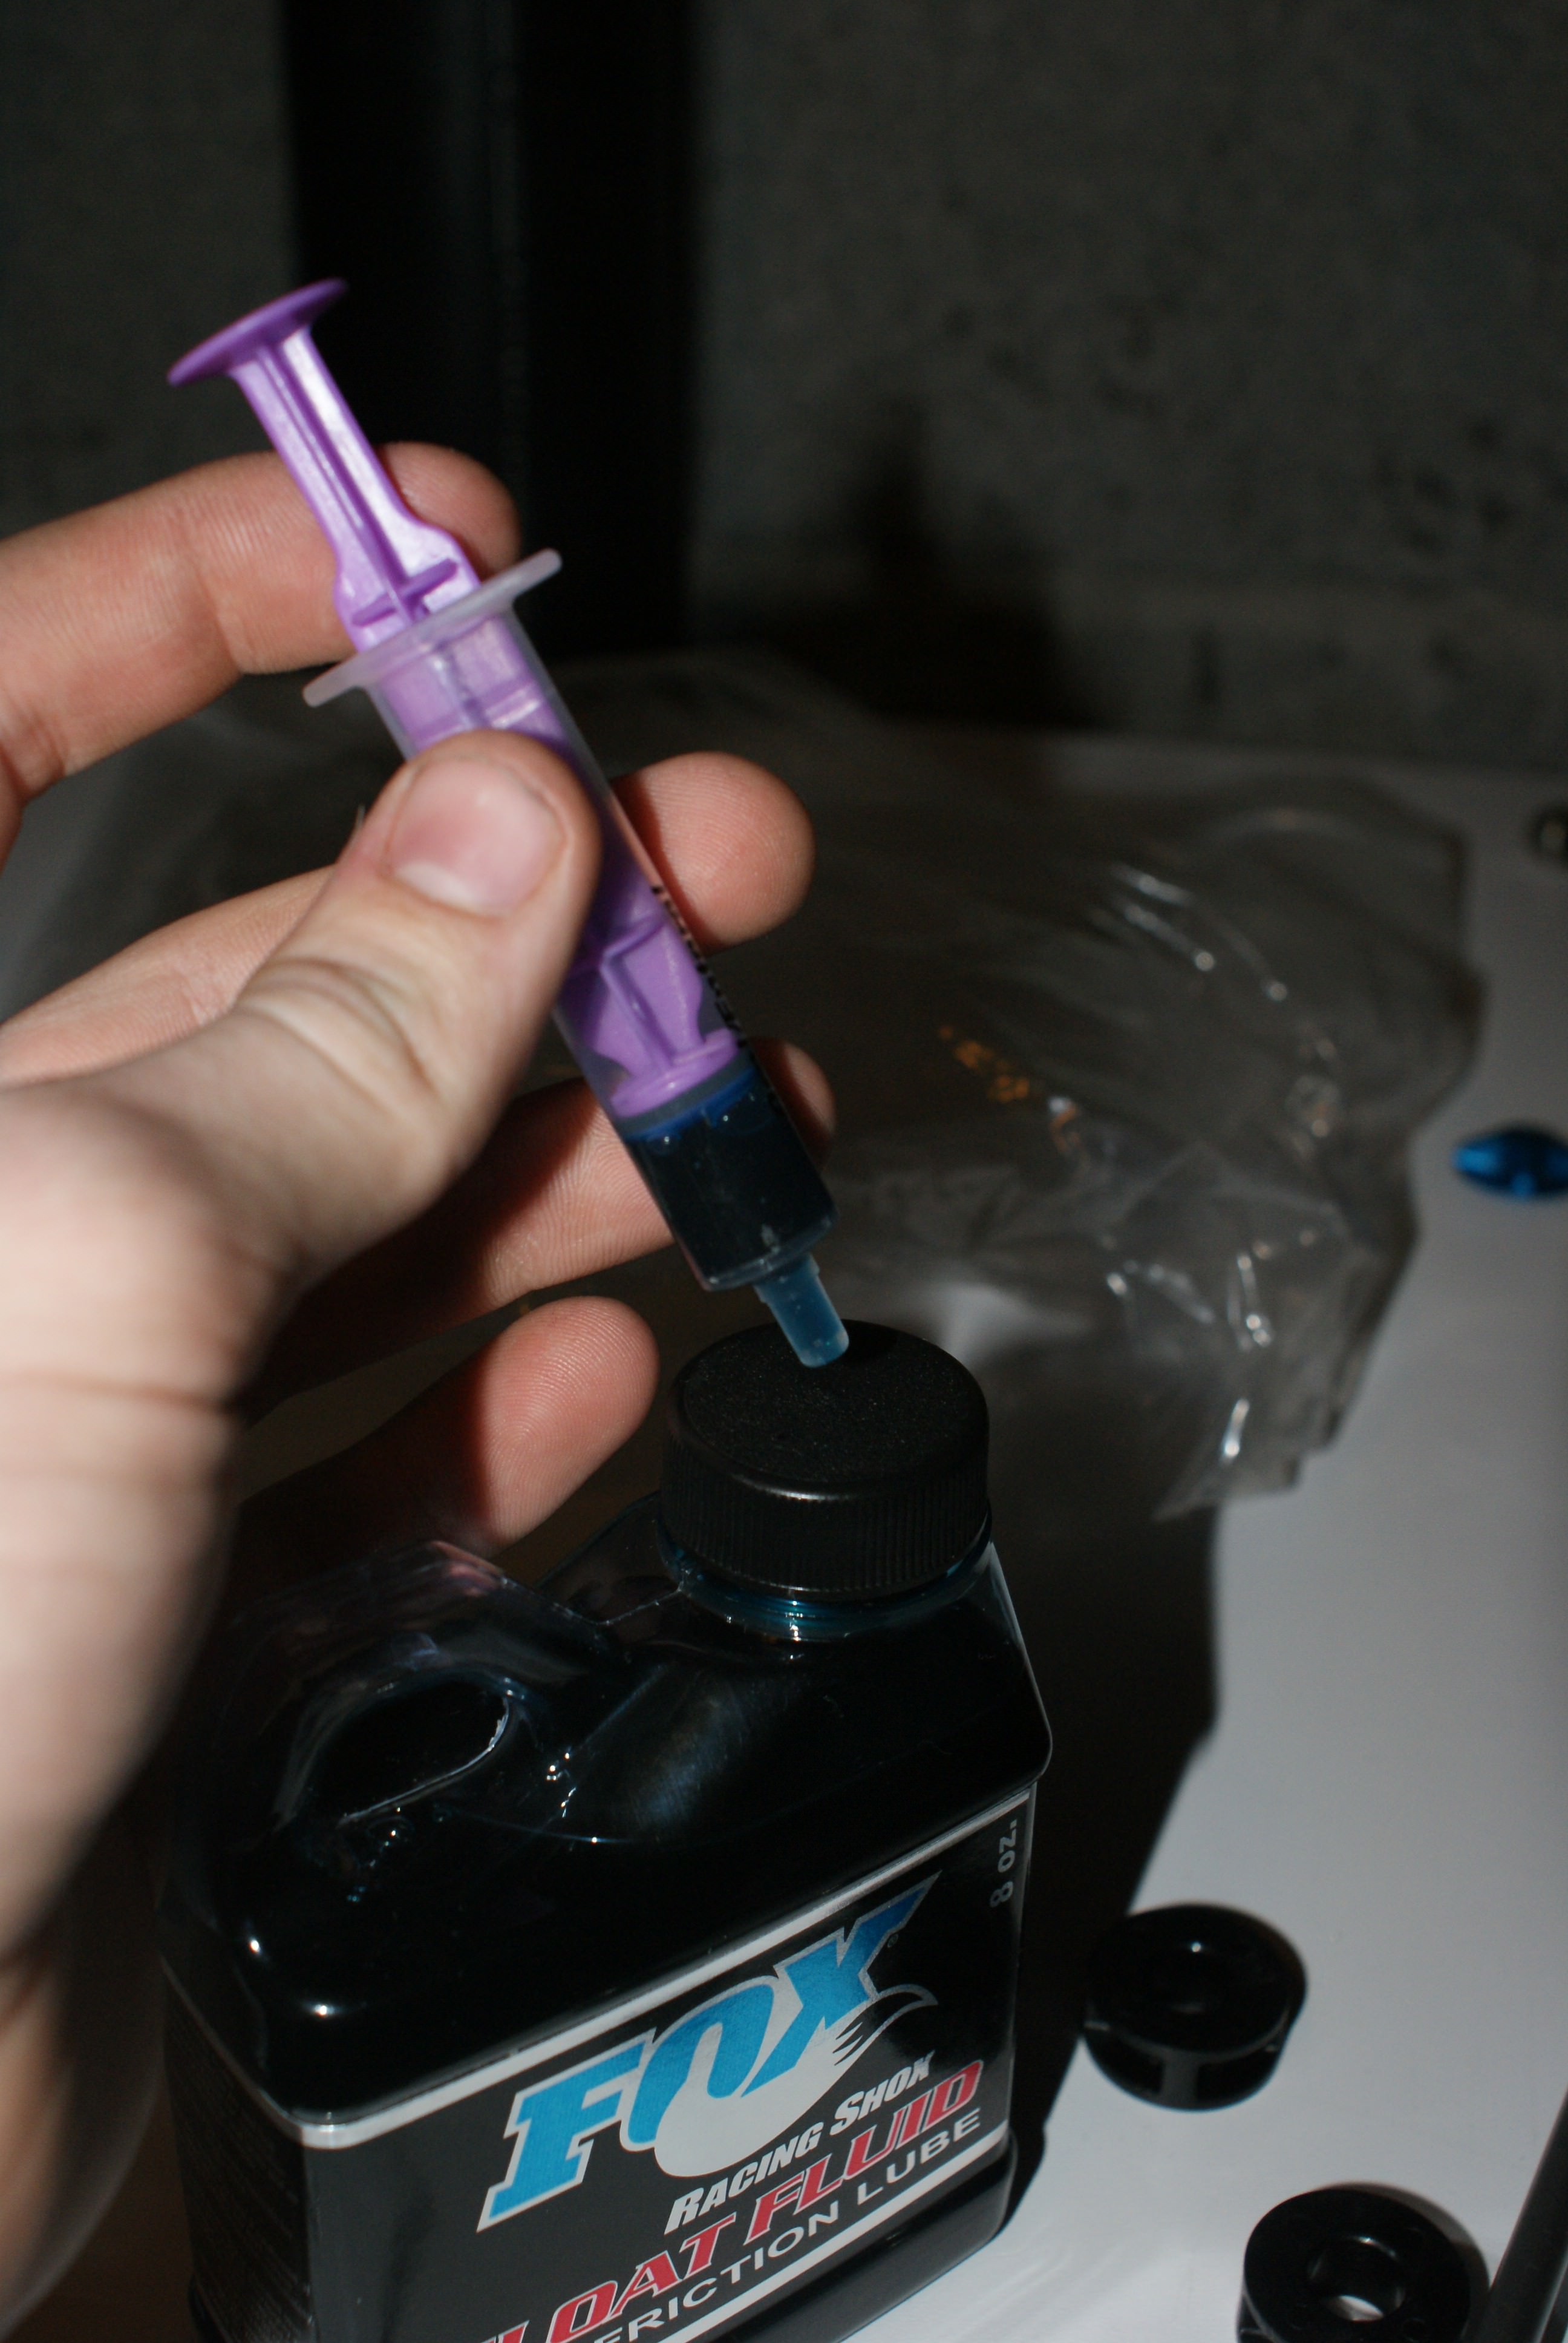
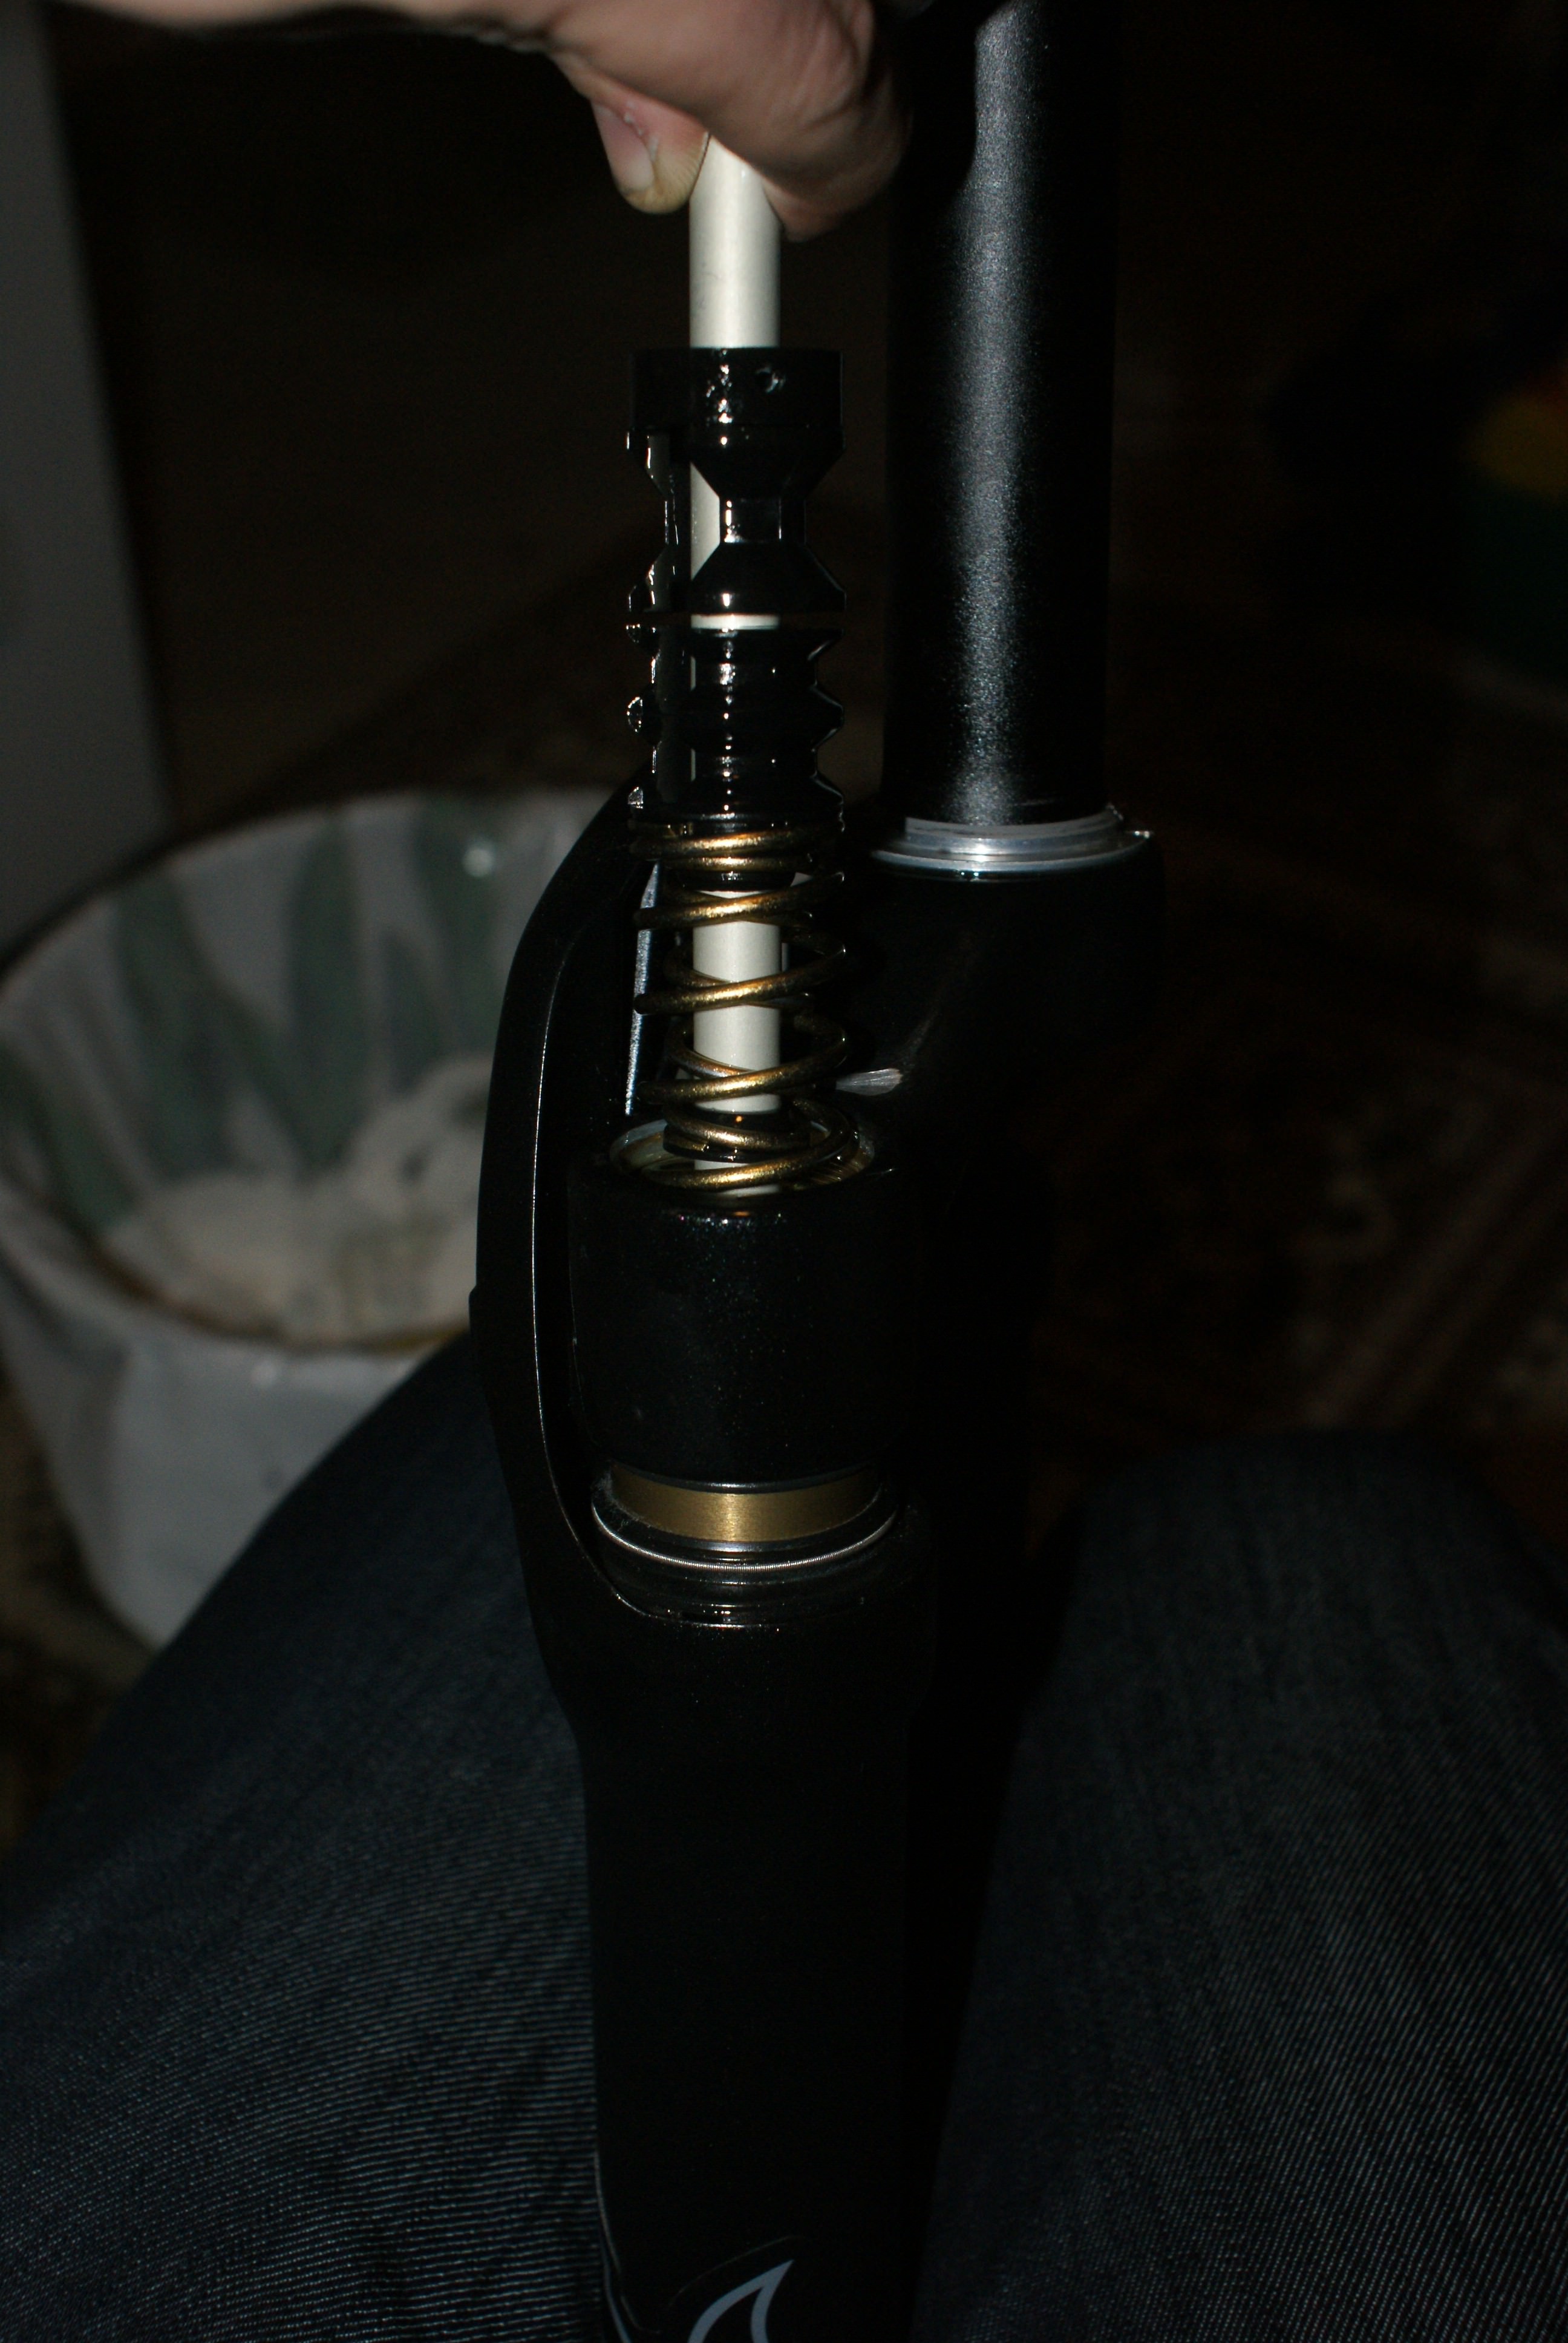
13. Stick the whole thing back in
Not so much that the bolt get through the whole at the bottom. Get some float fluid on gaskets, seals, and stuff
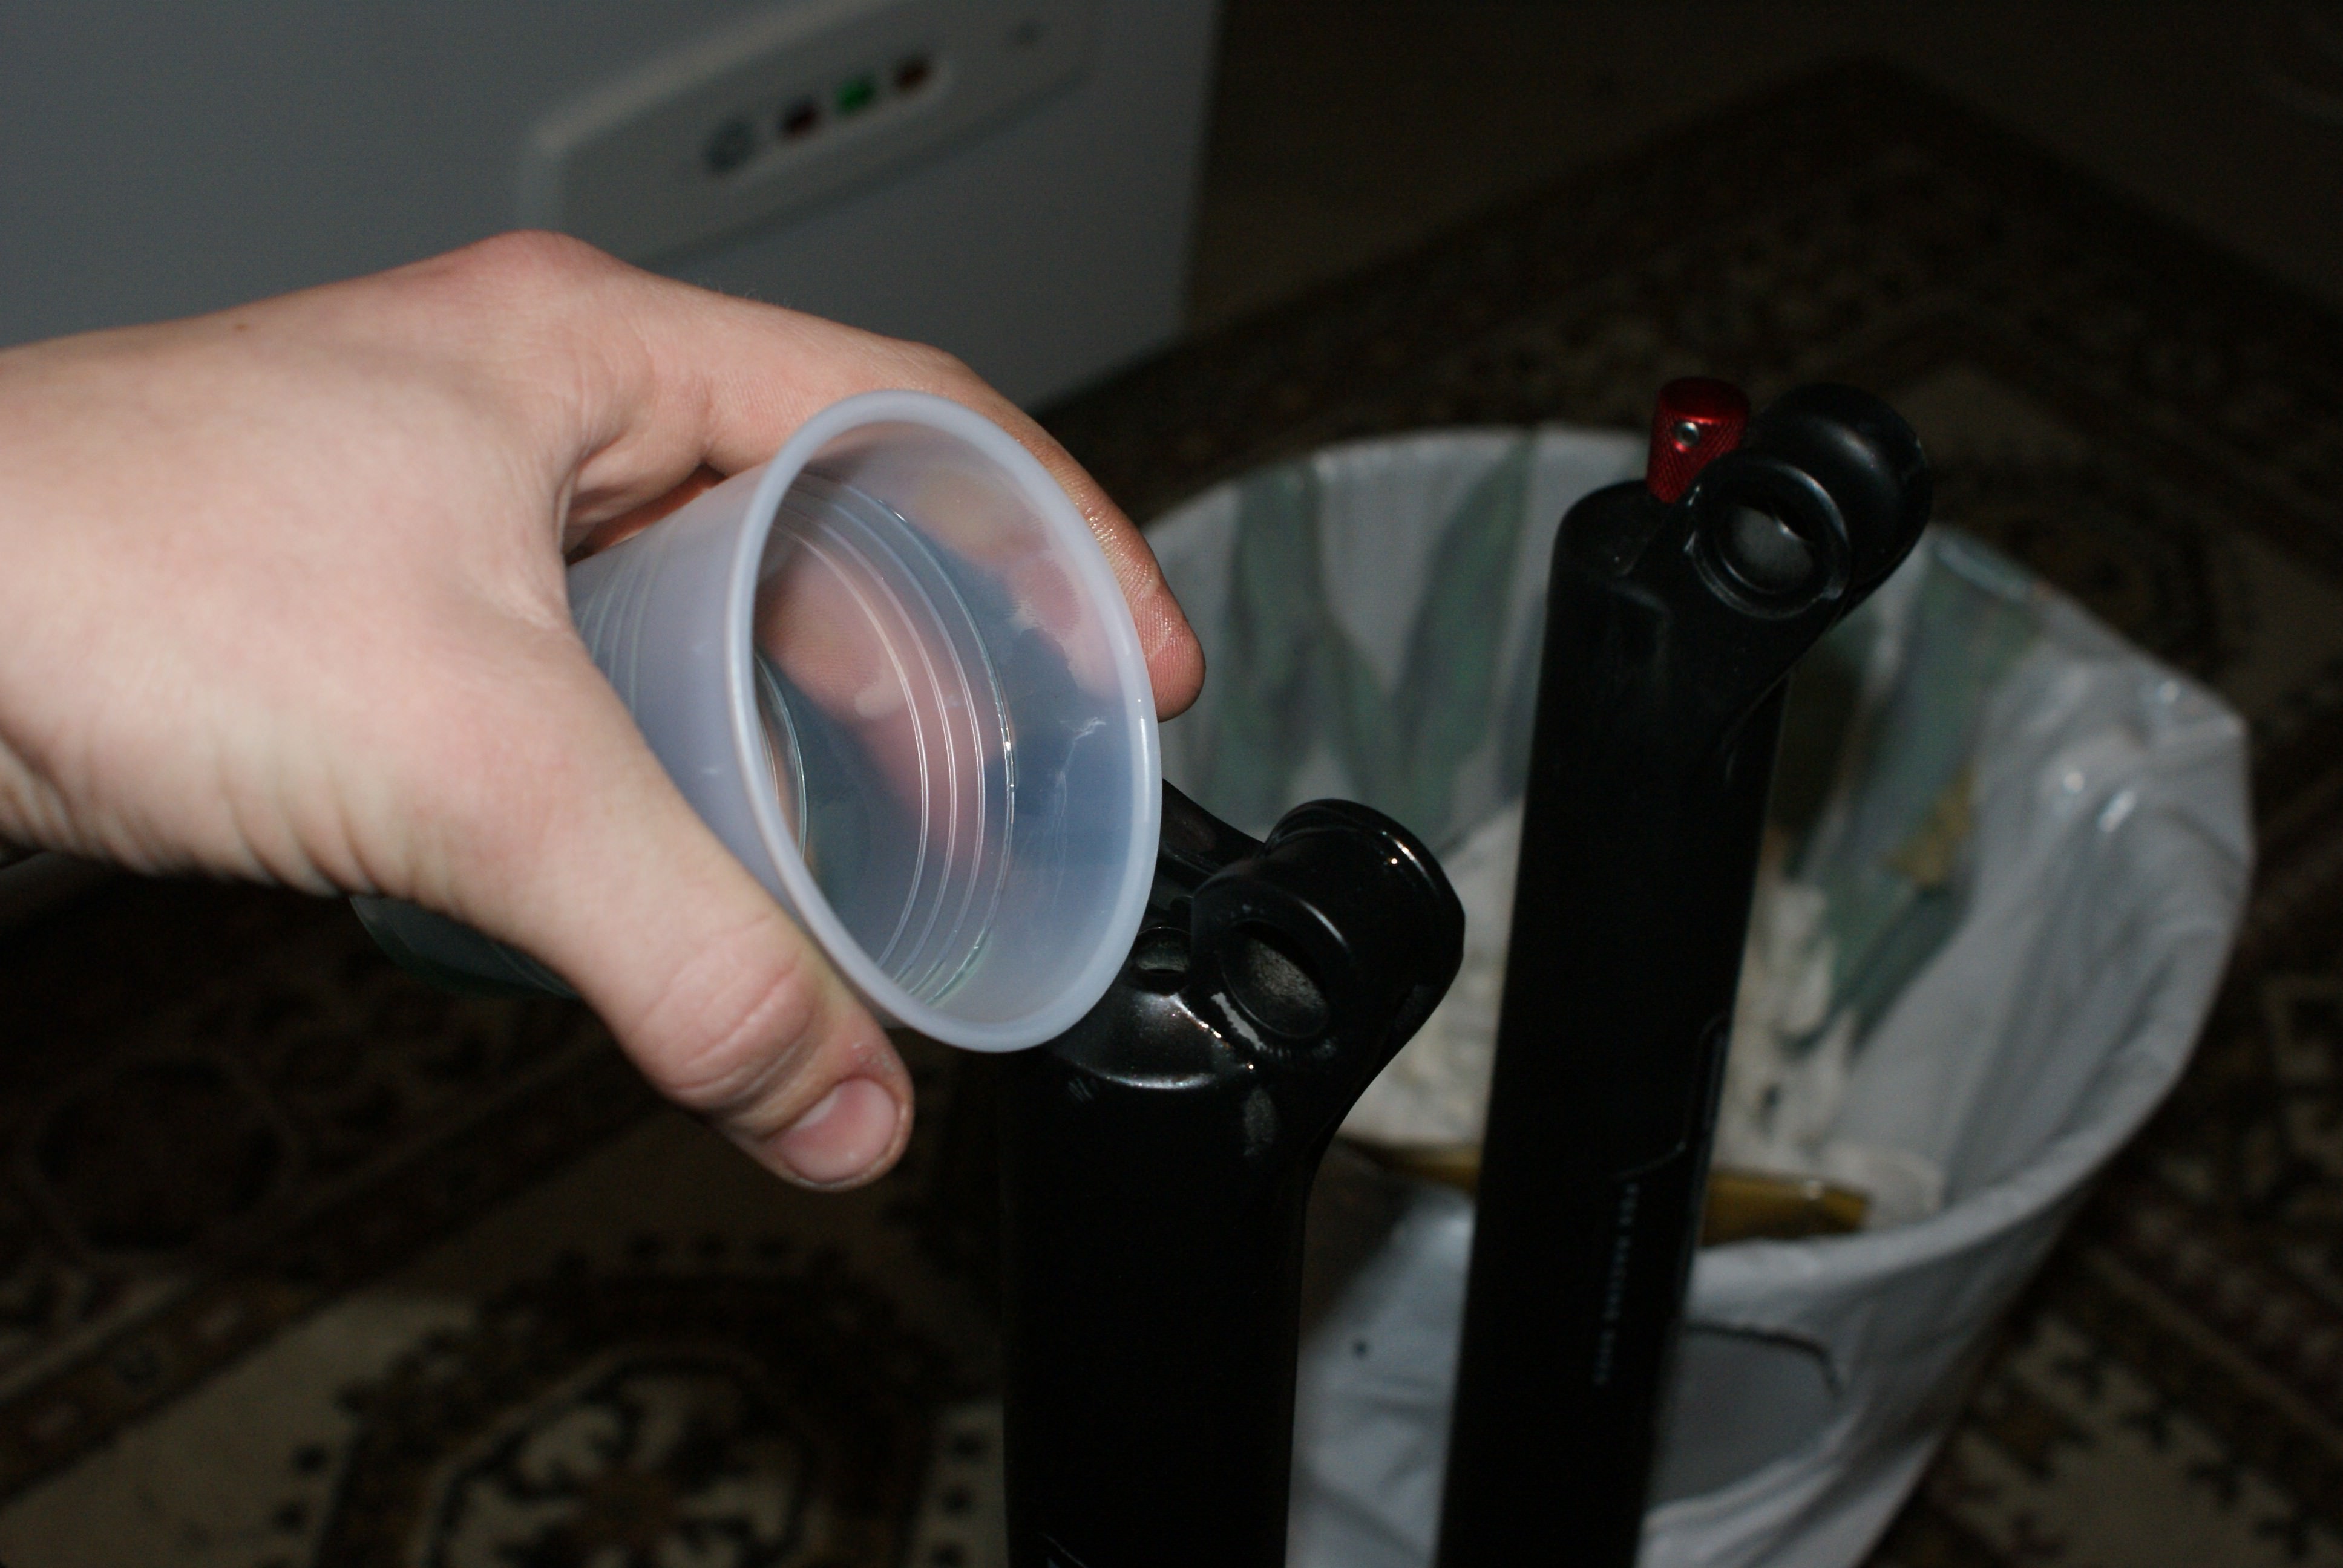
14. Get some oil in the bottom
Fox recommends Fox 10wt green.
- Fox Float 32/831: 30ml/cc
- Fox Float 36 160mm: 25ml/cc
- Fox Float 36 180mm 40ml/cc
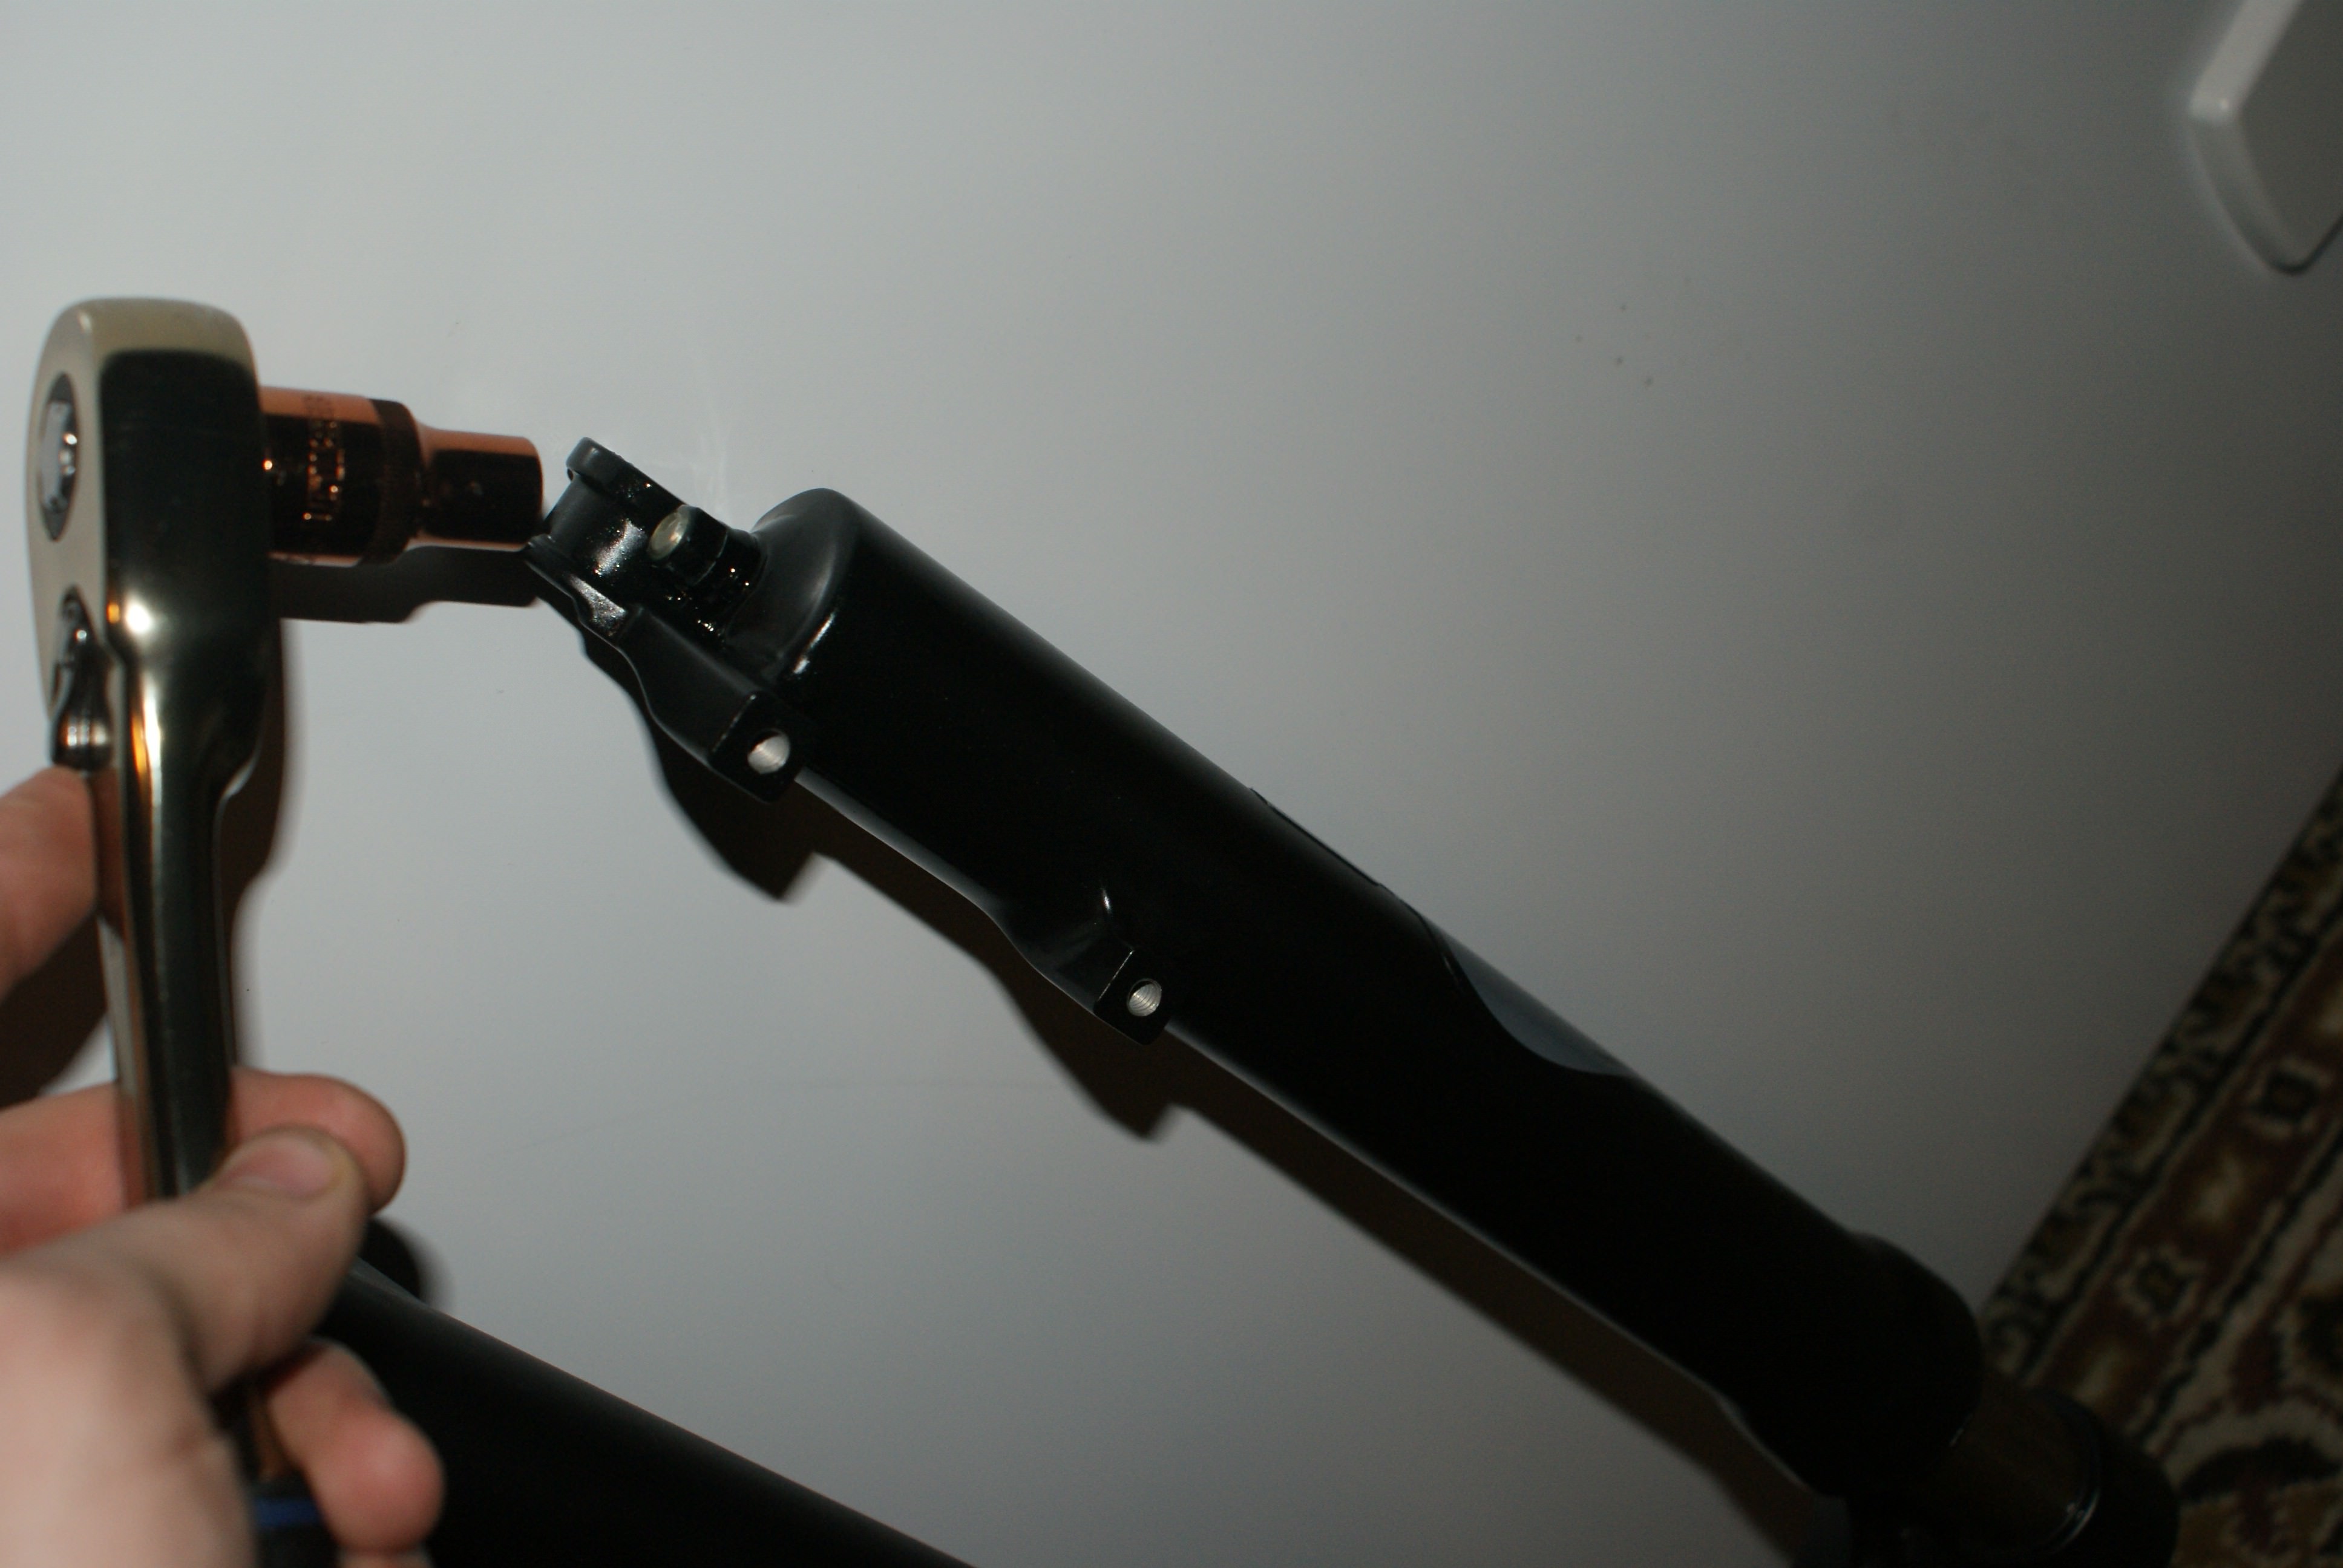
15. Fasten bottom nut
Press the whole thing further down, so the bolt gets out at the bottom. Grease the bolt, and get the nut back on
NB: The nut is made of aluminium, therefore it's very important that you don't over tighten it! Fox says 5.7 newtonmeter.
16. Get 5 ml/cc of Fox Fluid at the top
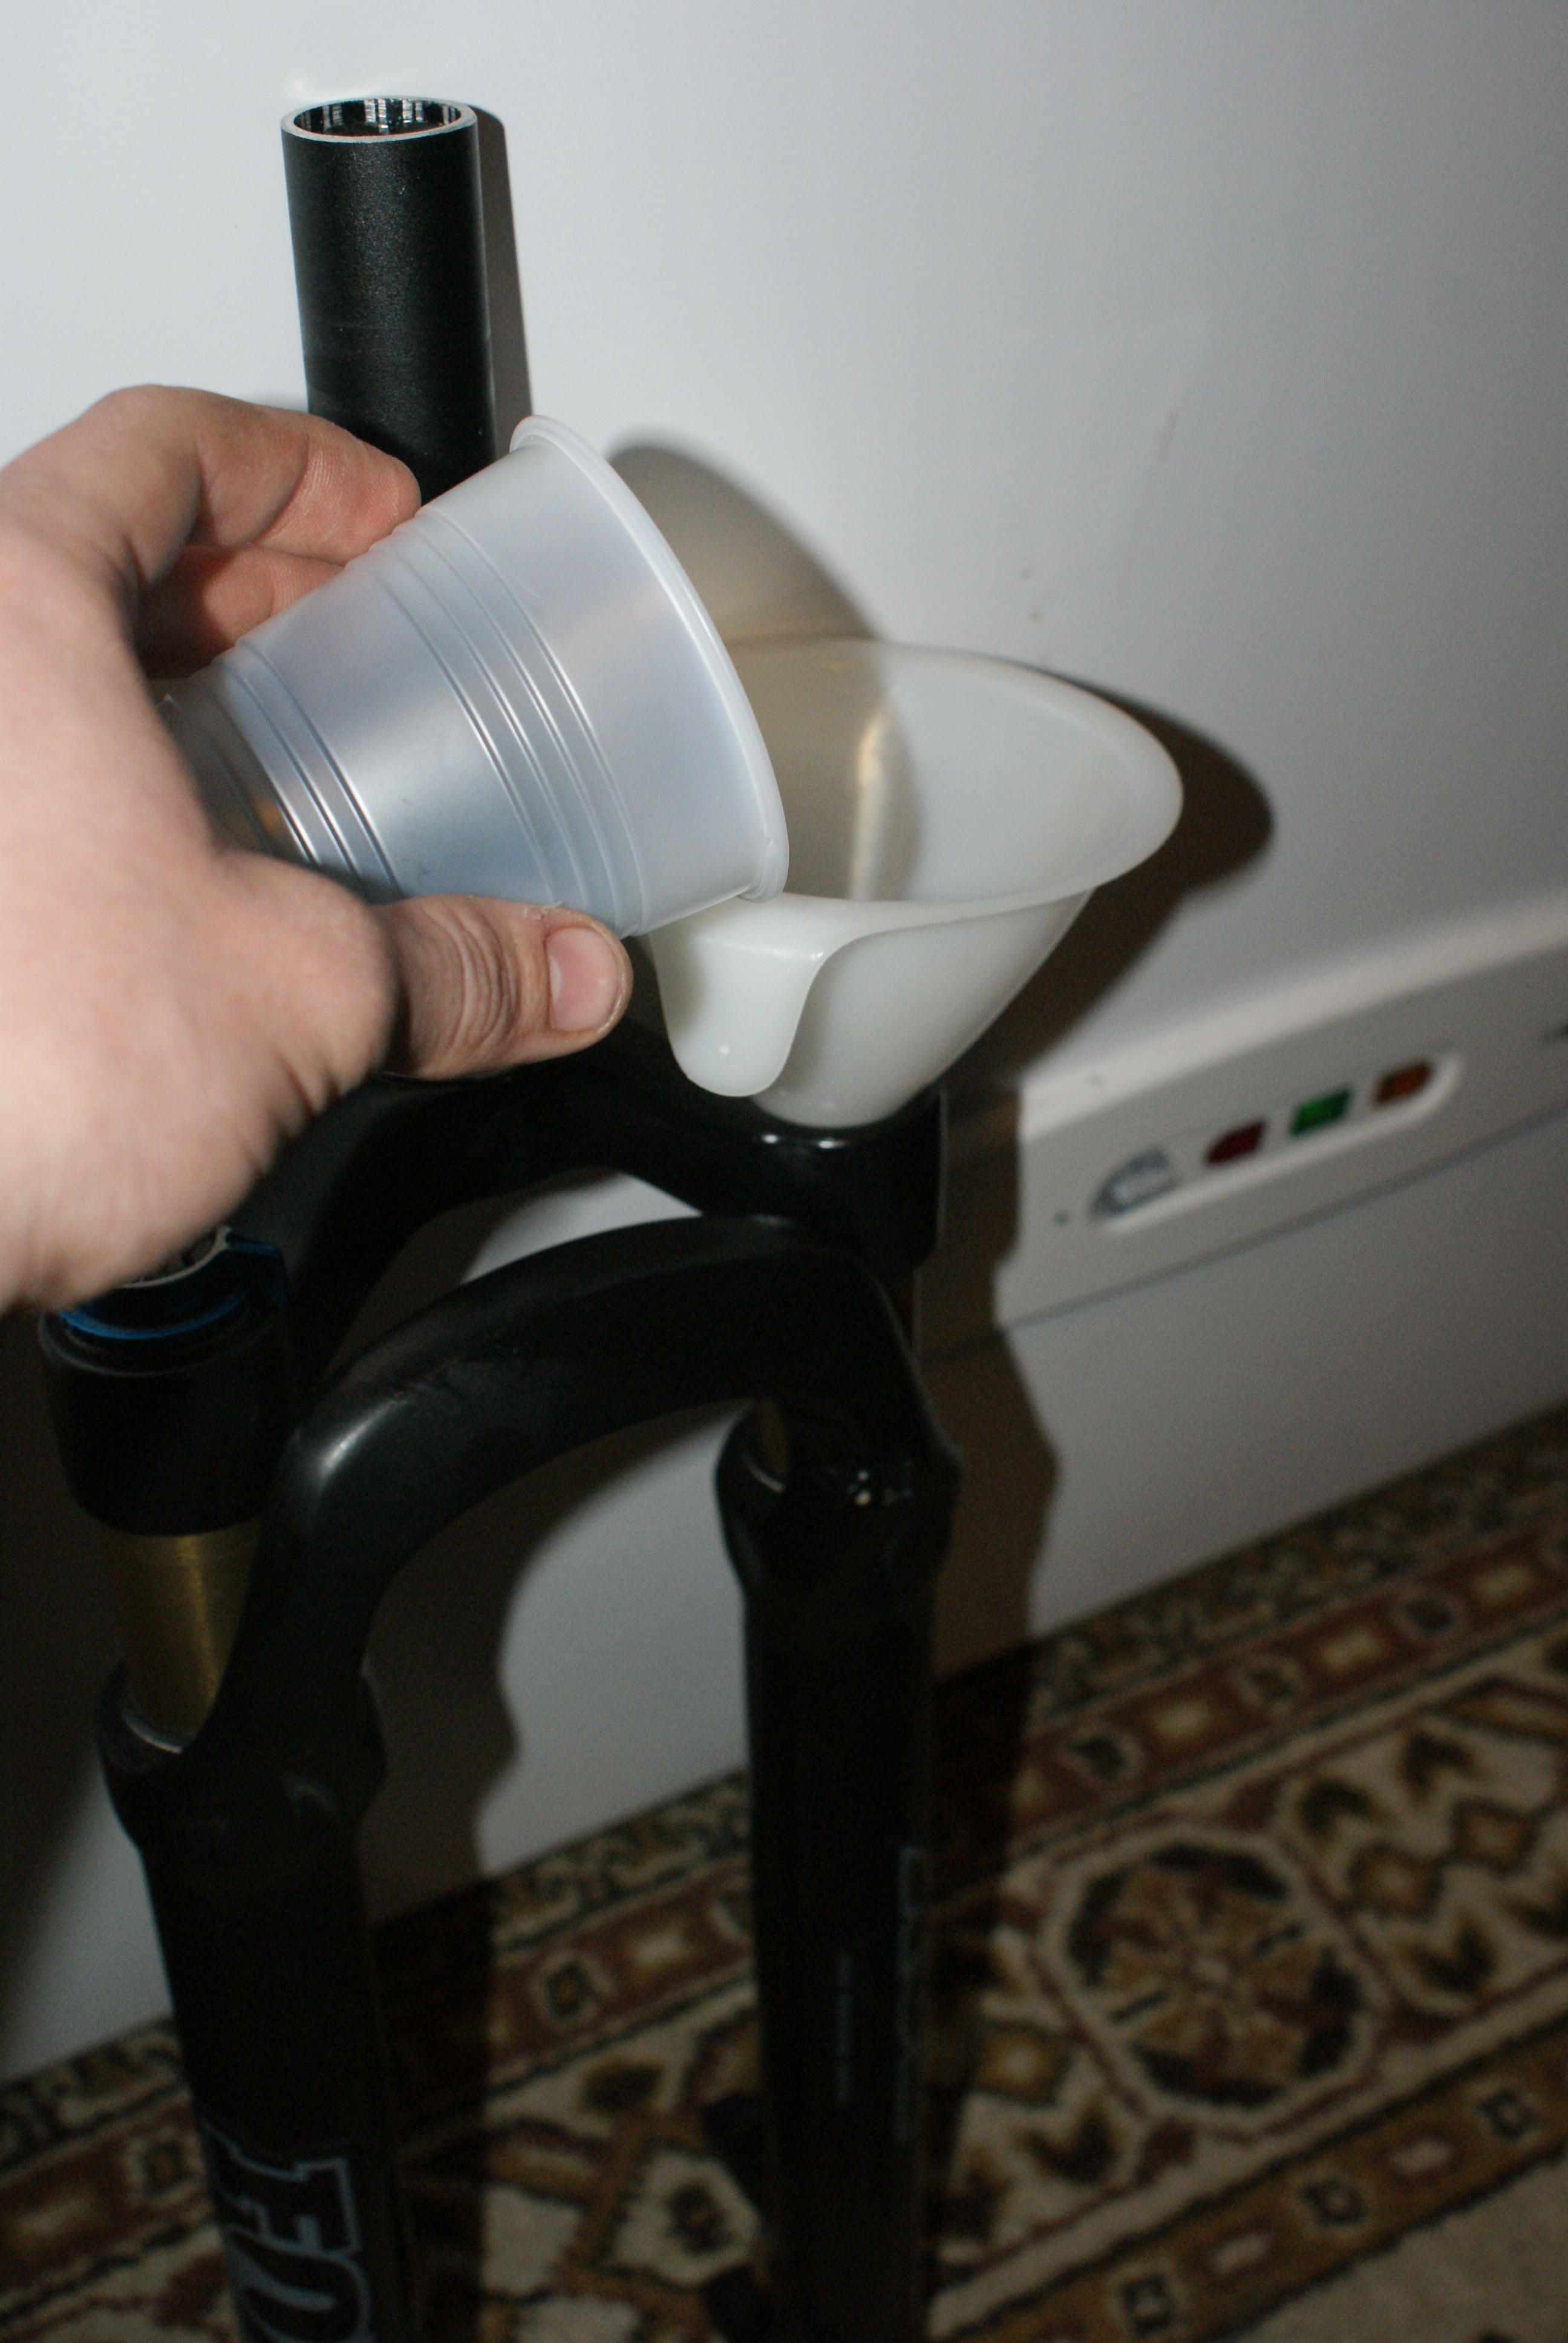
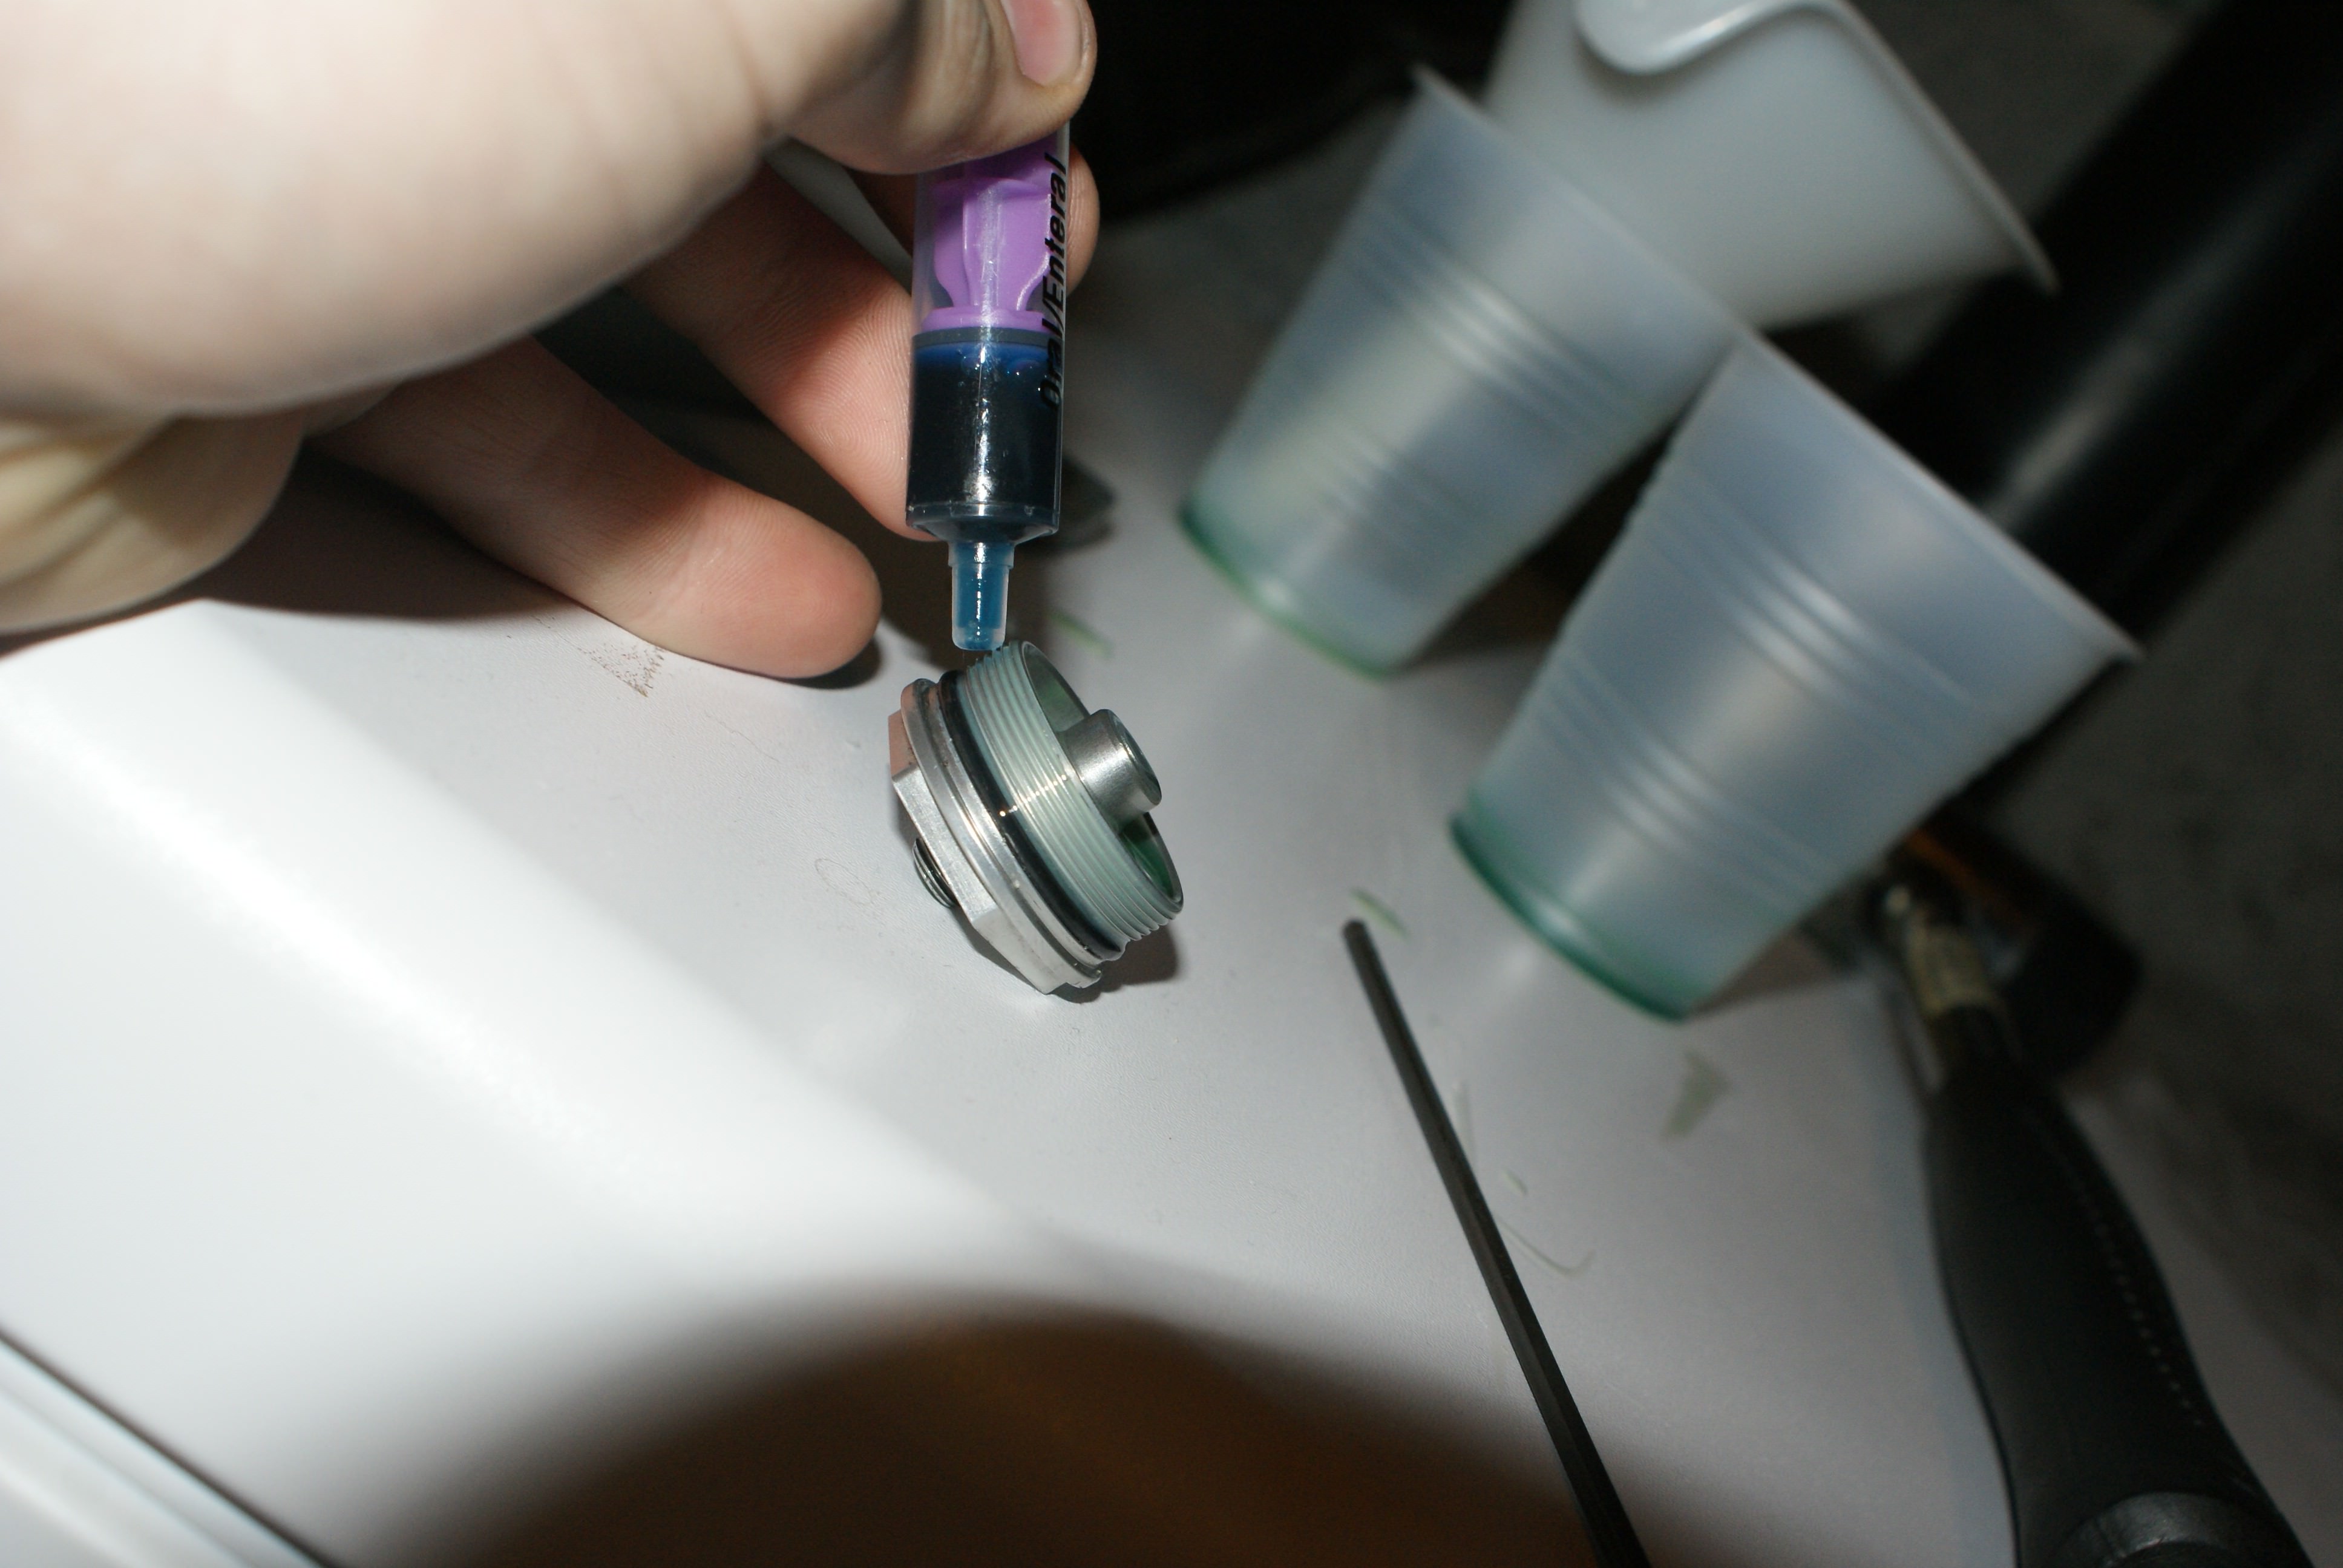
17. Lubricate the top cap with some Fox Fluid
Both seals and threads
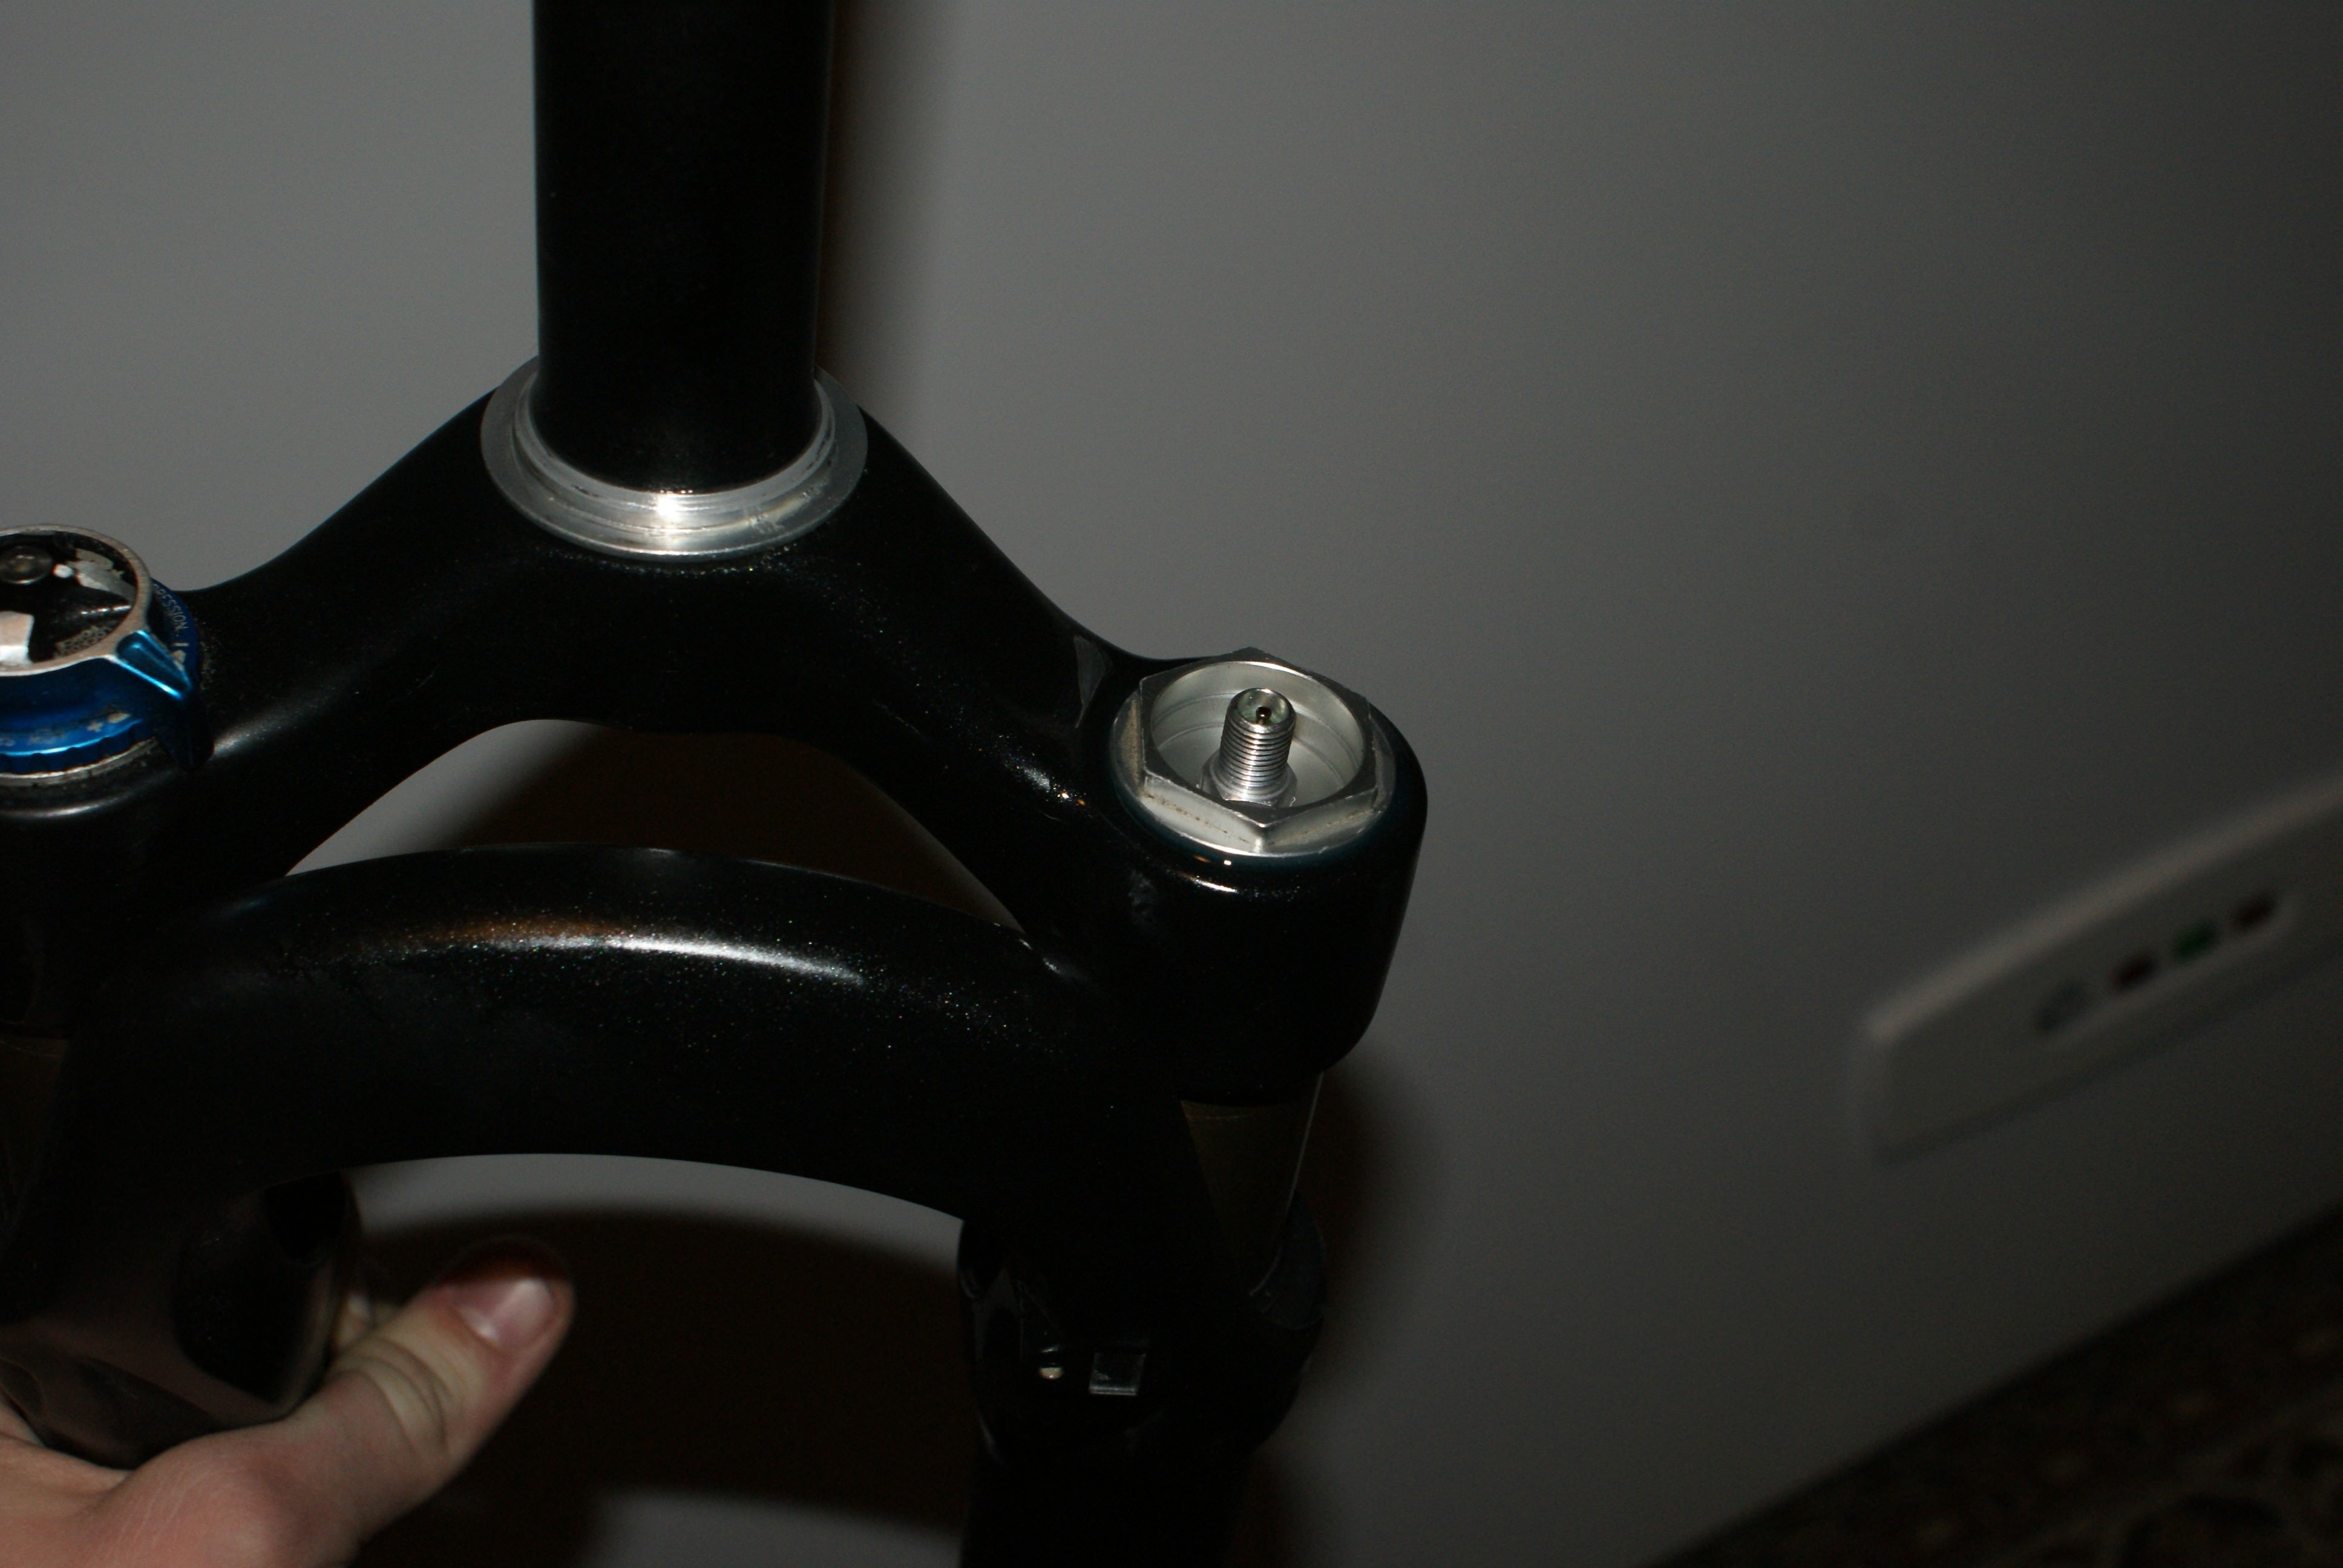
18. Mount the air top cap
Tighten it to 24-25 newtonmeter
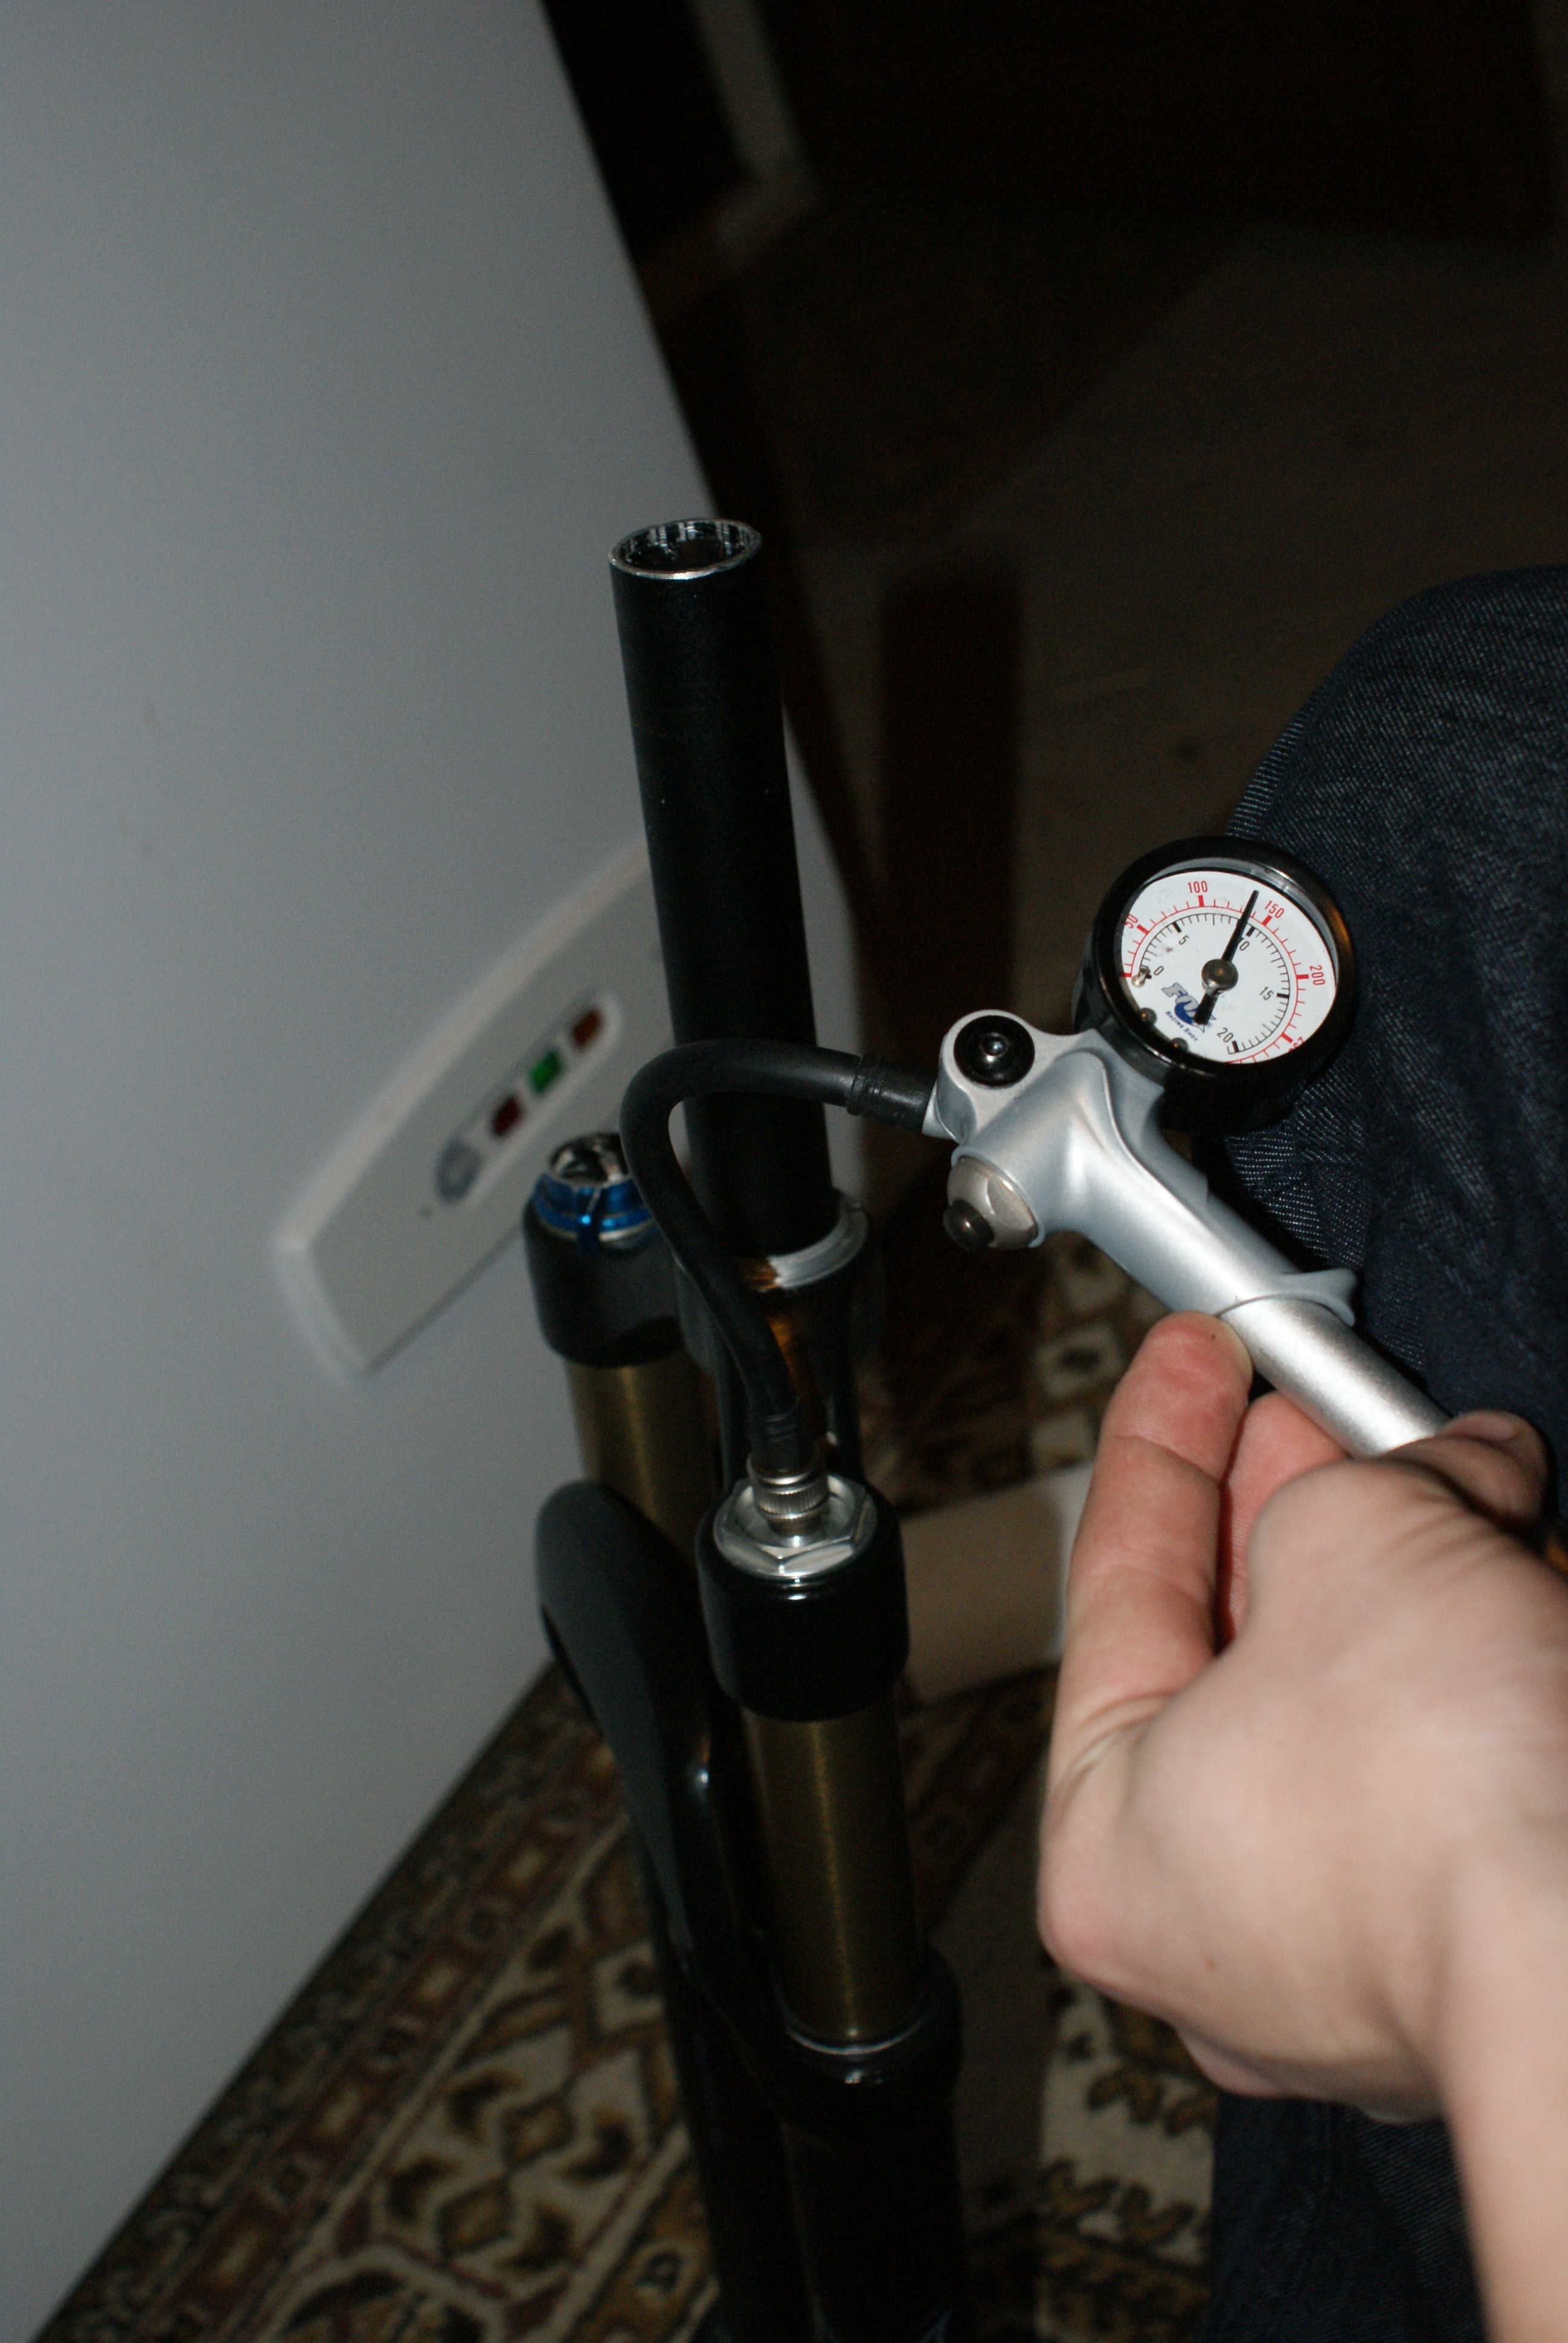
19. Add air
When everything is tight, get some air in that fork
20. CONGRATS! You're almost finished
21. Reassemble your bike
Step 1 Remove fork from the bicycle in reverse.